SS rotors on standard HHR
 09-22-2012, 03:18 PM
#1
Senior Member
Thread Starter

Join Date: 07-17-2006
Location: Dallas, GA
Posts: 6,050
SS rotors on standard HHR
Did this today. Straight forward swap. But the procedures are the same for just swapping rotors, same work would need to be completed. This is my method, yours may vary.
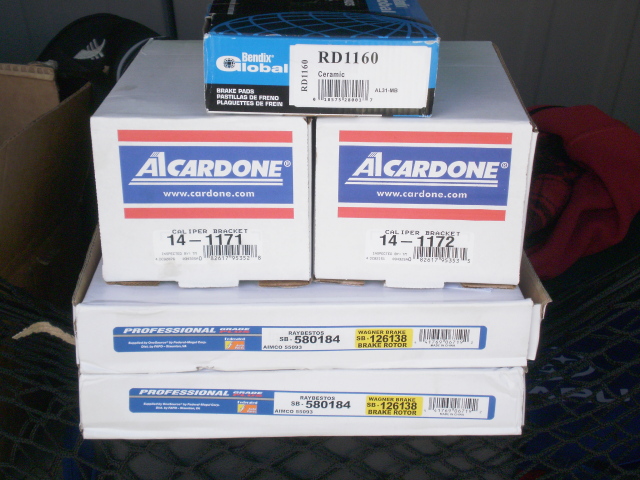
First, gather the parts you will need.
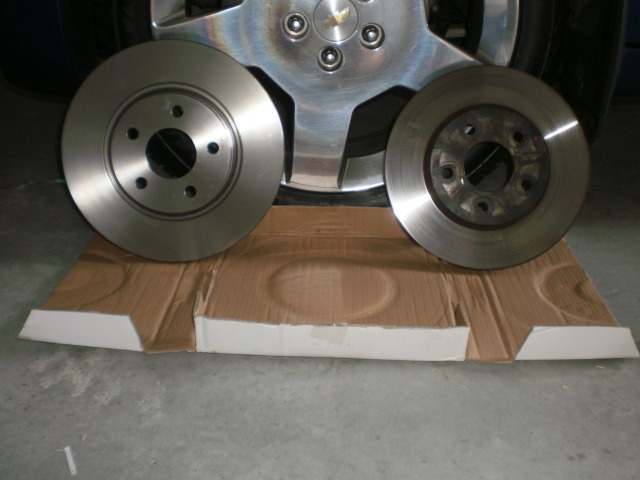
Here is a comparision between the standard HHR rotor and the non Brembo SS rotor.
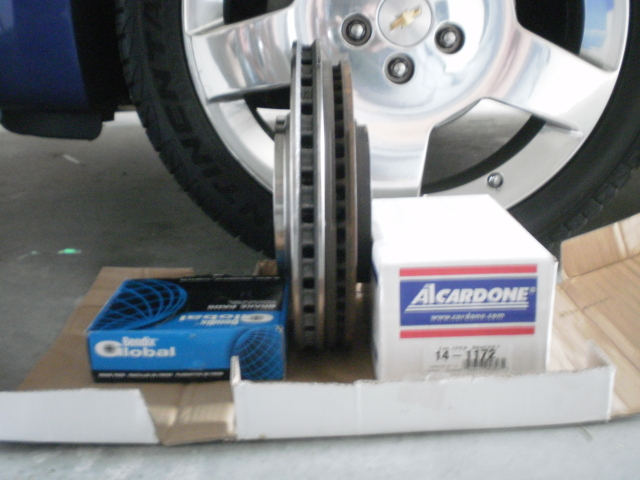
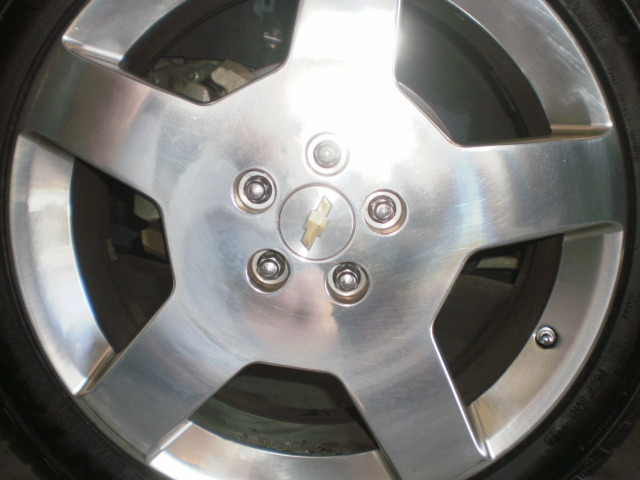
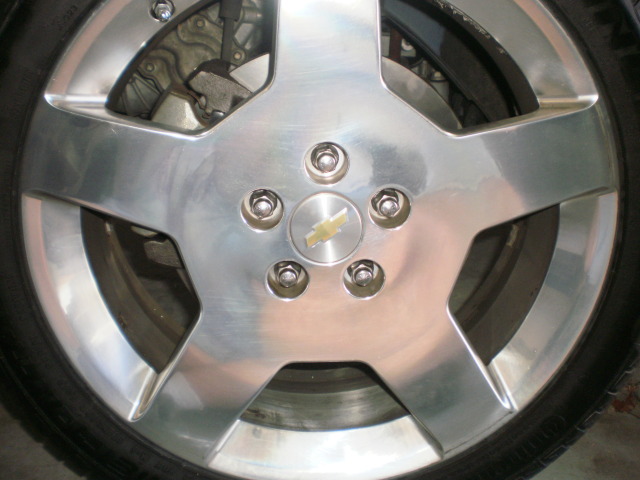
Shot of the stock rotor behind the wheel. The Cobalt wheel has a large center plate.
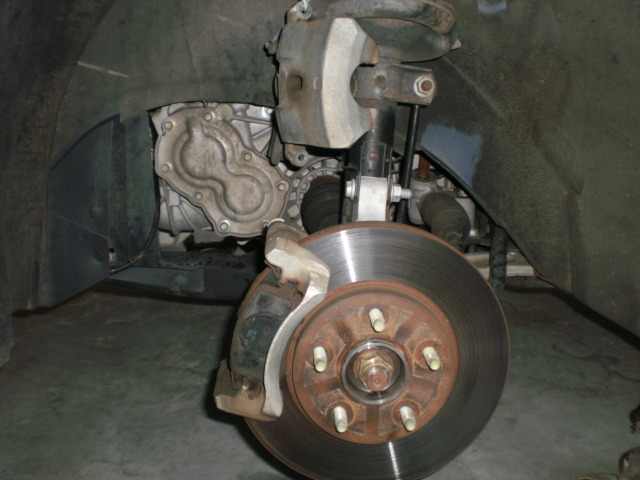
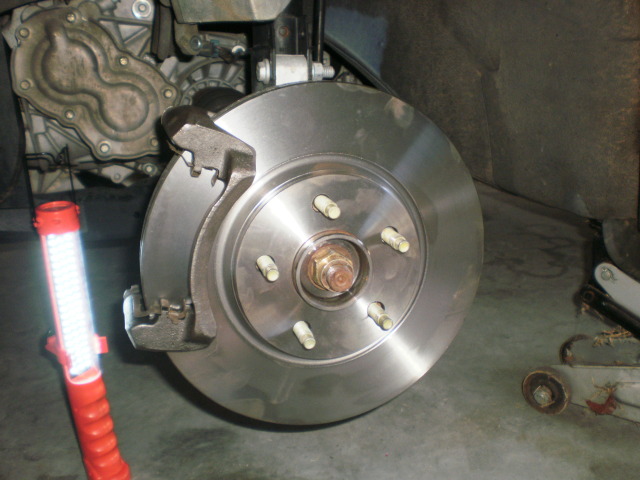
You will need to raise the wheel off the ground, and support the car. Once you remove the wheel, this is the stock setup.

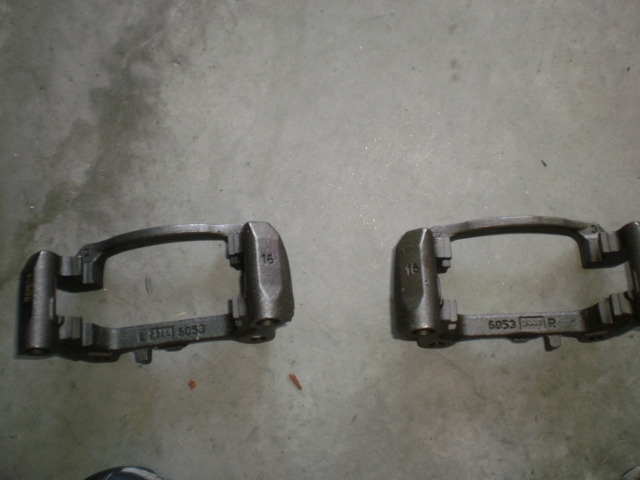
Before you dig in, seperate the two new caplier brackets. They are marked L and R.
Remove the 2 bolts from the back of the caliper and support it. I use a heavy gauge wire off the strut spring.
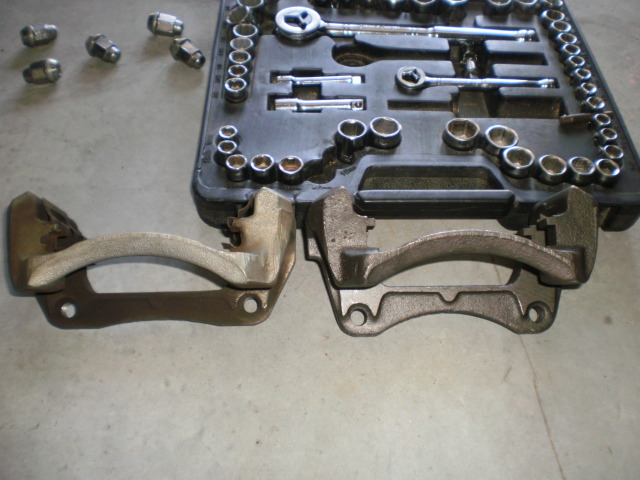
Then you can pop out the pads and remove the caliper bracket. Here is a comparision of the standard verses the SS.
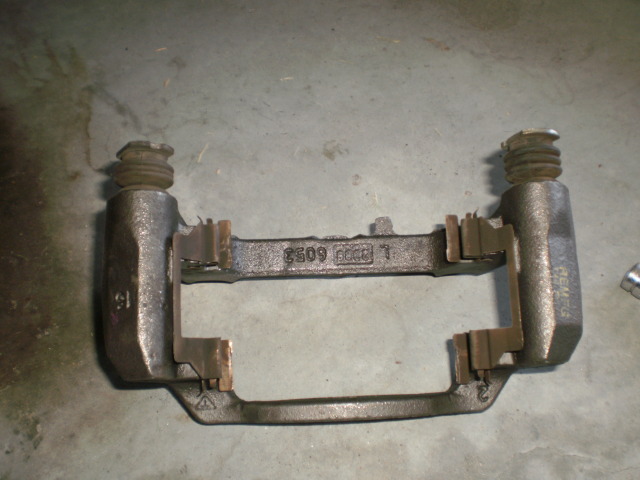
You will need to transfer the hardware from the old caliper bracket to the new one. Make sure the caliper pins have plenty of grease.
With the caliper bracket off, the rotor will slide right off. Swap it with the new SS rotor and bolt on the new caliper bracket.
Before you install the new pads, be sure to install the wear indicator if the new pads didn't come with one. These didn't. It just snaps on. Then install the new pads. Mine had the wear indicators on the inside, so I put that pad back to the inside.
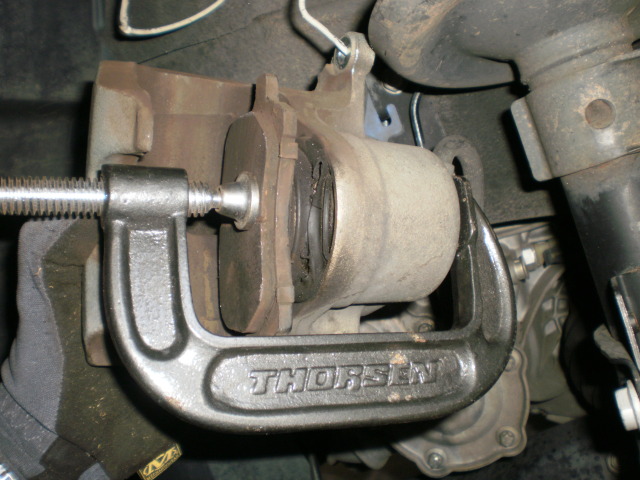
Before you can put the caliper back on, you will need to compress the piston back in. I use a 4" C-clamp and one of the old pads. Yes I saw the rubber material on the caliper. It's looked like that since the first time I saw it. Doesn't leak.
Make sure you line up the "washer" on the back of the caliper pin so it fits flush with the caliper.
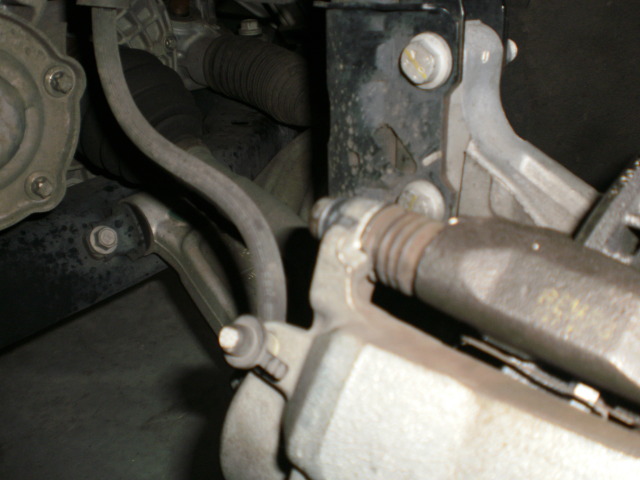
Once you have that bolted in, this is what you will see.
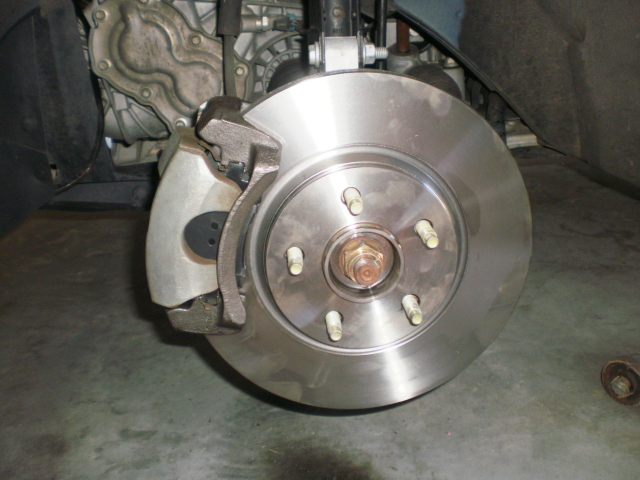
Tire reinstalled. Angle is probably a little different, but you can see more rotor now.
Tighten and retorque lugs. Then do the other side. My hand brake was just starting to hit 3 clicks so I adjusted the rears a little.
Once you finished, start the car up, keep the hand brake on and do not put into gear. Pump the brakes a few times and you will feel the pressure building back up. Then take it for a test drive to see how the brakes feel and listen for any noise. Be gentle on the brakes so they will have a chance to seat and break in.
Now for the impressions, The old pads had about 36K miles on them and were close to the indicators. Old rotors had no scaring of any kind, but I was starting to get a little steering wheel shake again. So I knew brakes were in order. These new brakes with the SS rotors feel great. Since the cost by acquiring the parts on EBay verses a parts store was much better, the entire cost of part was under $150. I personally think this a great upgrade. Time will tell for any other issues, but highly recommend this to any HHR or Delta II platform owners.
Can't remember who did this first, but you know who your are. A great big thanks for this info.
One note, since you have the tire off, it's also an excellent time to check your links, ball joints, etc. Just grap and see how they feel. Mine had no give. Also a good time to check for hub play, these hubs are new with about 10K miles on them.
Not sure if the mods want to make this a sticky or not.
First, gather the parts you will need.
Here is a comparision between the standard HHR rotor and the non Brembo SS rotor.
Shot of the stock rotor behind the wheel. The Cobalt wheel has a large center plate.
You will need to raise the wheel off the ground, and support the car. Once you remove the wheel, this is the stock setup.
Before you dig in, seperate the two new caplier brackets. They are marked L and R.
Remove the 2 bolts from the back of the caliper and support it. I use a heavy gauge wire off the strut spring.
Then you can pop out the pads and remove the caliper bracket. Here is a comparision of the standard verses the SS.
You will need to transfer the hardware from the old caliper bracket to the new one. Make sure the caliper pins have plenty of grease.
With the caliper bracket off, the rotor will slide right off. Swap it with the new SS rotor and bolt on the new caliper bracket.
Before you install the new pads, be sure to install the wear indicator if the new pads didn't come with one. These didn't. It just snaps on. Then install the new pads. Mine had the wear indicators on the inside, so I put that pad back to the inside.
Before you can put the caliper back on, you will need to compress the piston back in. I use a 4" C-clamp and one of the old pads. Yes I saw the rubber material on the caliper. It's looked like that since the first time I saw it. Doesn't leak.
Make sure you line up the "washer" on the back of the caliper pin so it fits flush with the caliper.
Once you have that bolted in, this is what you will see.
Tire reinstalled. Angle is probably a little different, but you can see more rotor now.
Tighten and retorque lugs. Then do the other side. My hand brake was just starting to hit 3 clicks so I adjusted the rears a little.
Once you finished, start the car up, keep the hand brake on and do not put into gear. Pump the brakes a few times and you will feel the pressure building back up. Then take it for a test drive to see how the brakes feel and listen for any noise. Be gentle on the brakes so they will have a chance to seat and break in.
Now for the impressions, The old pads had about 36K miles on them and were close to the indicators. Old rotors had no scaring of any kind, but I was starting to get a little steering wheel shake again. So I knew brakes were in order. These new brakes with the SS rotors feel great. Since the cost by acquiring the parts on EBay verses a parts store was much better, the entire cost of part was under $150. I personally think this a great upgrade. Time will tell for any other issues, but highly recommend this to any HHR or Delta II platform owners.
Can't remember who did this first, but you know who your are. A great big thanks for this info.
One note, since you have the tire off, it's also an excellent time to check your links, ball joints, etc. Just grap and see how they feel. Mine had no give. Also a good time to check for hub play, these hubs are new with about 10K miles on them.
Not sure if the mods want to make this a sticky or not.
Last edited by solman98; 09-22-2012 at 04:25 PM.


 09-22-2012, 06:14 PM
#5
Senior Member
Thread Starter
Join Date: 07-17-2006
Location: Dallas, GA
Posts: 6,050
 09-22-2012, 06:37 PM
#7
Senior Member
Thread Starter
Join Date: 07-17-2006
Location: Dallas, GA
Posts: 6,050
09-22-2012, 06:53 PM
#8
Senior Member

Join Date: 09-08-2012
Location: Vancouver. B.C.
Posts: 143
Hey, nice job.
Just a though on the rubber material on the caliper. That is not a seal, but a dust boot. If you get brake dust on the piston and then force that piston in, you could damage the seals. Then..it will leak...lol
I would replace those boots the next time you do your front brakes....or at least take them off and clean the piston before using the clamp to push the piston in.
I made this mistake on my chev express and it leaked until I finished installing my new pads and seated them by pressing the brake pedal.....the piston cam back out to where it was clean.....whew.
Cheers.
Corey.

