DIY Roof Rack Install
 01-06-2014, 03:09 PM
#61
Premium Member

Join Date: 10-09-2010
Location: Tacoma
Posts: 14,420
I would like to remove mine, they are a pain to detail around.
 03-16-2014, 04:59 AM
#62
New Member

Join Date: 01-19-2012
Location: Denver
Posts: 13
GM part # 15276962 (Left Chrome Rear Covers of the Roof Rack) what the parts# for the black? and any one know where I get it?

03-16-2014, 10:42 AM
#63
Senior Member

Join Date: 08-10-2008
Location: Snellville, GA
Posts: 239
03-16-2014, 01:33 PM
#64
Technical Moderator

Join Date: 01-23-2009
Location: Fredericksburg, Virginia
Posts: 24,670
Or, a telephone call to your local dealer parts department?
My guess is that it comes as a part of the rail only.
My guess is that it comes as a part of the rail only.
05-23-2014, 04:23 PM
#65

Join Date: 05-23-2014
Location: Tampa, Florida
Posts: 5
DYI Roof Rack Install
Step Seven
Clean the area
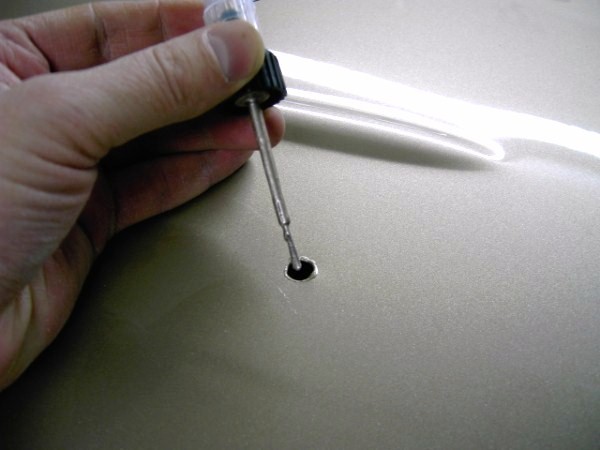
Clean up all your metal shavings. Vacuum and wipe the area clean. Also, look at the holes you just made and make sure you clean up any burrs left by the drilling process.

Step Eight
Use touch up paint to protect the exposed metal.
Here comes my favorite part...Drink a beer (or soda) and let the paint dry�
Step Nine
Install the riv nuts
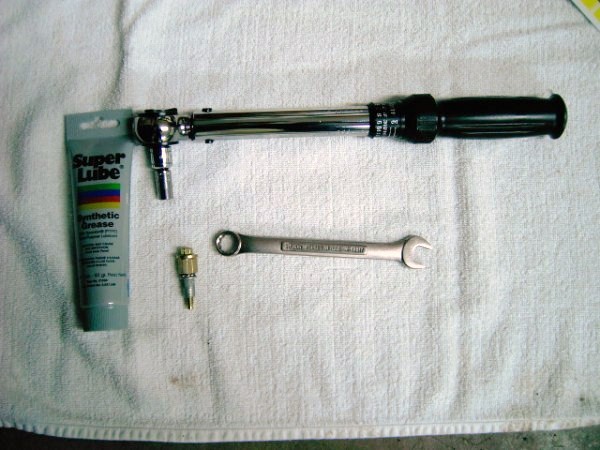
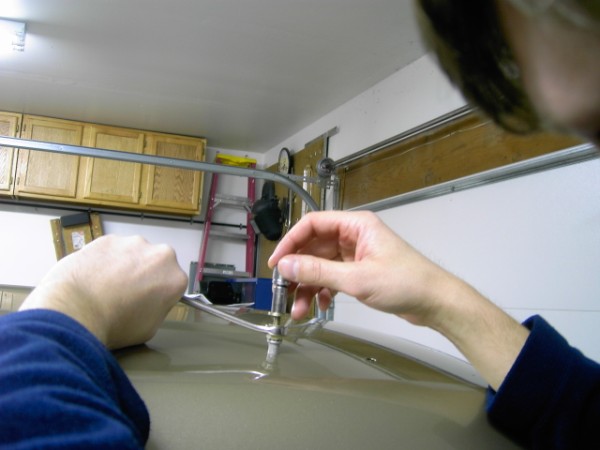
Prior to installing the riv nuts lubricate the nut and the tool with GM Super Lube part number 12371287 with PTFE per the supplied directions (I used Super Lube Synthetic grease with PTFE).
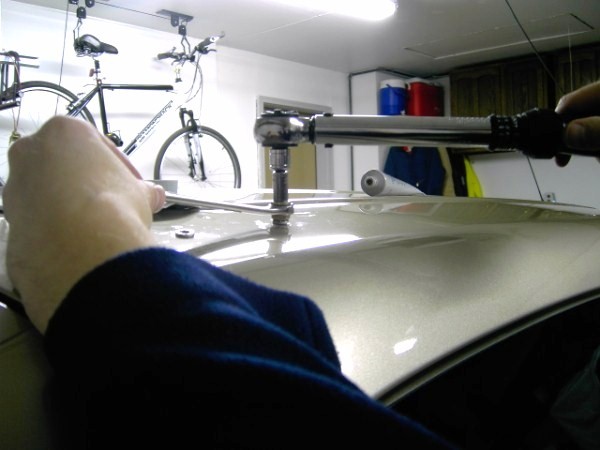
Use the riv nut tool provided to install the nuts. Use your 13mm wrench to hold the tool/nut in place. Use your torque wrench with 8mm socket to set them. Your torque wrench should be set at 75in-lbs (8.5N-m) XXX Inch pounds NOT foot Pounds XXX


Step Ten
Install the rails
Set the rails in place making sure to verify placement (LH front and RH front) the rails are marked near the end caps on the plastic.
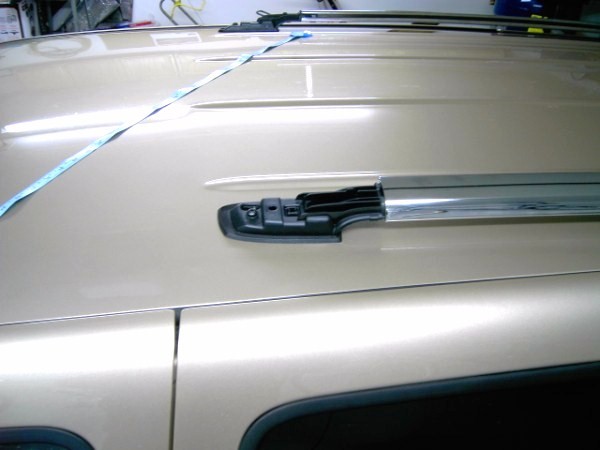
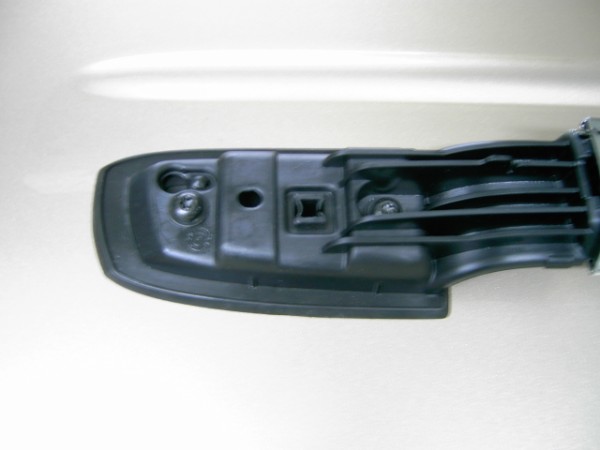
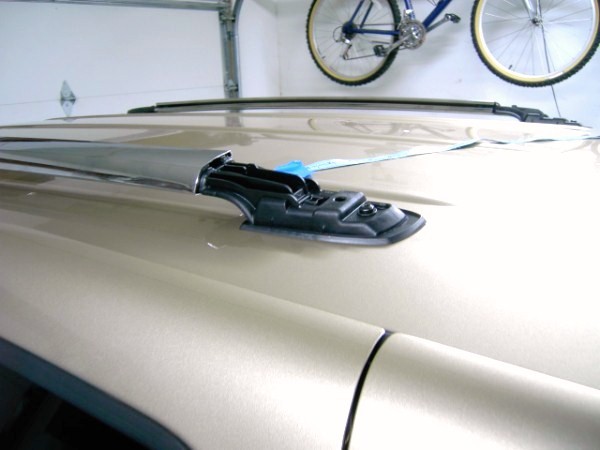
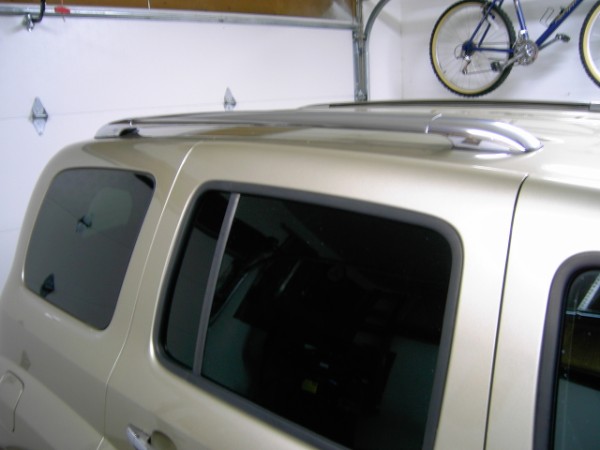
Step Eleven
Snap the end caps in place and admire your nice work!
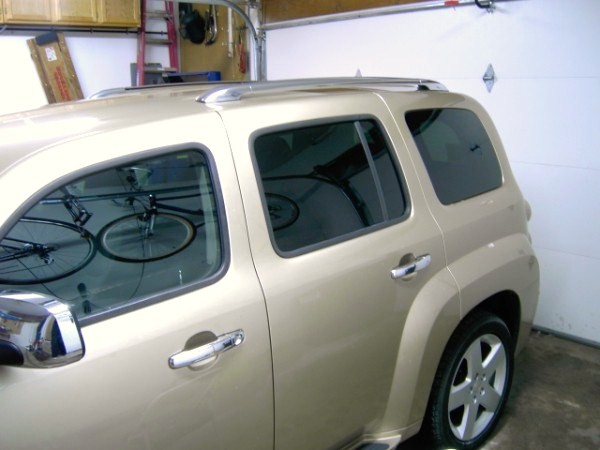
Please let me know if this is helpful! Sorry for the blury images, I am not sure what happened...
Clean the area
Clean up all your metal shavings. Vacuum and wipe the area clean. Also, look at the holes you just made and make sure you clean up any burrs left by the drilling process.
Step Eight
Use touch up paint to protect the exposed metal.
Here comes my favorite part...Drink a beer (or soda) and let the paint dry�
Step Nine
Install the riv nuts
Prior to installing the riv nuts lubricate the nut and the tool with GM Super Lube part number 12371287 with PTFE per the supplied directions (I used Super Lube Synthetic grease with PTFE).
Use the riv nut tool provided to install the nuts. Use your 13mm wrench to hold the tool/nut in place. Use your torque wrench with 8mm socket to set them. Your torque wrench should be set at 75in-lbs (8.5N-m) XXX Inch pounds NOT foot Pounds XXX
Step Ten
Install the rails
Set the rails in place making sure to verify placement (LH front and RH front) the rails are marked near the end caps on the plastic.
Step Eleven
Snap the end caps in place and admire your nice work!
Please let me know if this is helpful! Sorry for the blury images, I am not sure what happened...
06-01-2014, 03:56 PM
#66

Join Date: 04-11-2014
Location: Canada
Posts: 4
I finished mine with few problems. There are minor discrepancies between the template positioning and the recommended distance from hole to hole. I kind of split the difference and it worked out okay. If I was using the factory crossbars, I would put the rack together first and then set it in place to get the distance from hole to hole perfect.
I didn't use a center punch, just drilled a tiny hole through the template. Then I pushed a wire through the hole to make sure there was enough clearance for the rivnut. The only issue was on the rear driver's side. There was enough clearance for the rivnut but not for the tool. Spacers were required on the tool. I used a couple of small box end wrenches.
I didn't use drill stops, just wrapped a wad of electrical tape around the drill bit. Less likely to scratch the roof and there's always electrical tape kicking around. I didn't use Superlube either. Not required; just a ploy by GM to sell overpriced grease.
My only real issue wasn't with GM but with the Thule cross bars. The locks don't go in according to the instructions. Very disappointing for overpriced metal and rubber. That's a struggle I will leave for another day.
07-24-2014, 09:27 AM
#67
Senior Member

Join Date: 06-26-2012
Location: Saint Peter, MN
Posts: 161
Anyone know the specs on the rivnuts? And where to buy them? I've got the rails, bolts, templates and rivnut tool -- just not the rivnuts themselves. Never worked with them before so I want to be sure I have the right ones. (Not worried about doing the work; just want the right parts to do it.) 
05-04-2015, 11:01 PM
#68

Join Date: 09-23-2013
Location: MARICOPA ARIZONA
Posts: 2
Do you have a video on this installation I ordered the gym installation kit because I ready have the rails just not sure what it is I need in the kit to install both rails or you can call me (phone number deleted) thank you
Last edited by donbrew; 03-14-2018 at 12:52 PM.
05-05-2015, 07:36 AM
#69
Senior Member

Join Date: 06-26-2006
Location: San Bernardino, California
Posts: 1,876
R60us hasn't been here in 2 1/2 years. Do you really think it's a good idea to use your email as a screen name? And posting your phone number is......
03-14-2018, 11:54 AM
#70

Join Date: 03-14-2018
Location: NW Indiana
Posts: 6
Anyone know where the hell to find the nutserts? These aren't your typical M6 screws, the threads are much tighter, and won't work with your run-of-the-mill m6 nutserts. I'm looking everywhere for M6 with 1mm thread pitch and I can't find them any where.