ATF and filter change
 01-24-2017, 02:24 PM
#1
Technical Moderator
Thread Starter

Join Date: 01-23-2009
Location: Fredericksburg, Virginia
Posts: 24,692
ATF and filter change
You will get ATF all over yourself and the floor; have a bag of kitty litter or oil dri handy. Surgical gloves are nice to have. Lots of shop rags and towels are good.
1. safely raise and support the car! And position a large drain pan under the transmission. A small cement mixing pan is what I use.
2. Remove the oil pan bolts from the front and sides
3. Loosen the rear oil pan bolts about 4 turns
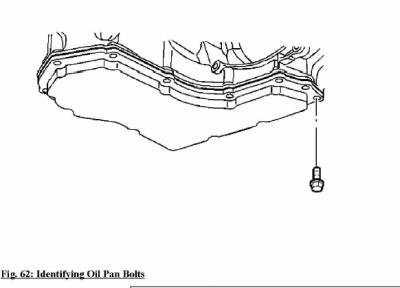
4. Lightly tap the oil pan with a rubber mallet or pry in order to allow the fluid to drain
5. remove the remaining bolts
6. pry the filter off
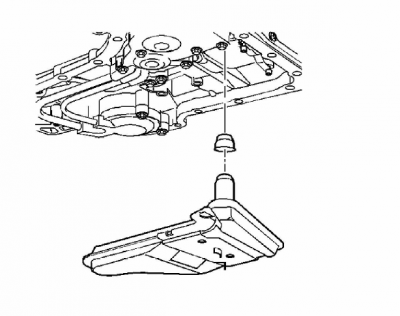
7. Inspect the seal, hopefully you won't have to replace it. One comes with the filter, it's that metal bushing thing. It is tough to remove.
8.Inspect your old gasket. The original gasket has a metal inner core, if it is broken you will need to replace the gasket.
9. Install the new filter
10. Install the pan and gasket, loosely putting the bolts on
11. Torque the bolts to 106 lb inch (one reference I have says 89 lb inch), if you overtighten them the pan will distort and leak
12. Open the fill port and add a bit less than 7 quarts of Dexron VI

13. With the car level start the engine and let it warm up
14. While it is still running remove the "check" plug
15. Pour ATF into the fill port until there is a small drip from the check hole
16. After the drip stops replace the plug and the filler plug
You are now done!
1. safely raise and support the car! And position a large drain pan under the transmission. A small cement mixing pan is what I use.
2. Remove the oil pan bolts from the front and sides
3. Loosen the rear oil pan bolts about 4 turns
4. Lightly tap the oil pan with a rubber mallet or pry in order to allow the fluid to drain
5. remove the remaining bolts
6. pry the filter off
7. Inspect the seal, hopefully you won't have to replace it. One comes with the filter, it's that metal bushing thing. It is tough to remove.
8.Inspect your old gasket. The original gasket has a metal inner core, if it is broken you will need to replace the gasket.
9. Install the new filter
10. Install the pan and gasket, loosely putting the bolts on
11. Torque the bolts to 106 lb inch (one reference I have says 89 lb inch), if you overtighten them the pan will distort and leak
12. Open the fill port and add a bit less than 7 quarts of Dexron VI
13. With the car level start the engine and let it warm up
14. While it is still running remove the "check" plug
15. Pour ATF into the fill port until there is a small drip from the check hole
16. After the drip stops replace the plug and the filler plug
You are now done!


 02-05-2017, 03:07 PM
#3
Member

Join Date: 01-23-2017
Location: Pensacola, FL
Posts: 54
I'm doing so now and taking a few pics that might help fill out this how-to.
There are a few tips to make this go smoothly. First off, make sure your torque wrench reads down to 106 in/lbs. The one I grabbed on off the shelf reads between 250-960 in/lbs, so I had to just tighten the bolts and pray I didn't break/strip any.
When ready to drain the fluid, (assuming just the front of the vehicle is up in the air,) take the bolts from the rear first, gradually letting the rear of the pan down to more easily control where the fluid comes out.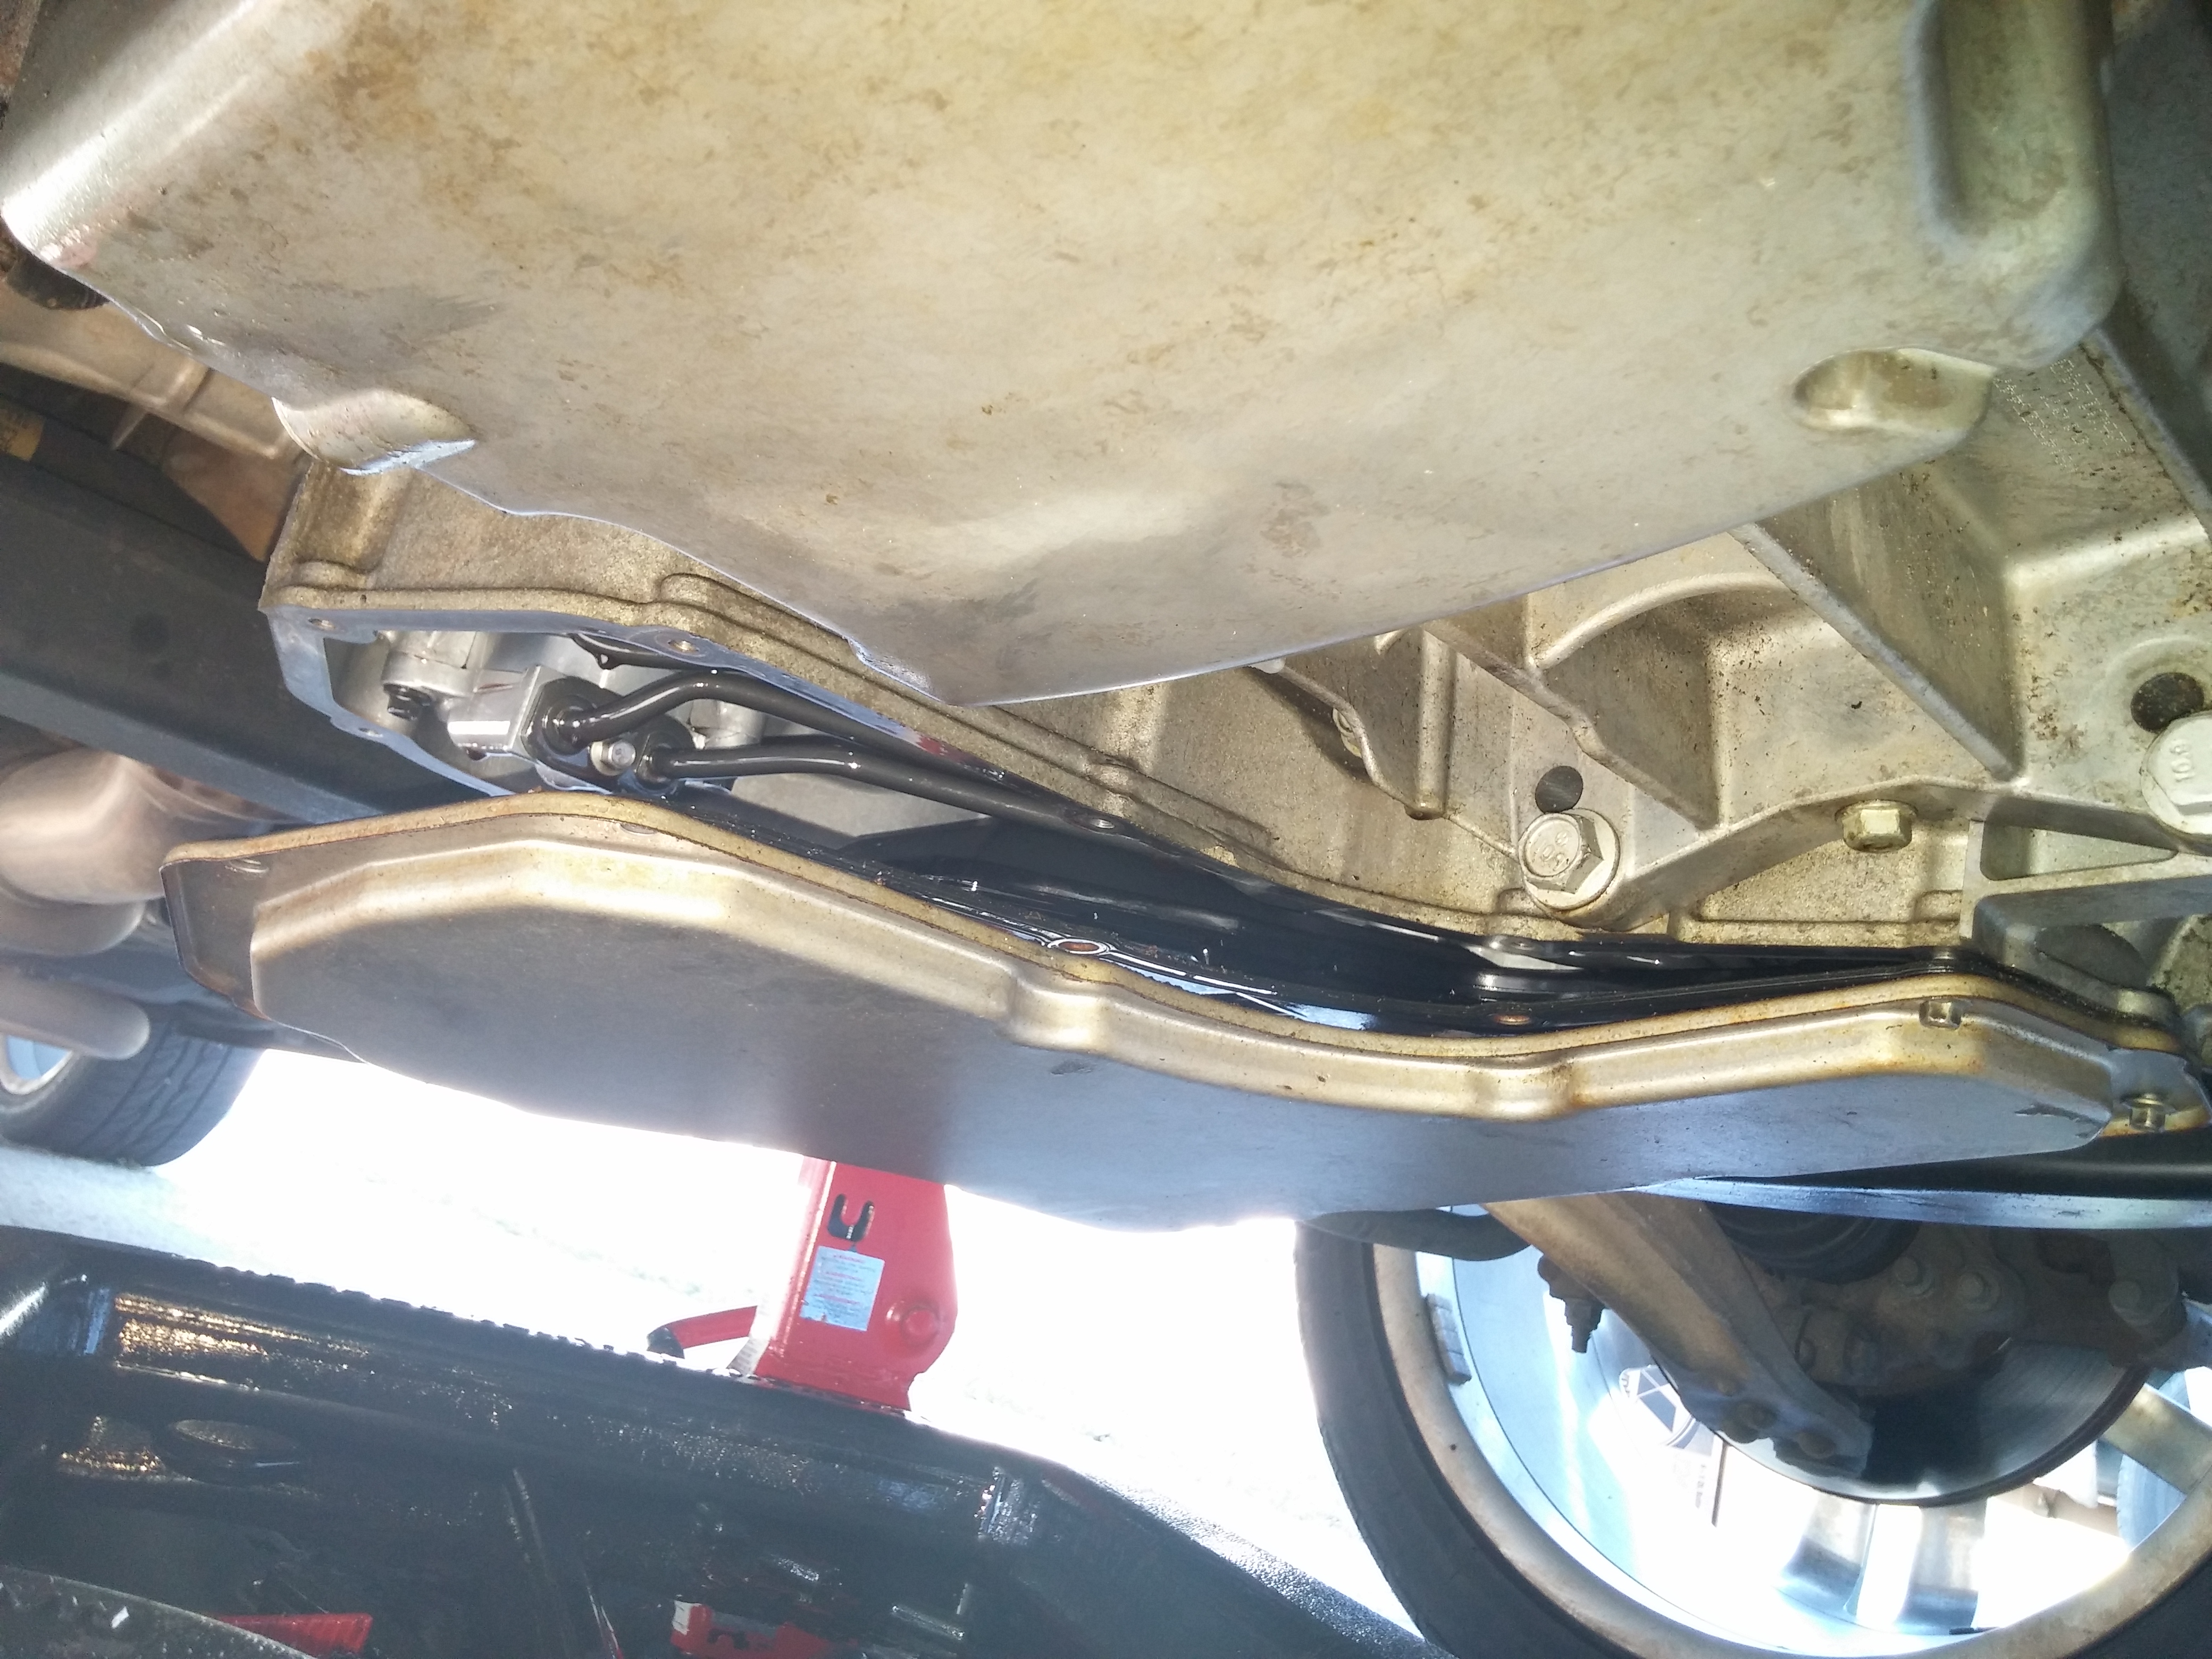
Also, while you're in there, replace the grommet that the filter fits into. Getting it out can be tricky, but a flathead screwdriver and a hammer can get it out so long as you're careful not to scratch up the transmission.
When putting the new grommet in, make sure it's parallel and tap very lightly on it, going around it to keep it from getting ****ed, with a small hammer.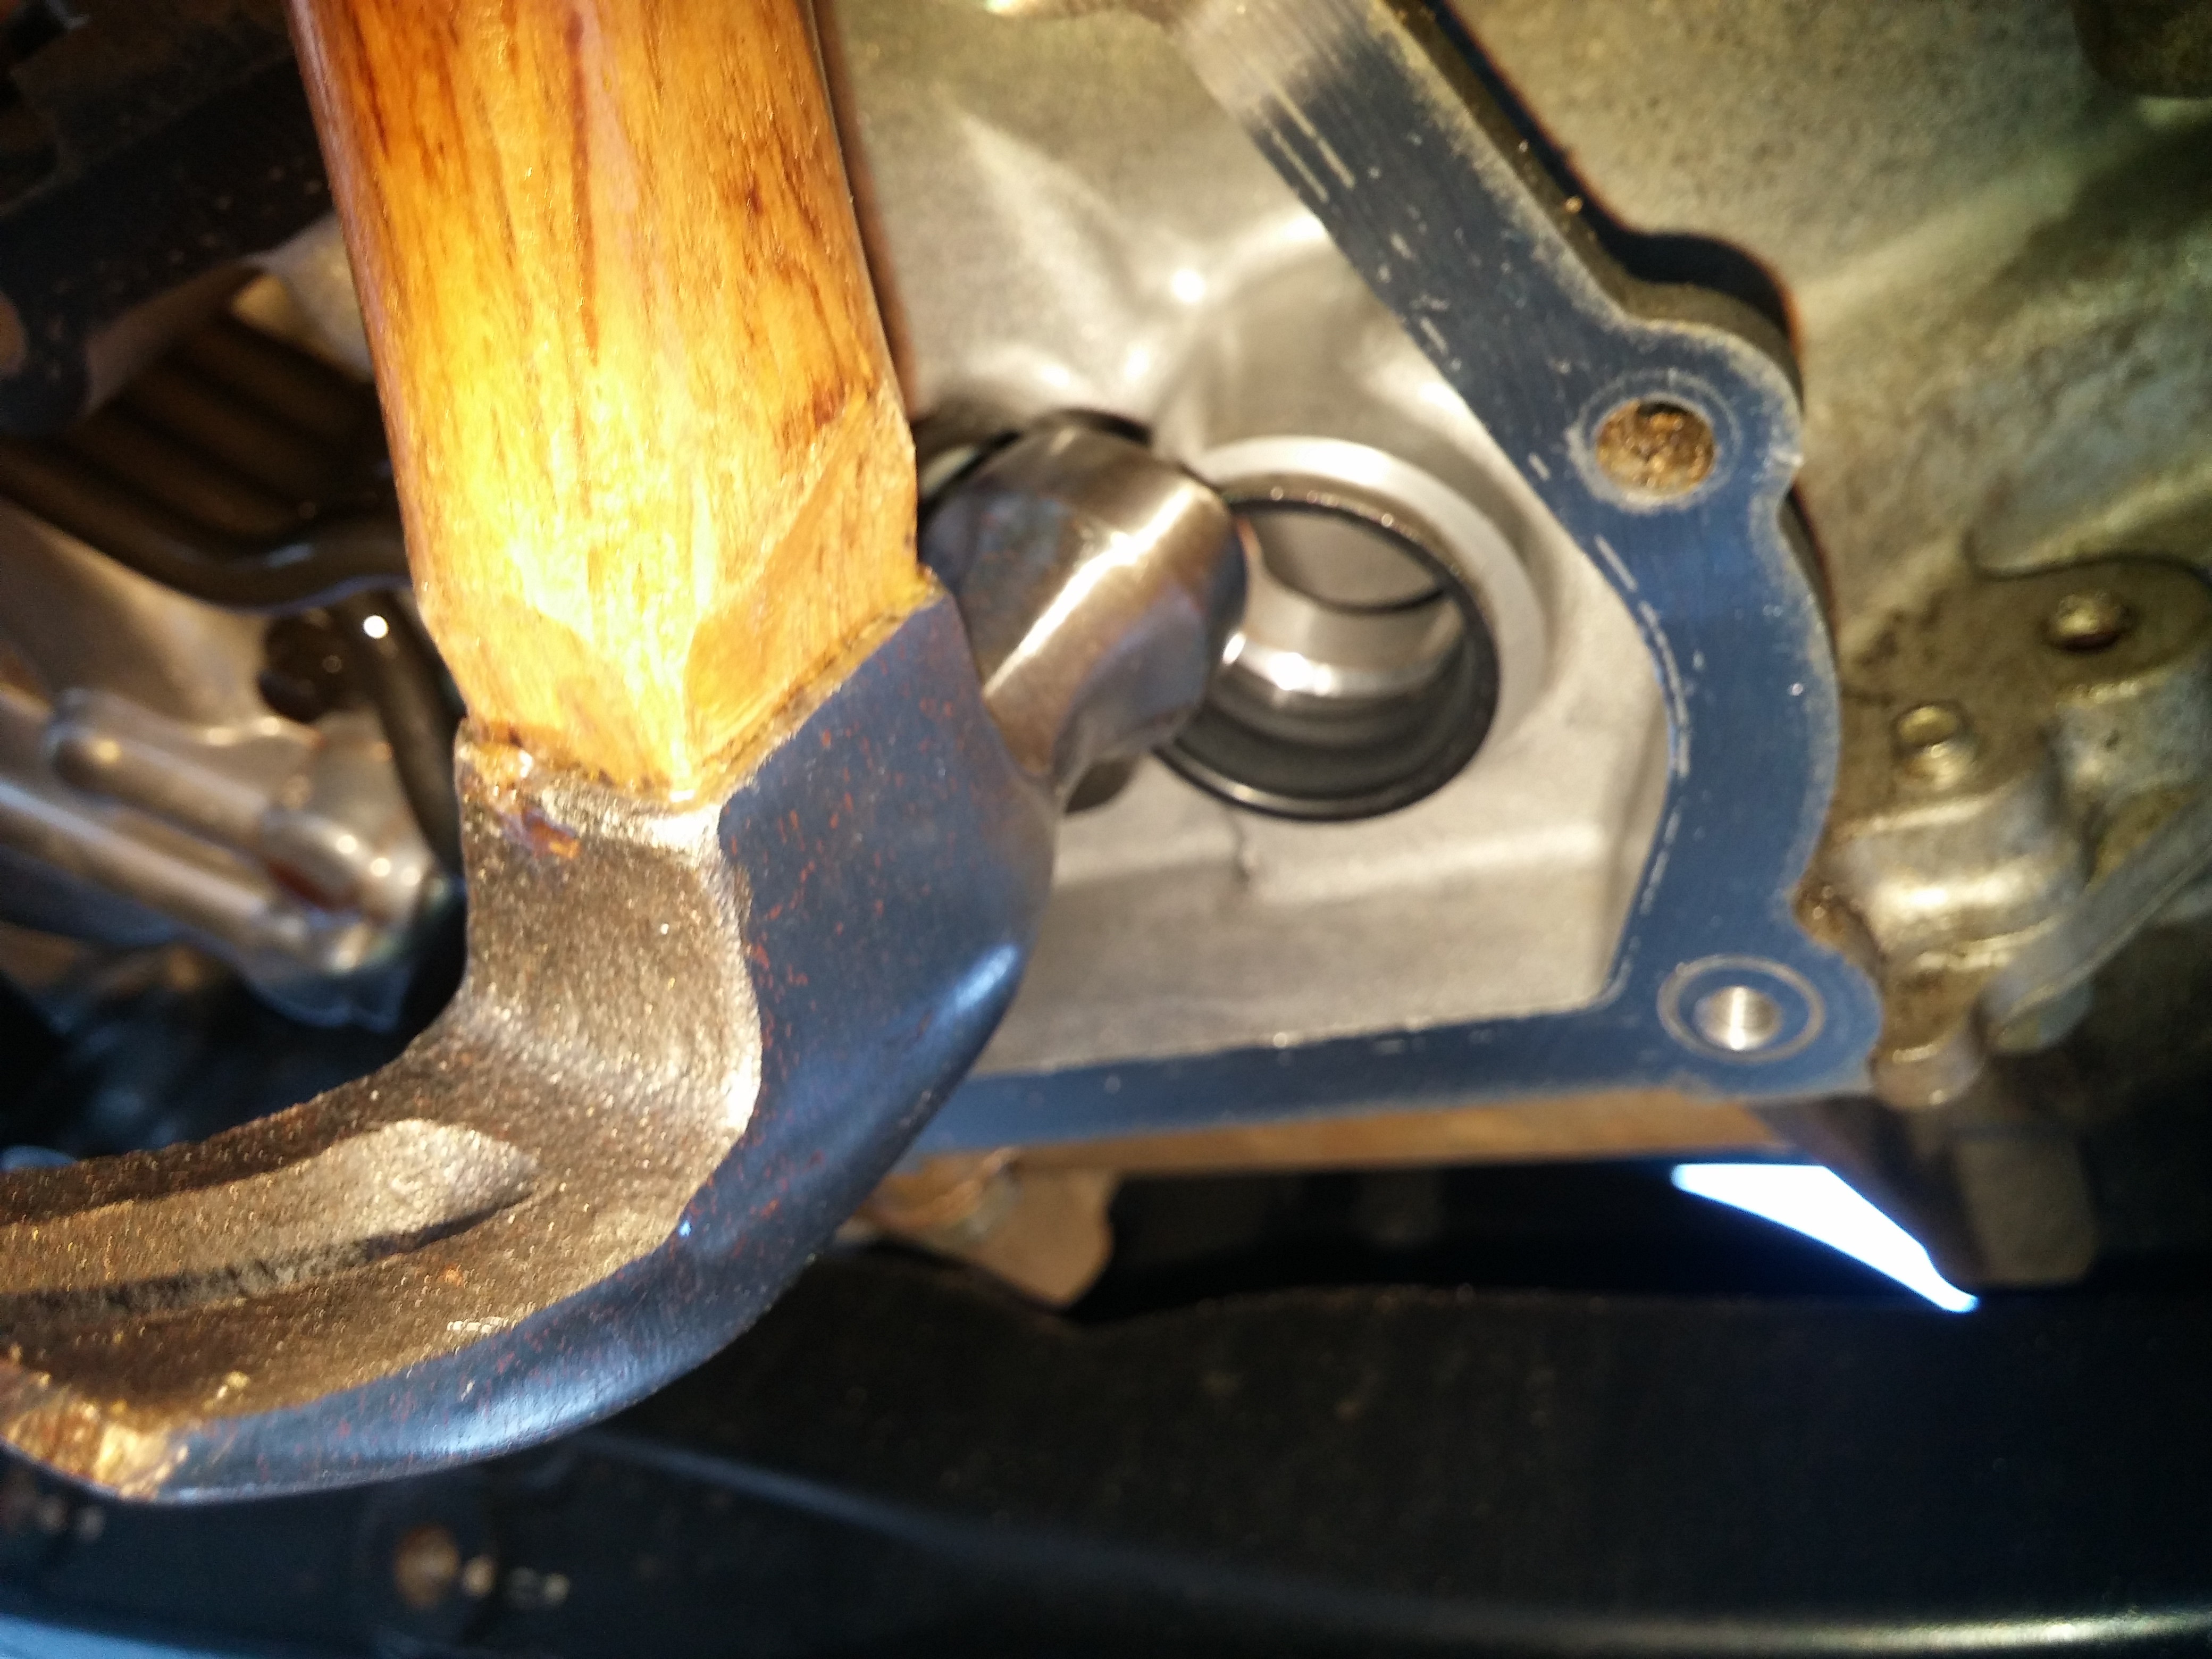
When looking for the fill cap, this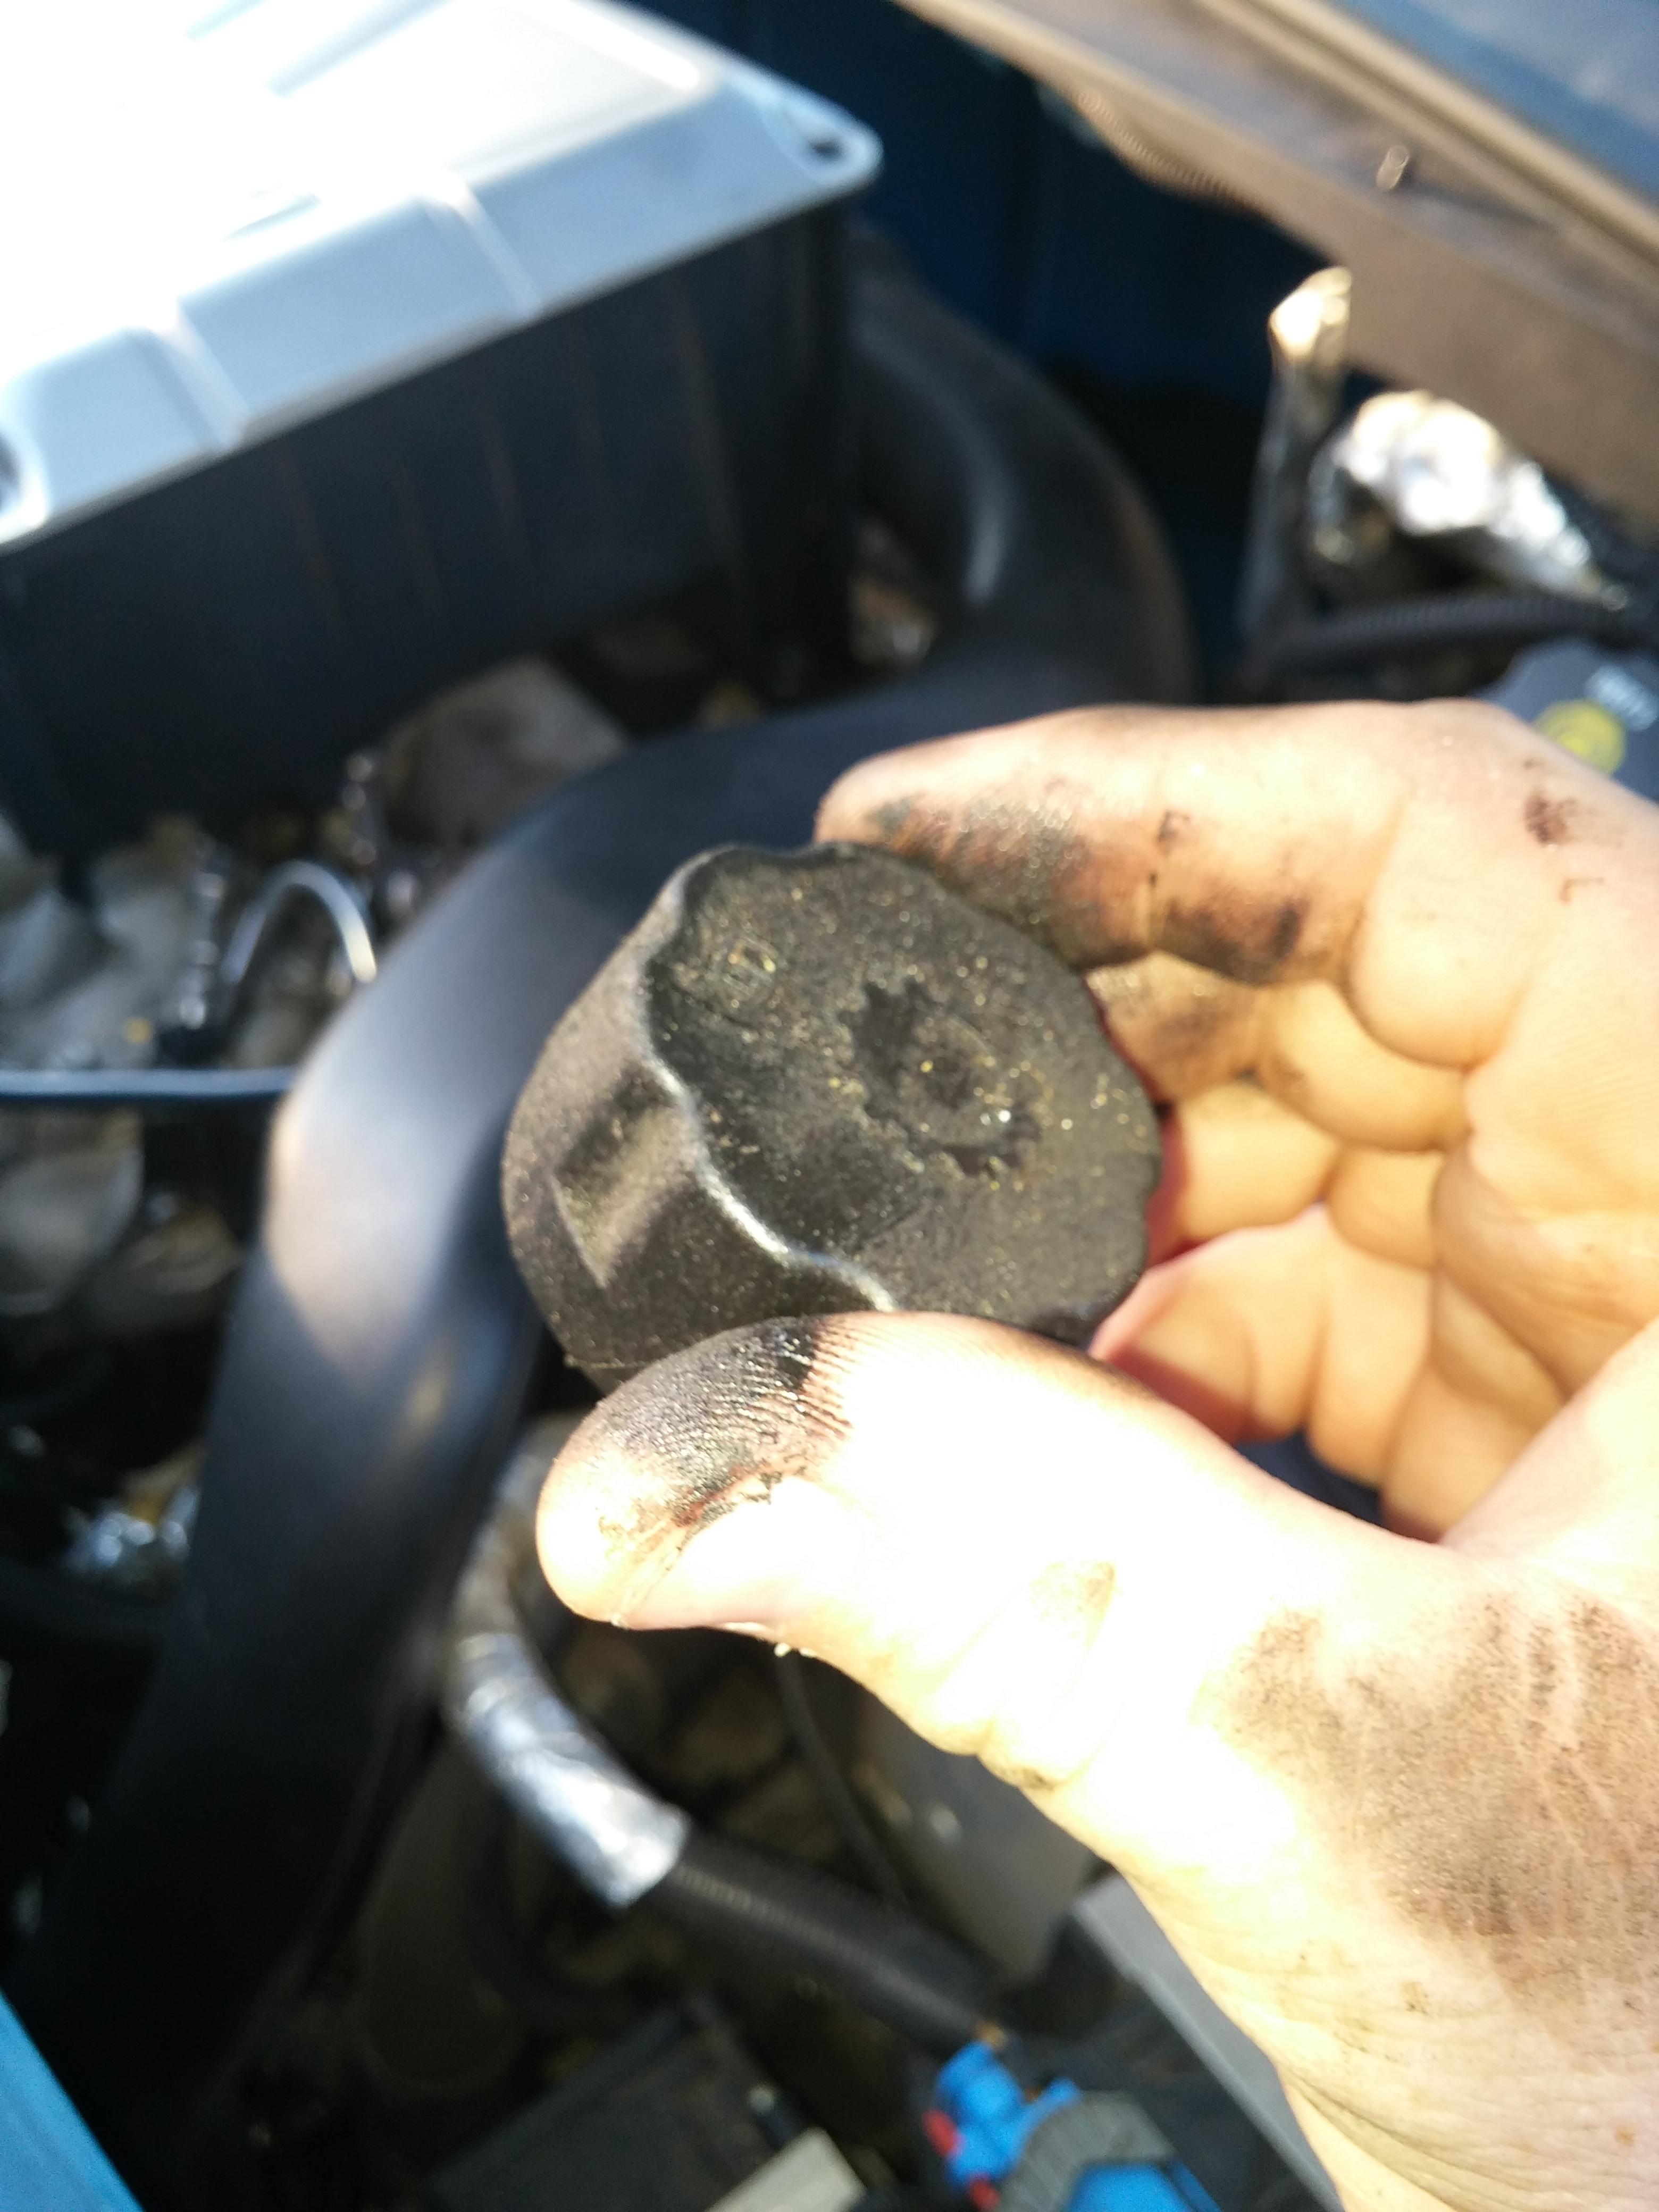 is what you'll be feeling around for, because it's doubtful that you'll be able to actually see it. It's down under this part of the wiring harness.
 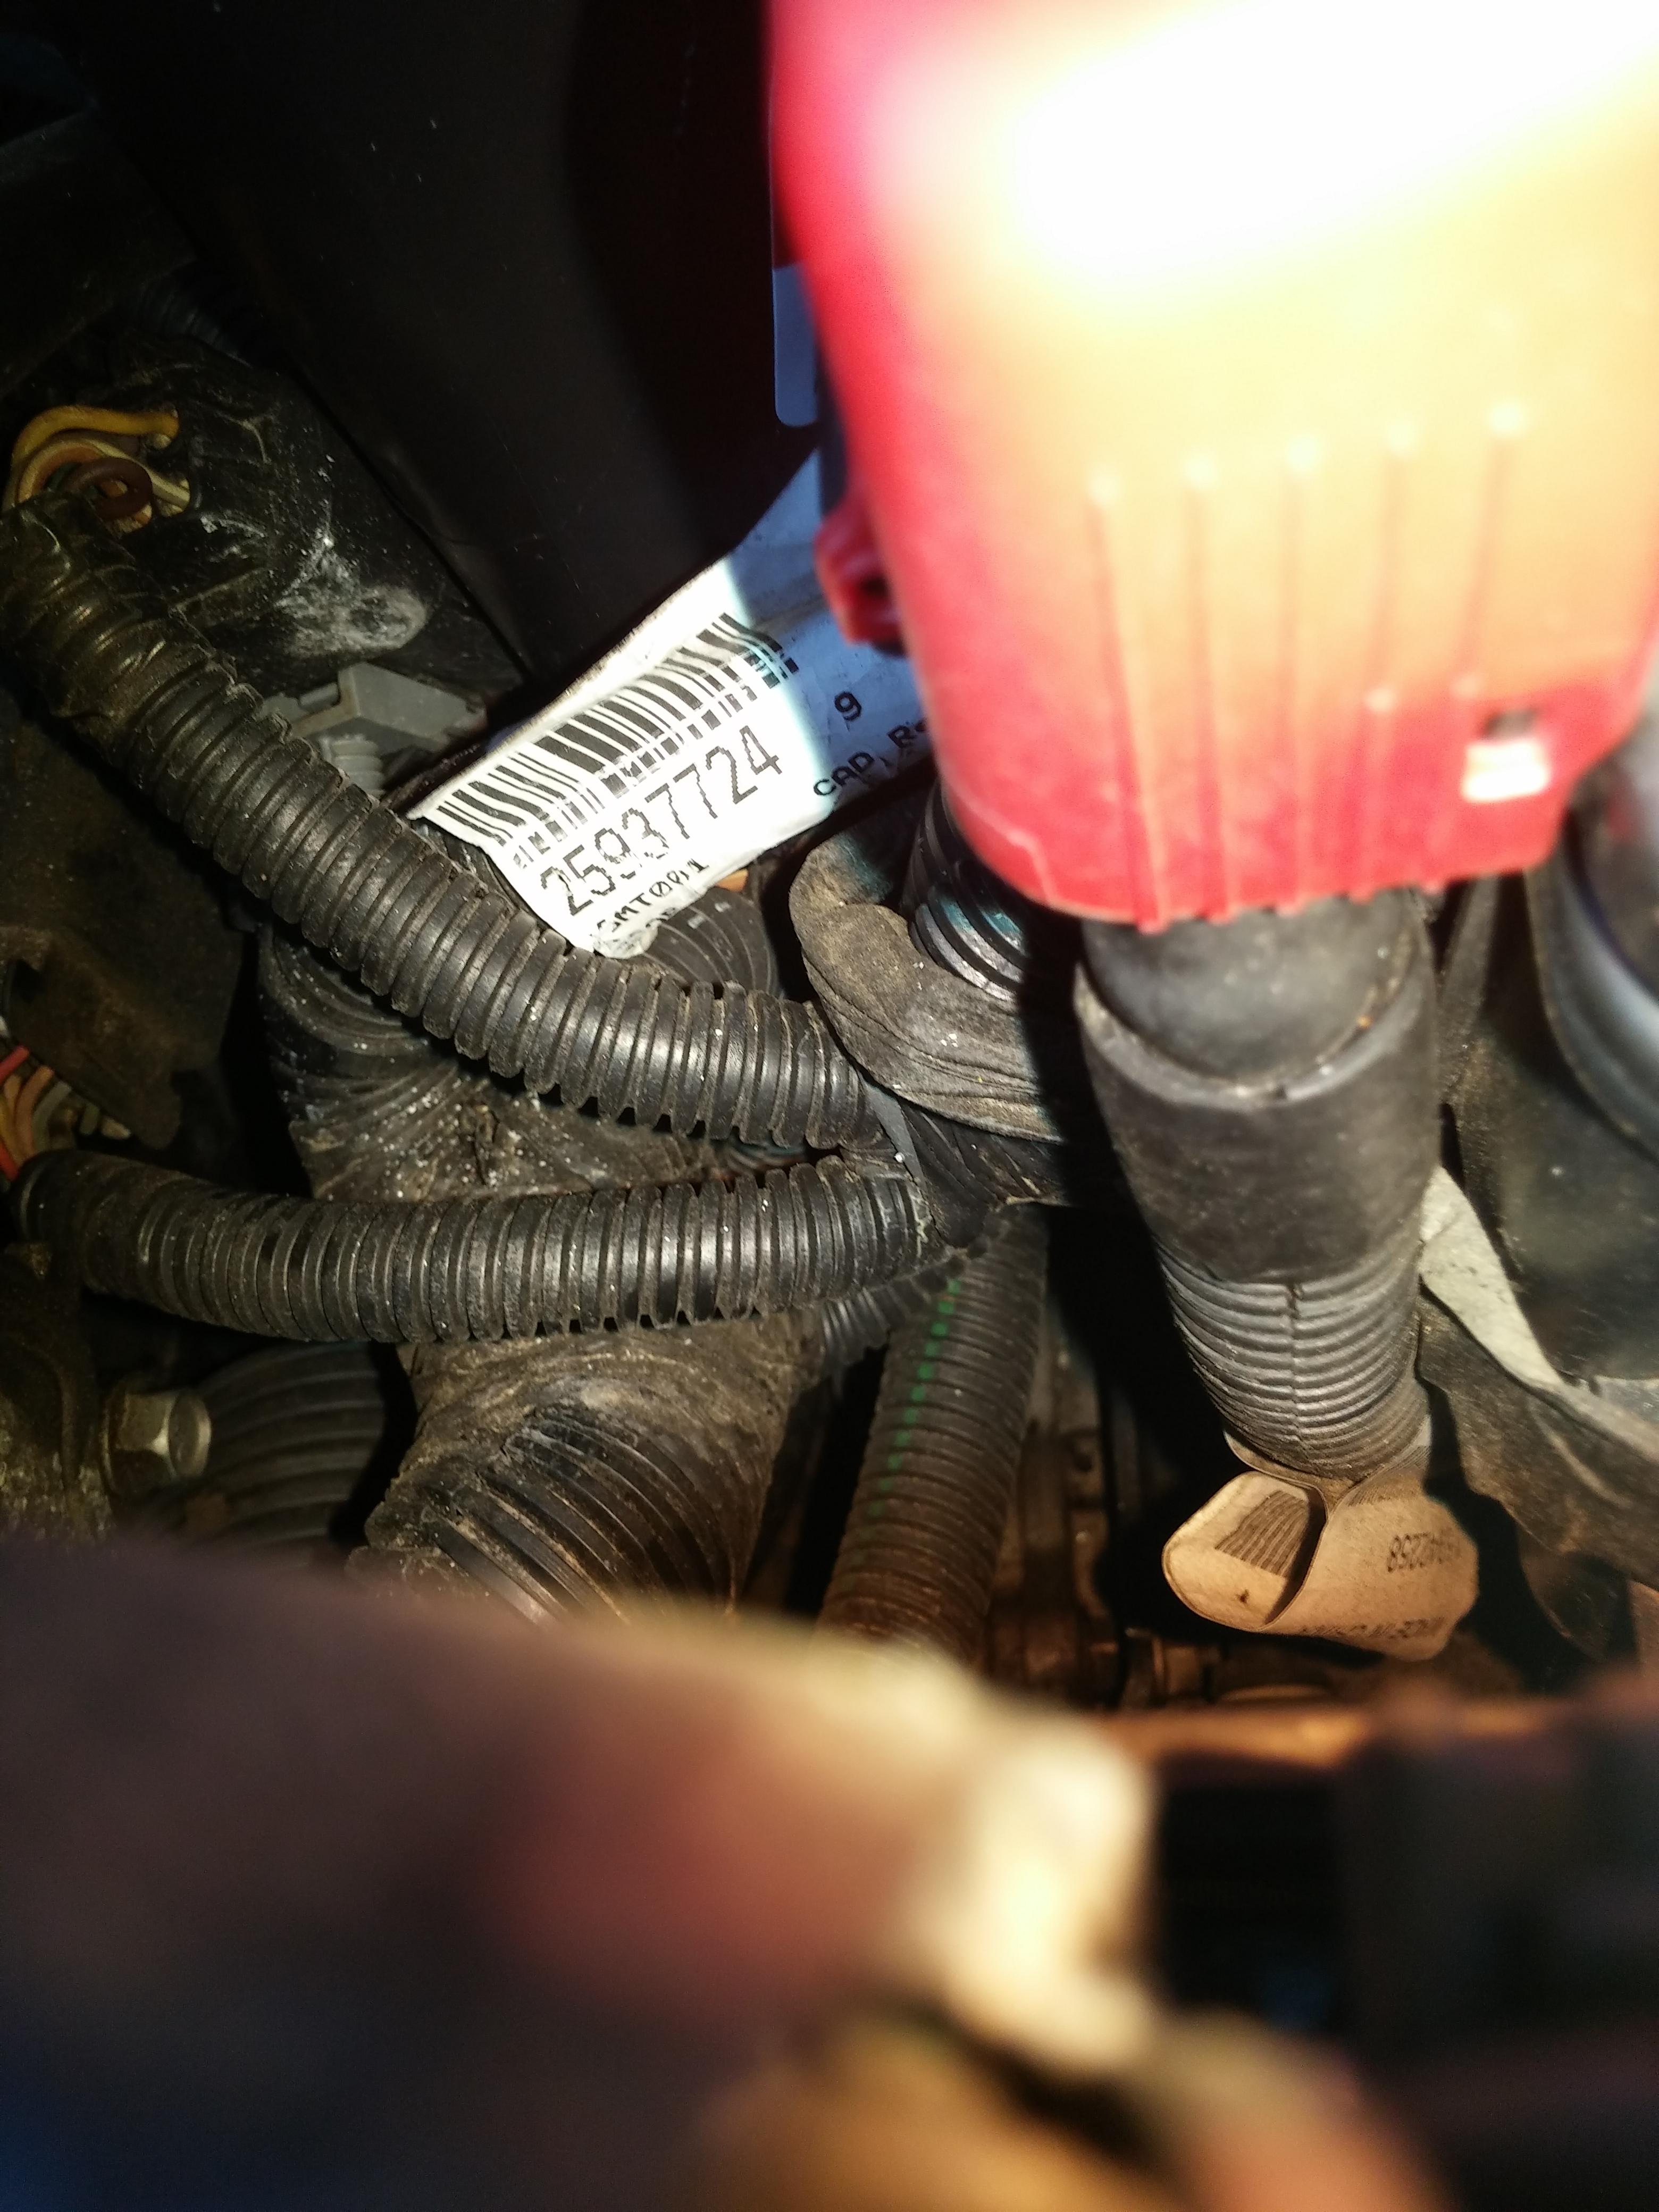 You'll likely be able to reach down like this
 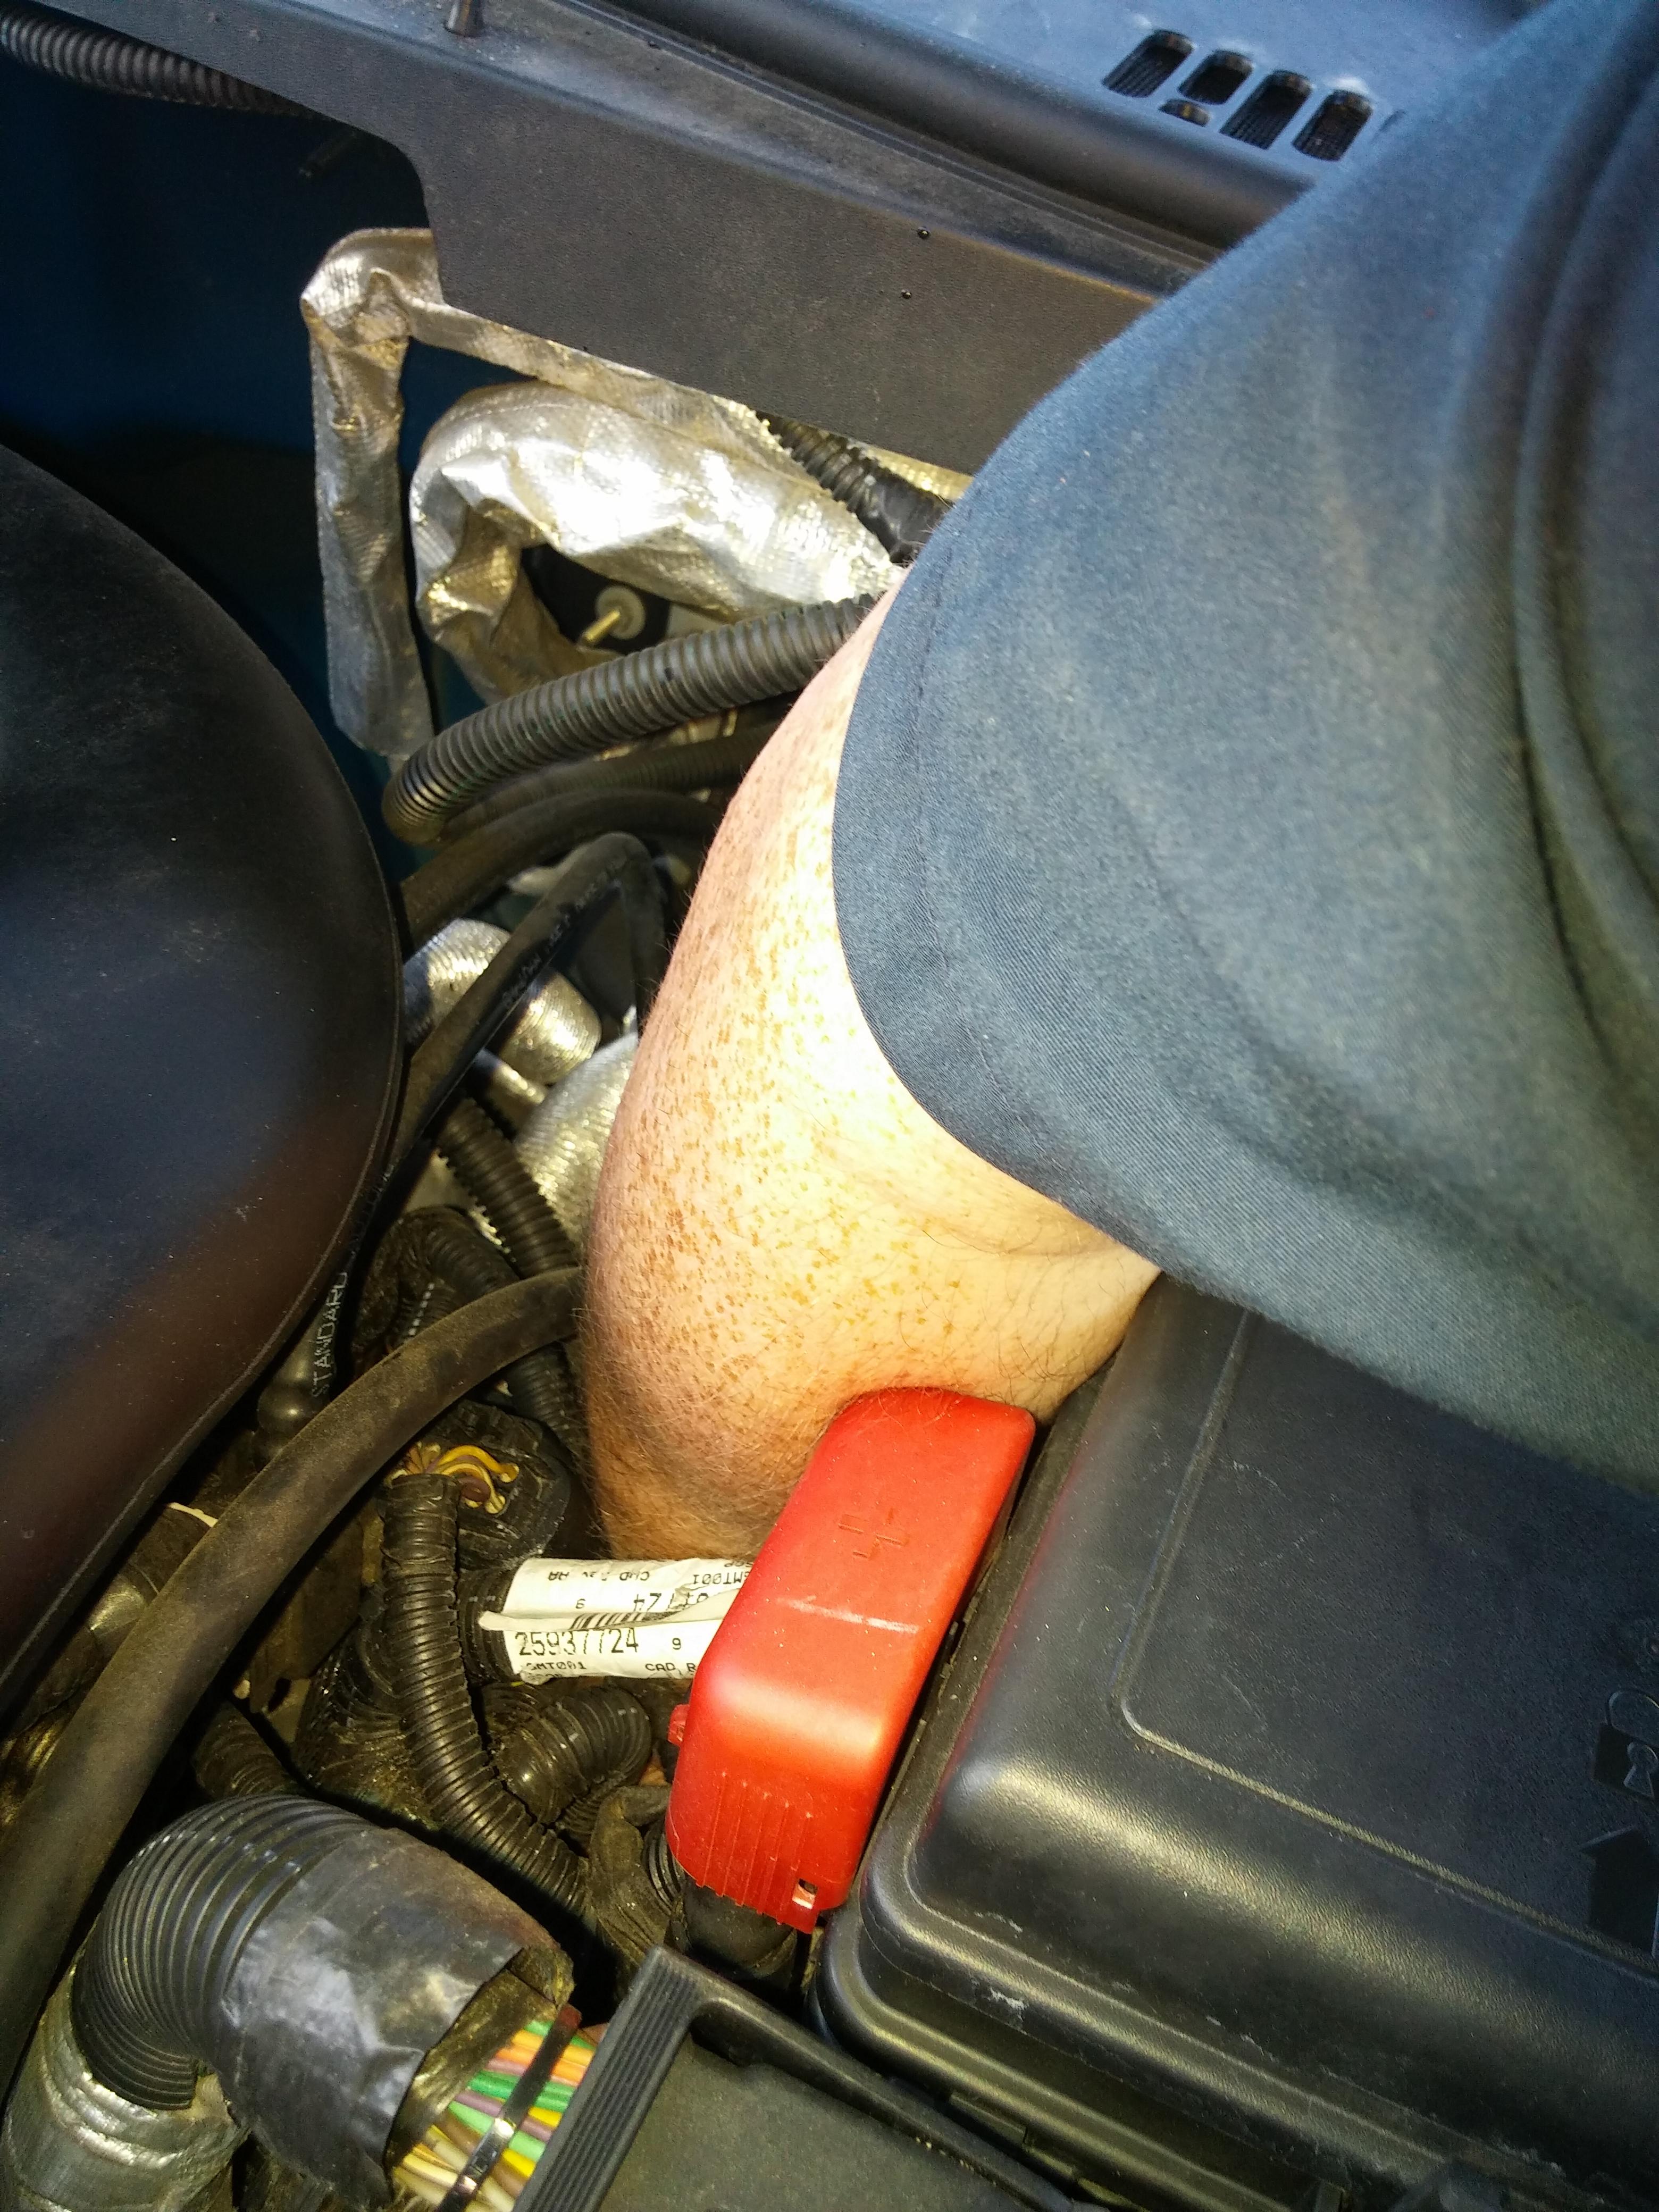 and be able to get to it. It's a PITA though, so you know.
If you're careful, one of these funnels will fit into the hole, but it won't be easy to get it in. It's a long funnel from Advance Auto Parts.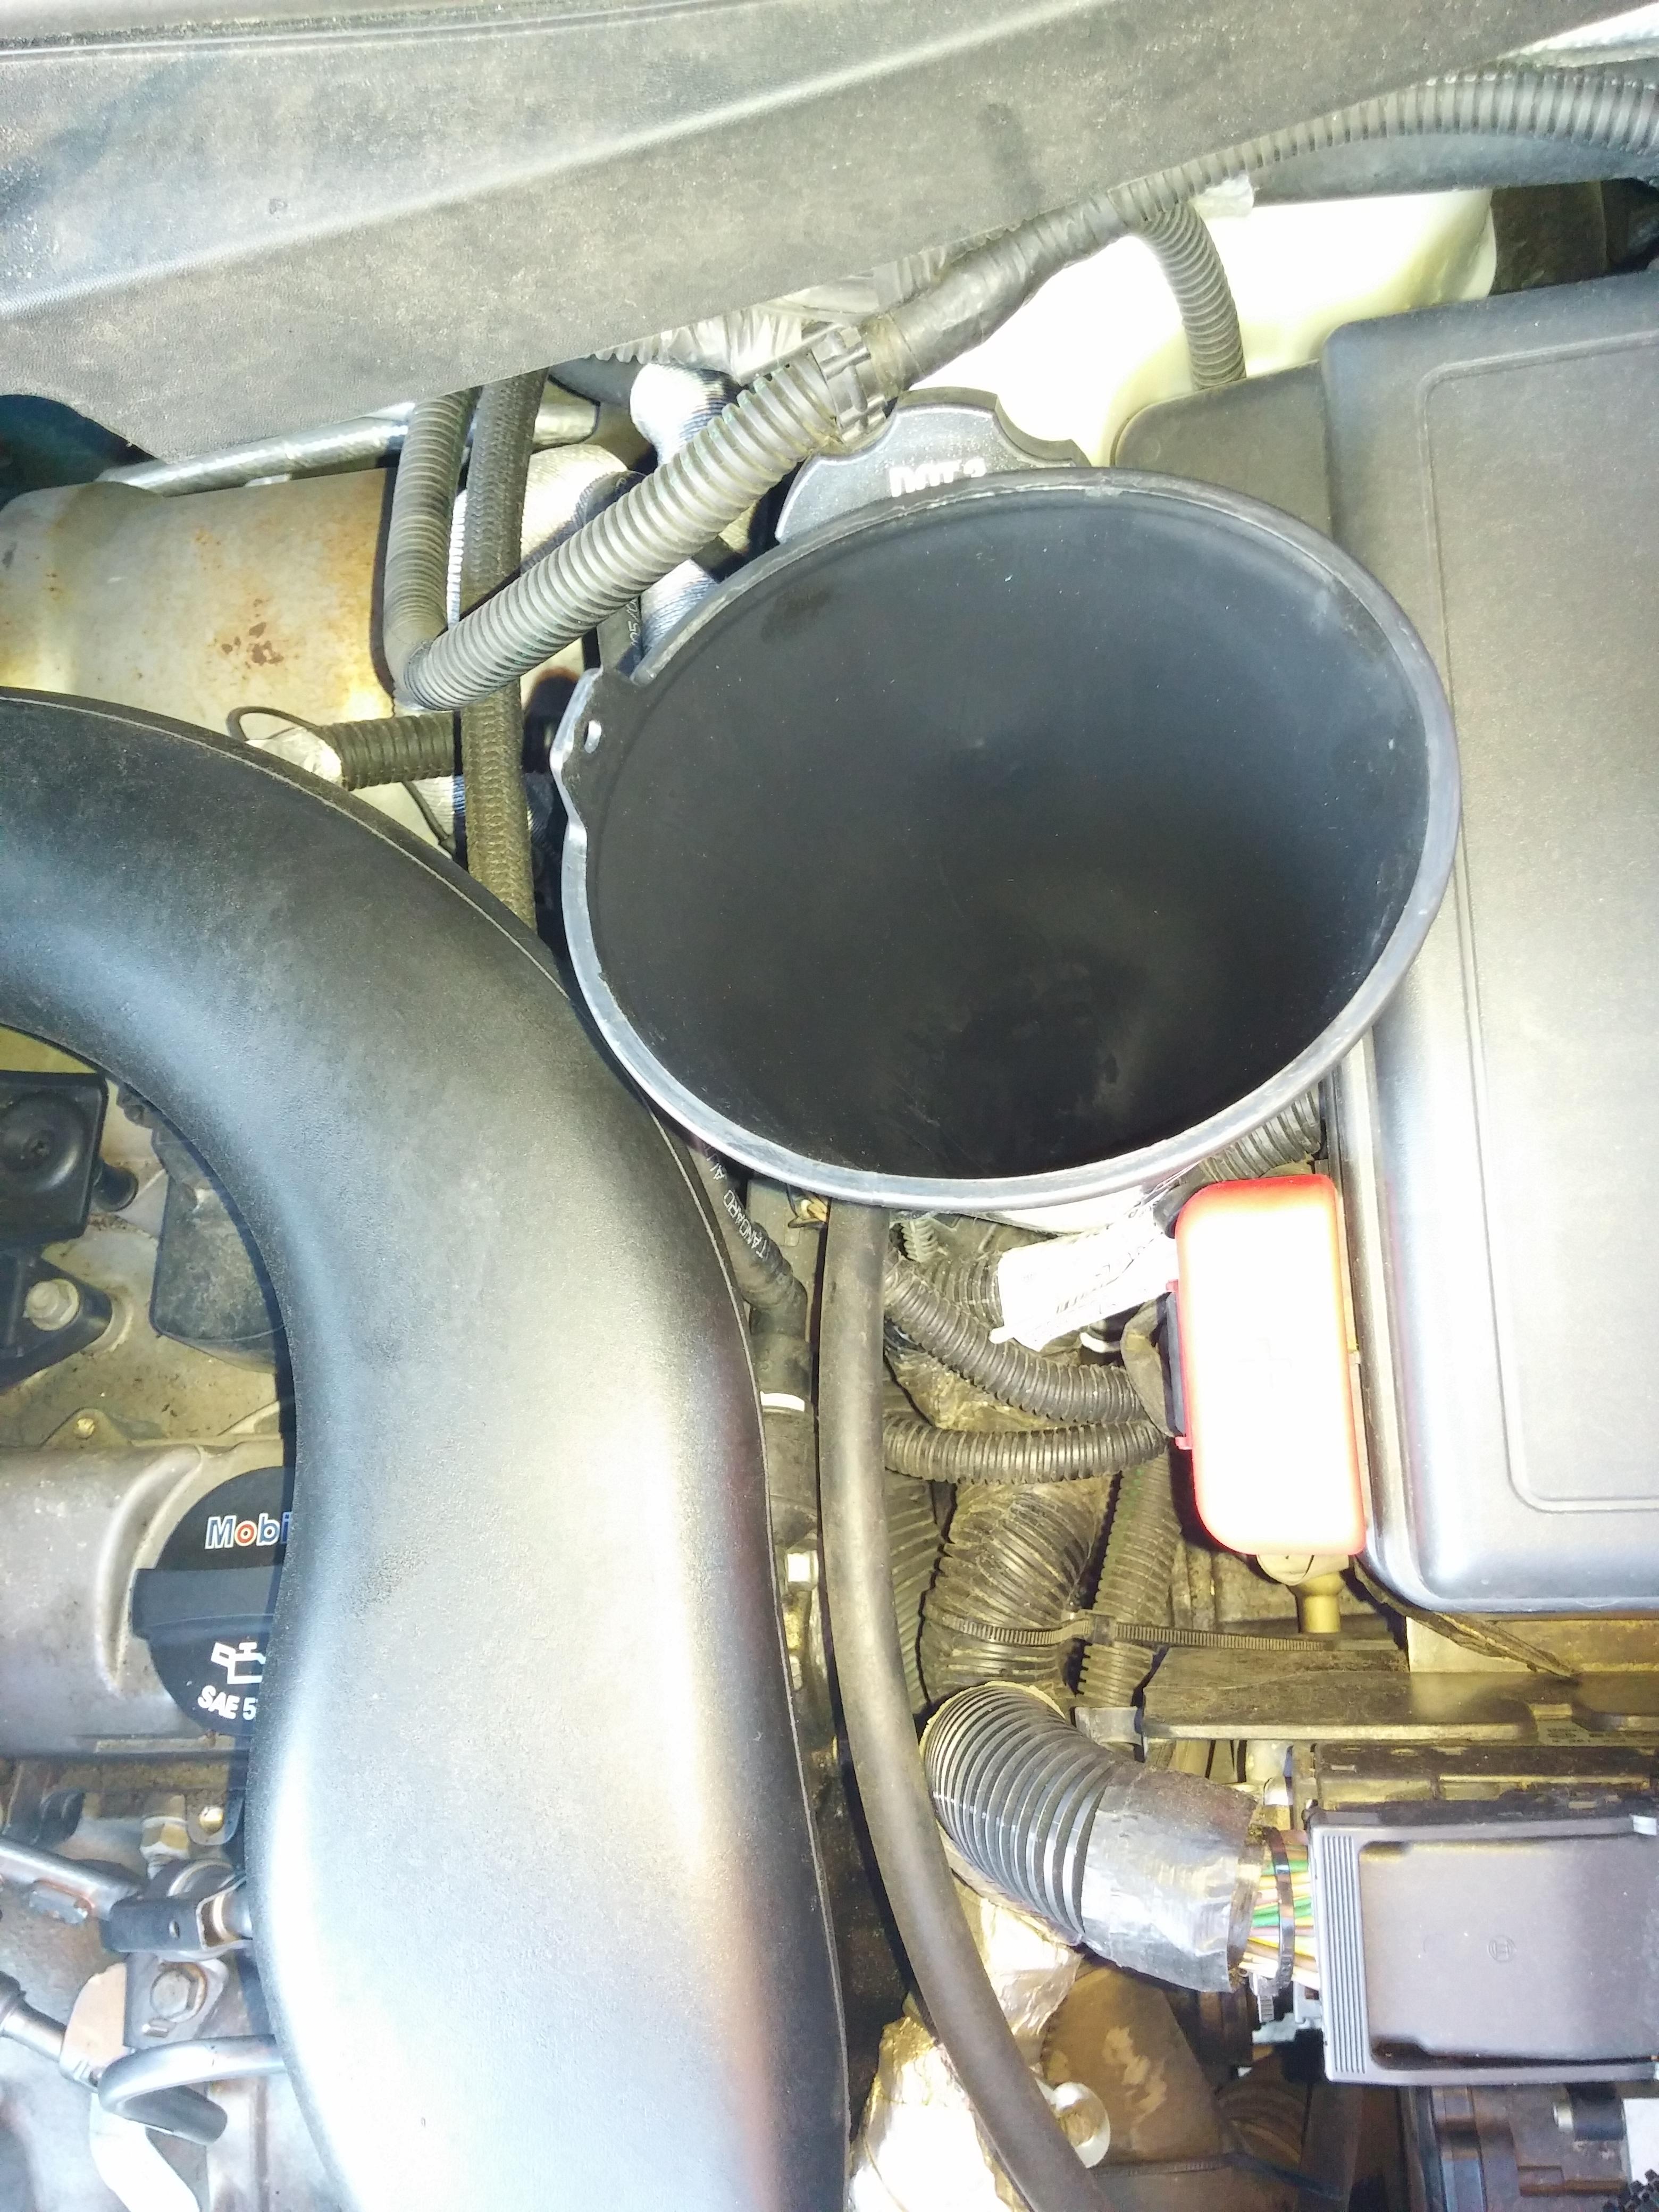
Anyways, hopefully this will help give others a chance to see what they're getting into before they get into it.
There are a few tips to make this go smoothly. First off, make sure your torque wrench reads down to 106 in/lbs. The one I grabbed on off the shelf reads between 250-960 in/lbs, so I had to just tighten the bolts and pray I didn't break/strip any.
When ready to drain the fluid, (assuming just the front of the vehicle is up in the air,) take the bolts from the rear first, gradually letting the rear of the pan down to more easily control where the fluid comes out.
Also, while you're in there, replace the grommet that the filter fits into. Getting it out can be tricky, but a flathead screwdriver and a hammer can get it out so long as you're careful not to scratch up the transmission.
When putting the new grommet in, make sure it's parallel and tap very lightly on it, going around it to keep it from getting ****ed, with a small hammer.
When looking for the fill cap, this
is what you'll be feeling around for, because it's doubtful that you'll be able to actually see it. It's down under this part of the wiring harness. You'll likely be able to reach down like this and be able to get to it. It's a PITA though, so you know.If you're careful, one of these funnels will fit into the hole, but it won't be easy to get it in. It's a long funnel from Advance Auto Parts.
Anyways, hopefully this will help give others a chance to see what they're getting into before they get into it.
Last edited by livingfortomorrows; 02-05-2017 at 08:09 PM.
02-07-2017, 11:19 AM
#5
Senior Member

Join Date: 08-03-2010
Location: Lake Ronkonkoma, N.Y.
Posts: 3,564
You will get ATF all over yourself and the floor; have a bag of kitty litter or oil dri handy. Surgical gloves are nice to have. Lots of shop rags and towels are good.
1. safely raise and support the car! And position a large drain pan under the transmission. A small cement mixing pan is what I use.
2. Remove the oil pan bolts from the front and sides
3. Loosen the rear oil pan bolts about 4 turns
4. Lightly tap the oil pan with a rubber mallet or pry in order to allow the fluid to drain
5. remove the remaining bolts
6. pry the filter off
7. Inspect the seal, hopefully you won't have to replace it. One comes with the filter, it's that metal bushing thing. It is tough to remove.
8.Inspect your old gasket. The original gasket has a metal inner core, if it is broken you will need to replace the gasket.
9. Install the new filter
10. Install the pan and gasket, loosely putting the bolts on
11. Torque the bolts to 106 lb inch (one reference I have says 89 lb inch), if you overtighten them the pan will distort and leak
12. Open the fill port and add a bit less than 7 quarts of Dexron VI
13. With the car level start the engine and let it warm up
14. While it is still running remove the "check" plug
15. Pour ATF into the fill port until there is a small drip from the check hole
16. After the drip stops replace the plug and the filler plug
You are now done!
Why I'm asking, if the total is say 7 3/4 qts do that from the start and there is no need to remove the inspection plug under the car.
 02-07-2017, 12:44 PM
#7
Technical Moderator
Thread Starter
Join Date: 01-23-2009
Location: Fredericksburg, Virginia
Posts: 24,692
Without removing the plug yiu don't know if it is full or over full or exactly right. If you put something less than you expect then pull the plug and top up (while warm and running) until you have a drip you know it is right.
The measurements and estimates of what stays in the torque converter are guesses.
If you trust someone a thousand miles away measuring fluids left behind, go for it. Overfill is just as bad as underfill, especially in pressurized systems.
The measurements and estimates of what stays in the torque converter are guesses.
If you trust someone a thousand miles away measuring fluids left behind, go for it. Overfill is just as bad as underfill, especially in pressurized systems.
05-11-2017, 06:15 AM
#8
Senior Member

Join Date: 03-25-2017
Location: Ventura, CA
Posts: 235
Most recent thread
Big Red currently has about 56,000 miles on her Chevy warranty rebuilt auto transmission. She was a rental, so I don't hold the reverse going out on her at about 55,000 against her. I'm in a hot mountainous area and do some hauling via trailer, so I'm about to do an ATF change. After reading various threads and through Haynes and Chilton, I'm slightly confused about trying to replace all of the ATF fluid. Can this be accomplished by the following. Doing three ATF fluid changes over the course of three weekends with daily driving during the week. On the third and final change replace the filter, seal, and gasket. I'm not sure if this is overkill, but I'm hesitant to change only roughly half the fluid. Any thoughts on this subject will be greatly appreciated 