Radiator Fan Assembly Replacement.
 02-17-2017, 12:05 PM
#1
Senior Member
Thread Starter

Join Date: 09-16-2013
Location: Tampa, Florida
Posts: 1,408
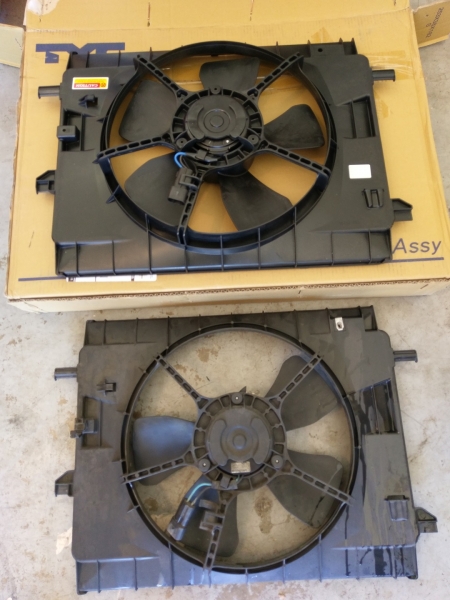
Radiator Fan Assembly Replacement.
Long story short, this happened.
Posting here because in the future, if this happens to anyone, I would HIGHLY suggest just doing this job yourself. Even if you dont have basic hand tools or coolant on hand, it is well worth the price to purchase some, and comes out cheaper than having it done. The job took me, a young, inexperienced, headstrong lad, just under an hour to completed from opening the hood to closing it and having a cold one. Literally the only tools you will need are a 10 MM socket, a ratchet, a flathead screwdriver, vice grips/hose pliers, some extra dexcool and a rag/catch bucket to pick up the sticky mess you might make. The most important tool you will need is patience. I spent 59 USD on a replacement fan (not OEM, the OEM one is 85 if you are so inclined....it is just a fan) and an hours worth of my time. I used this video as guidance
and purchased this fan
After I was finished, I called my local mechanic for a quote; part + labor for the job would be around 200 USD. Called my local Chevy Dealer and part + Labor would be close to 500 USD. UNBELIEVABLE. This is one of those jobs that sounds/seems big, but in reality is as simple and complicated as changing a headlight. The new unit is quiet and strong, and I think TYC makes quality parts for the price.
Now how did the fin break off? I dropped a bolt from the grille into the fan dhroud and, like a disgruntled gorilla, stuck my hand in there in an attempt to grab it and... SNAP. I called my dad freaking out at what I just did, and he said "well just replace it and buy a magnet for next time you drop a bolt" XD. Why I did that? I do not know. But how else would we learn lessons. STAY DIRTY
Posting here because in the future, if this happens to anyone, I would HIGHLY suggest just doing this job yourself. Even if you dont have basic hand tools or coolant on hand, it is well worth the price to purchase some, and comes out cheaper than having it done. The job took me, a young, inexperienced, headstrong lad, just under an hour to completed from opening the hood to closing it and having a cold one. Literally the only tools you will need are a 10 MM socket, a ratchet, a flathead screwdriver, vice grips/hose pliers, some extra dexcool and a rag/catch bucket to pick up the sticky mess you might make. The most important tool you will need is patience. I spent 59 USD on a replacement fan (not OEM, the OEM one is 85 if you are so inclined....it is just a fan) and an hours worth of my time. I used this video as guidance
After I was finished, I called my local mechanic for a quote; part + labor for the job would be around 200 USD. Called my local Chevy Dealer and part + Labor would be close to 500 USD. UNBELIEVABLE. This is one of those jobs that sounds/seems big, but in reality is as simple and complicated as changing a headlight. The new unit is quiet and strong, and I think TYC makes quality parts for the price.
Now how did the fin break off? I dropped a bolt from the grille into the fan dhroud and, like a disgruntled gorilla, stuck my hand in there in an attempt to grab it and... SNAP. I called my dad freaking out at what I just did, and he said "well just replace it and buy a magnet for next time you drop a bolt" XD. Why I did that? I do not know. But how else would we learn lessons. STAY DIRTY


 02-17-2017, 04:03 PM
#3
Platinum Member

Join Date: 12-06-2009
Location: Alabama
Posts: 11,089
Fixin cars 101.
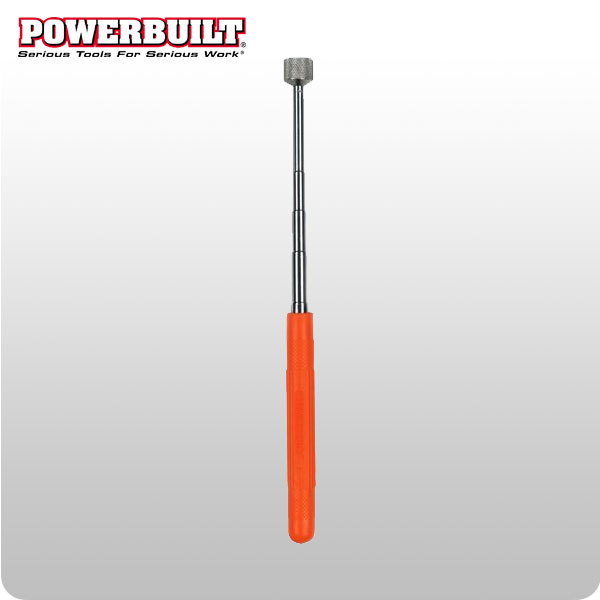
Drop the 1st bolt, nut, wrench or socket.
Walk back to the tool box and get the telescopic magnet tool.
Go back and retrieve the item.
Stick the magnet to the underside of the hood till this repair is done. Why ? Because, you WILL drop something else and you WILL need that magnet again before you're done.
(just remember to get the magnet from under the hood when the repair is done)
06-22-2019, 07:31 PM
#4
Senior Member

Join Date: 12-30-2016
Location: Cobleskill, NY
Posts: 136
I'm legit about to do this in a couple days. Only on mine? Every single blade is missing! I have no idea how, why, or for how long it's been this way. All I know is that a couple days ago I was sitting in a drive through and noticed my needle was above the half way mark so I checked the dash and it was reading 234�F.
For the record I mostly drive highway and it Temps correctly doing that (between 185-192). It's just when I slow down and/or have to stop is when it creeps up.
Glad can do this for $50 and an hour or two than paying a few hundred to have it done.
For the record I mostly drive highway and it Temps correctly doing that (between 185-192). It's just when I slow down and/or have to stop is when it creeps up.
Glad can do this for $50 and an hour or two than paying a few hundred to have it done.
06-24-2019, 09:19 AM
#6
Senior Member
Join Date: 12-30-2016
Location: Cobleskill, NY
Posts: 136
I'll post a pic when I get to the job (hopefully later today if it doesn't rain). As for the rest, I found one blade still in there, but there wasn't any damage to the radiator that I could see.
06-24-2019, 08:53 PM
#8
Senior Member
Join Date: 12-30-2016
Location: Cobleskill, NY
Posts: 136

Found all 5 blades in the removal process. It was actually more... Of a pain in the butt than I was hoping but it came out eventually. I also accidentally put a little too much coolant in to replace what was lost but I guess what they have the overflow hole for :/ If that's my biggest blunder, I'll take it. As for the new fan! Works well. In a drive through and stoplight I didn't go above 201, and it immediately took itself back down to 192. Driving Temps were good between 187 and 192 👍
