When you click on links to various merchants on this site and make a purchase, this can result in this site earning a commission. Affiliate programs and affiliations include, but are not limited to, the eBay Partner Network.
"How To" Tutorial LibraryWrite tips and instructions on how to install parts or fix problems. This is for detailed "How To's" only, not a forum to ask how to do something. Please post those questions in appropriate forums.
Subject has come up in multiple discussions regarding the Panel's rear door "popping" open via the latch actuator activated by Dash button or Remote FOB. I personally have been frustrated with original design where the door's rubber seal provides the momentum to open the door when the actuator releases the latch.
I've examined or tried all the various "fixes" to get the Rr Door popping as expected. One of my Panels works flawless... most of the time, the other Panel fails most of the time. Add in various door seal sprays and/or weather elements and it decreases a successful Pop! Nothing more frustrating to "me" to have to reach in Driver's Door to open door & store rear seat material. I love the Panel's smooth curves and lack of external handles, but desired remote fob and consistent dash Pops.
NOTE on Pictures & Video:I’ve attached a few pictures to the thread for reference, but included a lot more photos, short video of Popper mount, and short video of the Popper performing several strong “Pops” and swinging the door outward. I’ve shared a Google Drive folder, let me know if this doesn’t provide the material. I’m able to send a download link via email to those that would like to grab a copy of all the photos & videos…. Let me know. https://drive.google.com/open?id=1xs...SjlS52Qp7qJZq0
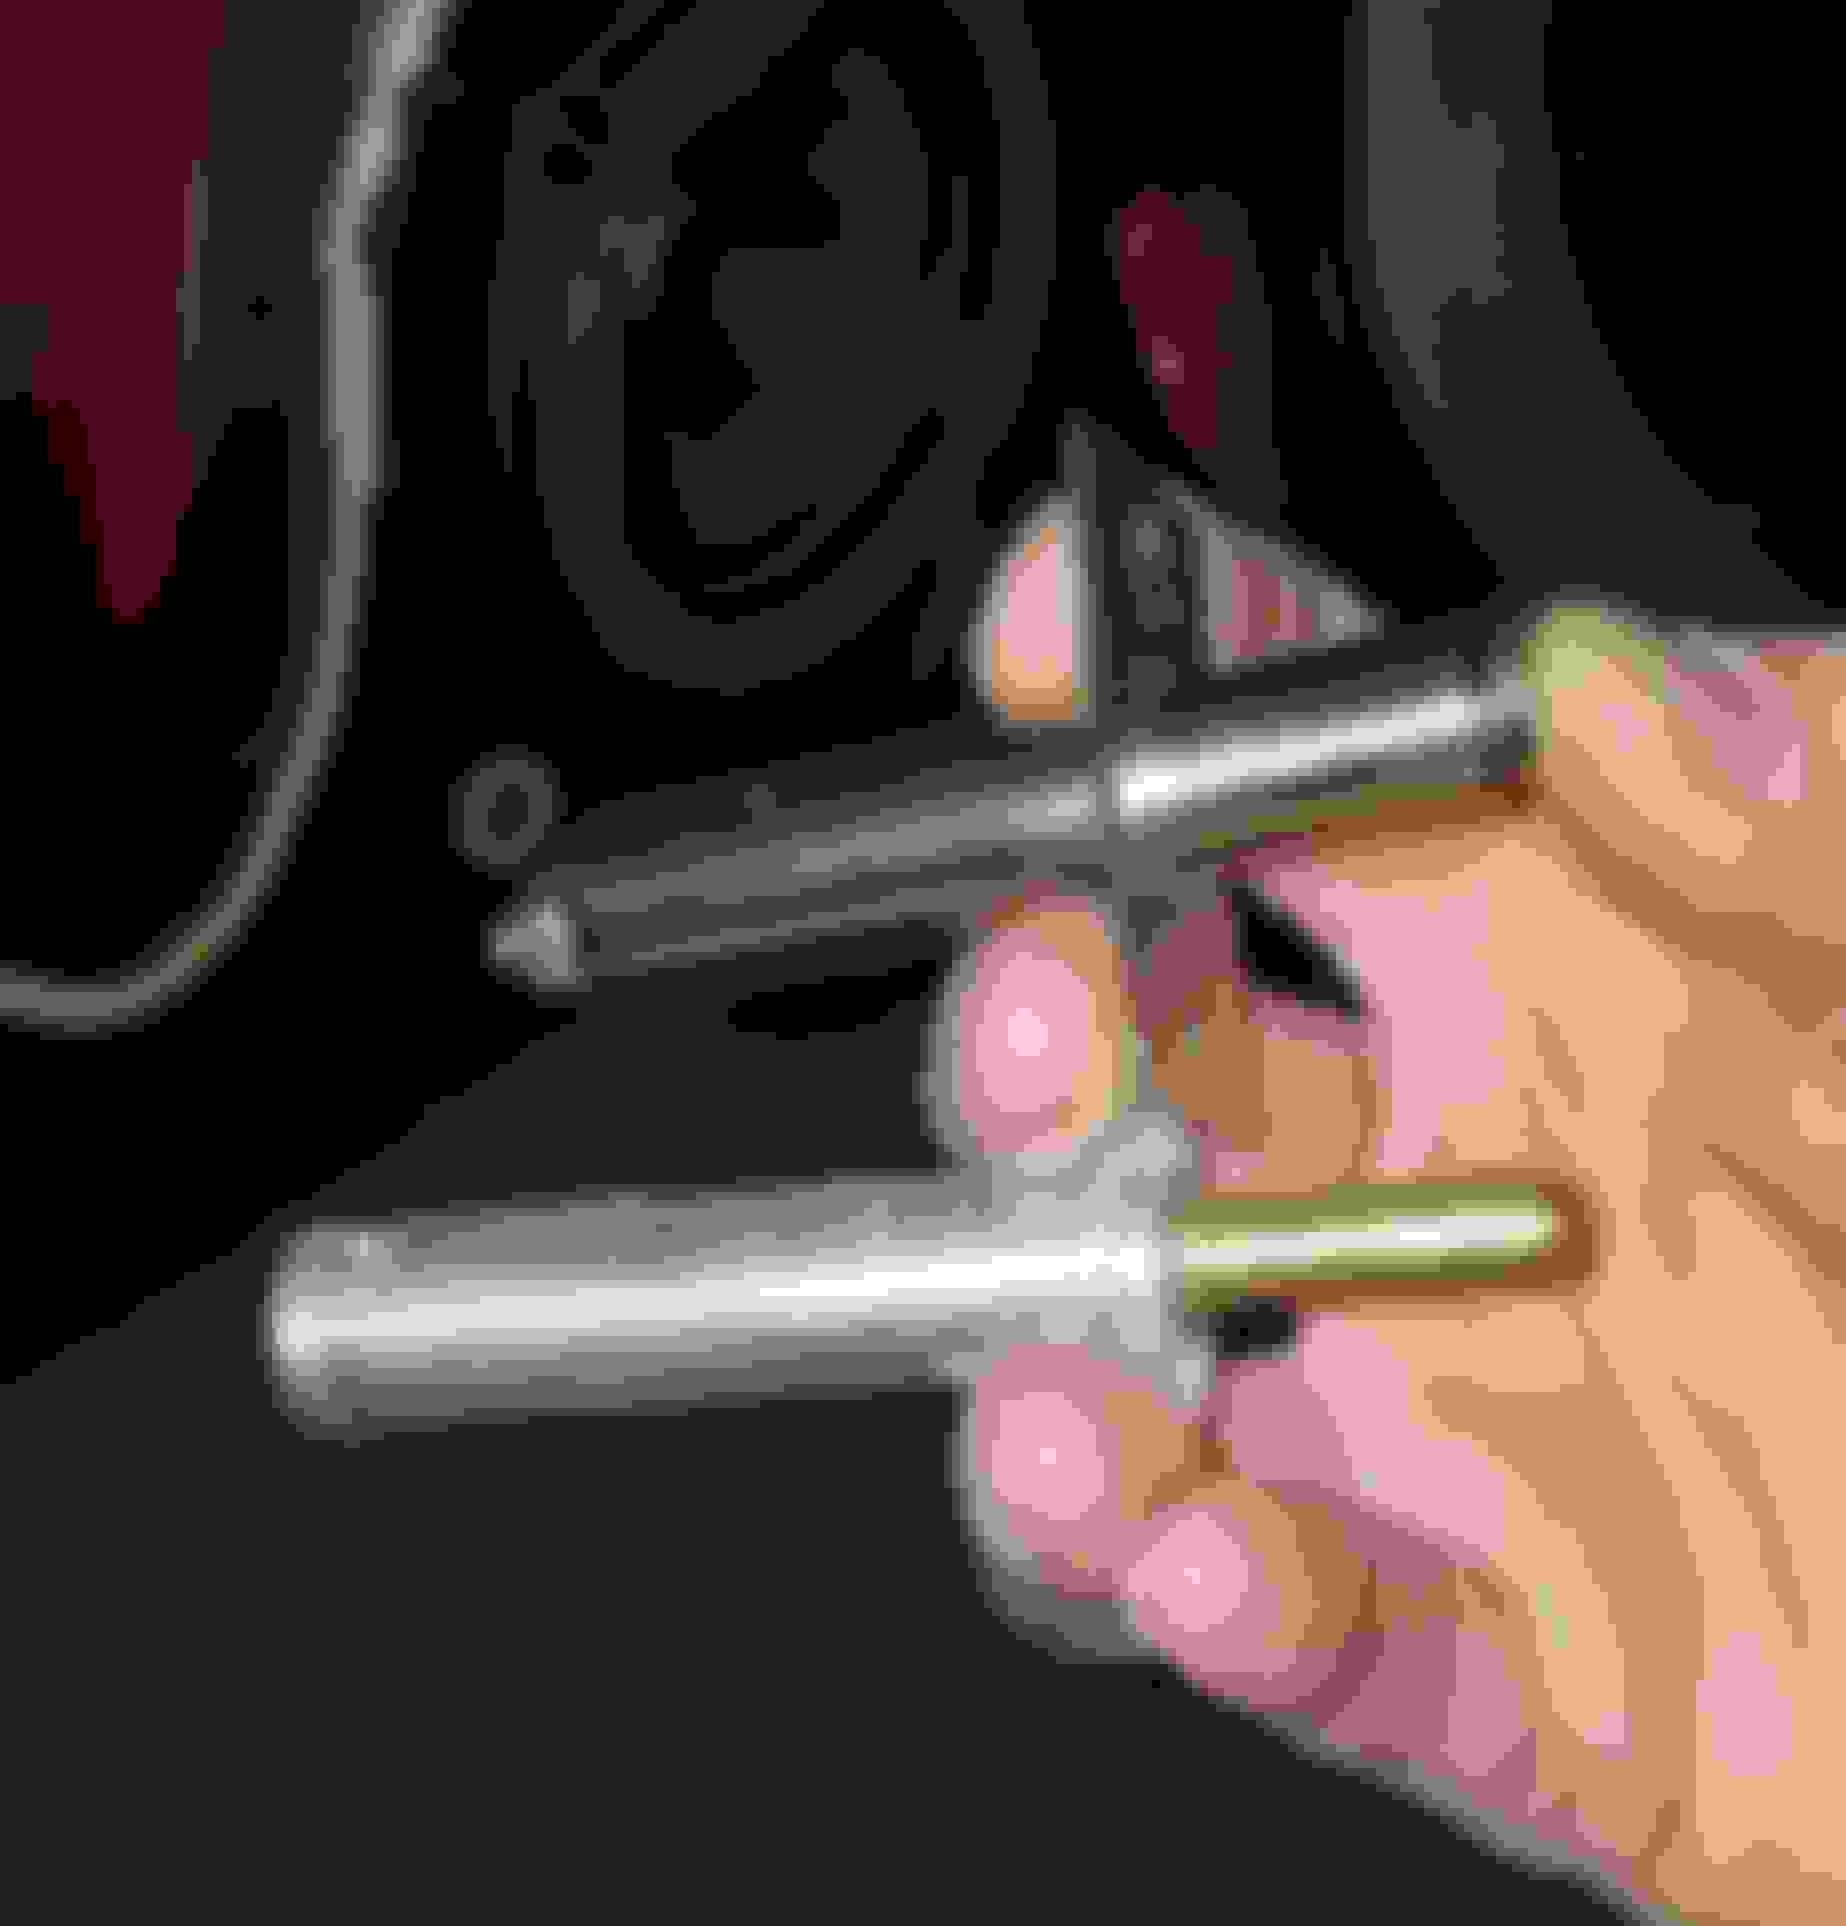
I've looked at various "mechanical poppers", and there are 2 that are small enough to fit the HHR Panel, and both contain ample tensional force to eject door nicely. One is an external mechanism and the other is an internal mechanism.
The difference is primarily the length of the popper when relaxed vs under tension. The External gets longer under tension, the Internal remains the same length. The other major difference is price and ease of mounting. The External is about 1/3 the cost of the Internal ($9 vs $33), and the External is much easier to mount with large mount tabs. I started out with the External and later changed to the Internal, in-directly caused my own stupid mistake on hole size cut that later had to be corrected to use Internal. (still frustrated with myself for sloppy oversight).
NOTE on Location of Poppper: My discussion is based on outer door edge side, others may elect to mount on the door hinge side, but when you roughly estimate the force required on the Popper when mounted that close the pivot point wasn't in my interest to explore. The Popper can be placed on the door side or the door jam side. The clearance on the door side is less than door jam, plays important consideration if using the External Popper design. I personally wanted a minimal “look” to the popper and tucking it under the door’s convex curve makes it barely noticeable and when noticed, appears as an integral design of the door. The External Popper can be used on the door side, but I would recommend limiting length to no more than 1/8" longer than Internal Popper… and although it’s not required to install, I’d recommend removing the interior door panel to visually inspect clearance to avoid outer door skin denting, and taking into consideration the door panel skin flex when shutting or popping door too.
I experimented with both Poppers, and elected to use the Internal design Popper for the following reasons: 1) Overall design "Looks", the Internal is very clean & minimal, 2) Construction & Material: all alum alloy, solid brass plunger & sleeve for smooth movement, and no concerns of the tensional "length" if mounted on Door side vs Door Jam side. Negative of Internal: 1) Plunger length will require trimming to obtain acceptable tension allowing mid-section door seam to remain even to body, 2) Very precise 16mm hole cut. The 16mm is hard to find locally, the smallest is normally a 3/4" - 19mm metal hole cuter. (I wouldn't recommend a standard drill bit unless you have a drill "stop" attached to prevent touching external door panel, a very positive center punch to remain alignment while drilling.... and I've found the holes normally aren't as smooth as a hole cuter). The Positive of the External: 1) Size of mount flange provides ample coverage of hole and ease of mount screws. 2) The housing body is 16.5-17.5mm stamped metal and the locally obtainable 3/4" 19mm Hole cutter works Great! 3) Serviceability, the External "could" be easily disassembled, cleaned, lubed and reassembled if desired. Negative of External: 1) Depth of Plunger under tension (door closed) is about 5/8" longer than Internal Popper. If intending to place popper on Door side, the External Unit's threaded shaft would need to be cut off to prevent denting the external door panel skin. May even need to cut threads into the shaft 1/8”-1/4" and cut off excess to shorten the Tension length. Clearance to outer door skin would be a concern if External Popper was not modified. In comparison, the Internal has about 1/2" clearance between housing & door skin.
Mount Point: 1) Door Jam side: easiest location to mount. Insure plunger has flat contact surface on door side. Depth of Popper’s plunger under tension is no concern on door jam. Increased number of areas that can be considered to mount Popper. 2) Door side: Highest concealability, and plunger doesn’t protrude where legs or clothing may exist. Both mount points work great, it’s a personal decision more than anything.
Hole Size:
The External can use a �” 19mm or a 16mm with a little filing. The flang & screw mount holes are away from the core hole. The Internal has to use a 16mm, the screw mount holes are next to housing at 17mm spacing. Like myself, if you use a �” 19mm the Internals’ 2 mount screws won’t have material to attach, requiring JB Weld or material to remove the excess clearance. Overall, I wasn’t concerned on the mount screws. All the pressure is against the Poppers shoulder, not the screws. Between adhesive, shoulder & screws, it’s securely held in place. ( I have ordered a 16mm before I install the poppers in my Wife’s Panel).
Hole Position:
On the Door frame, there are 3 little factory �” sized indented “stamped” circles… similar to electrical punch out tabs. I based my location in reference to the top indented circle. Your may want to vary position for your design, I placed mine about �” above to �”-3/8” outward. This isn’t exact due to metal curves and difficulty obtaining precise measurements. I made a template out of masking tape, then basically flipped it for the other side to get me into the zone… still made minor adjustments because I wasn't positive the stamps indentations were precise. As a secondary measurement, I placed the Popper’s “Trim ring” on center of drill’s “center punch” and compared it’s loction to the rounded outer edge of door frame.
Caution, when you plan your mount point, calculate the approximate location on the outer skin. The Rr Fender flair is on the door and my goal was to be within the widest internal section within the door cavity.
Once drilled, apply an adhesive to insure vibrations get absorbed and prevent any screw cracks or working loose.
Plunger striker Placement: I lightly roll up a small amount masking tape into a hollow tube and place on the Door Jam. Then close door, watching to insure plunger will contact tape roll. Plunger makes an indentation allowing you to zero in on location for plunger striker. I applied a little adhesive instead of double stick foam tape, more long term reliable, a minimal look and wanted to transfer the full energy onto the door jam and not absorbed by foam tape. The adhesive allows you to slightly move the striker as you visually watch through door crack the contact of plunger to striker, once aligned press it down more firm.
Adhesive:
I use an automotive trim & emblem adhesive, it’s a good sealer, the bond isn’t weakened over time with moisture, weather & cold. To remove, a good heat gun will soften allowing to be peeled off.
Torsional Tension:
If mounted at extreme high or low on door, the narrow focus of torsional tension will most likely push the door outward in that location. The mid-point of door, near latch and additional door frame girth should minimize the door flex. Without trimming the Plunger, I noticed about 2-3mm of door edge flex compared to body panel for about a 12-18” mid-section in relation to plunger mount. That equates to about � the door edge thickness. Trimming the plunger 1/16 to 1/8” at a time, I reduced it down to a little less than a �”; which is half the original length of the 1” plunger. Comparing the untouched side to the popper side, the body seams were about the same. You might want to inspect this first, you’ll be surprised how it’s not as flush as you think in the mid-section, there is a little difference… you could pull this down with latch adjustment but it would apply greater pressure on actuator to release.
On the External Popper unit, the rubber cup needs to be removed to allow closing. The external plunger does not retract flush to the housing like the Internal Popper. This �” protrusion, in this location didn’t allow the rubber cup to be on the Popper’s plunger and allow door closing to latch.
Trimming Plunger:
I used a Dremel with rough emery & smooth emery wheels. The 2nd plunger, I ws able to compare to 1st plunger and used a cutting wheel to get it down to smoothing length, finishing with a smooth emery wheel.
My personal experience: The Door’s actuators made a sound like they were releasing but they were not very consistent and should have easily popped the doors. I “Borrowed” and actuator off my Wife’s Panel and it works great… provided a strong Pop pushing door out easily 8-10” then relaxed back to door links setting. I’ll retain her actuators and install 2 new ones on her Panel.
Hmm.. I was following your thread elsewhere on the popper issue. I'm surprised to see you put the popper in the door, rather than on the body. Why didn't you use the access plug on the door jamb for a mount point?
Hmm.. I was following your thread elsewhere on the popper issue. I'm surprised to see you put the popper in the door, rather than on the body. Why didn't you use the access plug on the door jamb for a mount point?
I looked at that too, removed the plug to examine. It's an oval hole of incorrect size and would present a little more challenge getting a smooth cut and it was in a location in my opinion as not an ideal spot being low on the door. Placing a small object at that location was easily able to push lower section of door torsionally outward when latch was securely closed. Moving upward more toward center reduced torsional push... although as mentioned, plunger still needed trimming to reduce even mid-center torsional push. But, more on the preference side than anything else, I didn't really want the plunger sticking out on the door jam side, wanted it tucked up out of view.
I understand that the hole would be larger than the popper diameter, but would be easily rectified with centering the popper in a "fender washer" type patch.
I understand that the hole would be larger than the popper diameter, but would be easily rectified with centering the popper in a "fender washer" type patch.
Looked at that area... considered it, as mentioned the hole isn't correct size and I don't recall off hand the depth available in that location was inline with plunger location and if the pillar to door clearance was sufficient, probably not for the external since it doesn't fully retract, not sure on internal unit. If I recall, I felt clearance wasn't sufficient when I was working with the external unit and ruled it off my location options.
In my opinion, the Hinge side (Pivot Point) vs the Door edge (end of lever), the linear force to move mass at the pivot point is greater vs the perpendicular force at the end of the lever.
Plus, uncertain with Popper Plunger that close to the outer edge of the pivot, the linear contact travel is degraded as the door pivots open pretty quickly.
I choose the door edge side, but plenty of options... that's what makes custom mods fun.
 03-11-2019, 06:13 PM


 icAAOSw7PBTouGc


