


Slide_Rite's HHR - Pics, Mods & More!


Thread Starter
Senior Member
Joined: 03-20-2012
Posts: 292
From: Dallas, TX
Woo-hoo, finally!
I decided to wait several additional days to let the window tint cure...a full 8 days after tinting. So on the available sunny work days I had, I took advantage of the top floor to soak up the sun & help cure my tint. With temps around 100, the interior thermometer reads around 125+ sitting up there in the sun. 

I really was eager to get to my window visor install, but had a few days of rain & record low temps in the middle of the week, so was glad I waited. With temps back in the mid-90's, I un-packaged my visors, cleaned them off really well with alcohol...then stuck them in the HHR while parked in the sun to get the plastic limber & the adhesive...more adhesivey.
Let them sit out there for a few hours. Got my alcohol & cleaning rag to make sure all the contact areas in-channel were clean & therefore hopefully cut down on the likelihood of possibly scratching my tint or the glass from dirt or debris.
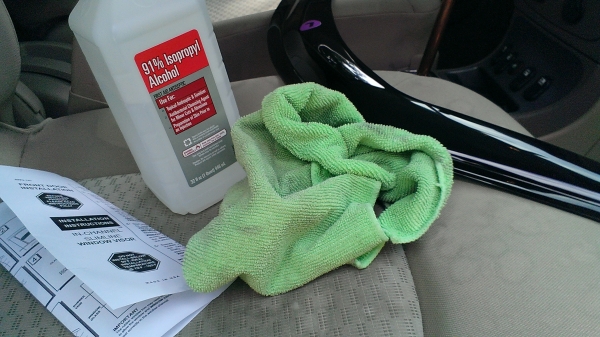
Cleaned 'em really well & started the install...
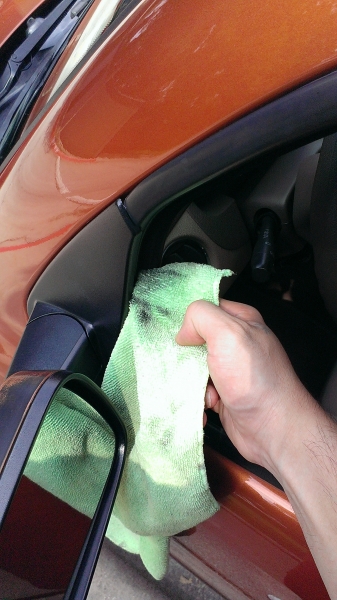
The front edge goes in first & rests on the bottom window trim.

Takes quite a bit of bending to get the front to drop into the channel...wouldn't have wanted to try it if the plastic was cold. No adhesive on the fronts...they surely aren't going anywhere!

The rears were easy as pie (so easy that I forgot to even snap a pic). Windows down completely...set one rear visor edge in, tilt the visor @ a 45 degree angle to clear the other side & fit it into the window channel. Move it all the way up, and into place. Windows up & down several times to set them in place since they are the only ones with adhesive.
Installed & wiped down.

I like the way it looks.

I am still looking for some broken side mirrors to use the base for custom side mirrors. Although, I might just break down & tear up some used ones for the project. Would really help clean up the front window area quite a bit.
I really was eager to get to my window visor install, but had a few days of rain & record low temps in the middle of the week, so was glad I waited. With temps back in the mid-90's, I un-packaged my visors, cleaned them off really well with alcohol...then stuck them in the HHR while parked in the sun to get the plastic limber & the adhesive...more adhesivey.
Let them sit out there for a few hours. Got my alcohol & cleaning rag to make sure all the contact areas in-channel were clean & therefore hopefully cut down on the likelihood of possibly scratching my tint or the glass from dirt or debris.
Cleaned 'em really well & started the install...
The front edge goes in first & rests on the bottom window trim.
Takes quite a bit of bending to get the front to drop into the channel...wouldn't have wanted to try it if the plastic was cold. No adhesive on the fronts...they surely aren't going anywhere!
The rears were easy as pie (so easy that I forgot to even snap a pic). Windows down completely...set one rear visor edge in, tilt the visor @ a 45 degree angle to clear the other side & fit it into the window channel. Move it all the way up, and into place. Windows up & down several times to set them in place since they are the only ones with adhesive.
Installed & wiped down.
I like the way it looks.
I am still looking for some broken side mirrors to use the base for custom side mirrors. Although, I might just break down & tear up some used ones for the project. Would really help clean up the front window area quite a bit.
Last edited by Slide_Rite; Jul 20, 2014 at 08:14 PM.

Deceased
Joined: 03-22-2012
Posts: 1,012
From: Rogers City, Michigan
Yo!
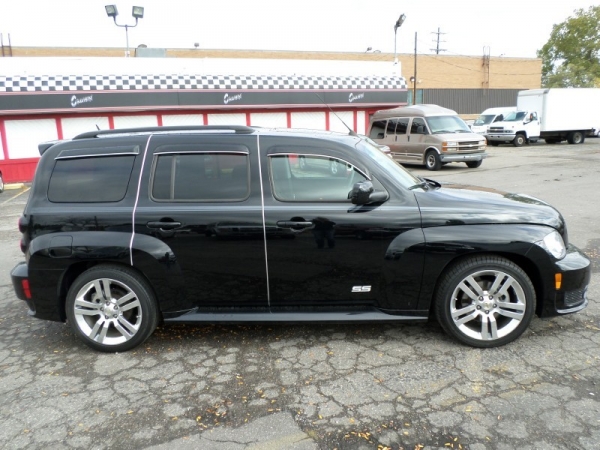
The original buyer of my '09 SS installed the sun shields flush on the outside. He must not even have looked at the directions. He even put them over the third window, which I removed.
He also installed the vertical chrome strips (ugh) which I immediately removed.
I decided to leave the sun shields as they are for now. The back ones were quite difficult and time consuming to remove. One of these days I shall remove them and put them on correctly.
I bought the car in 2013 with only 10,833 miles. Original buyer became ill and died and the car sat in his garage for a long time. It was just like new when I bought it.
Boydie
[QUOTE=Slide_Rite;753396]I decided to wait several additional days to let the window tint cure...a full 8 days after tinting. So on the available sunny work days I had, I took advantage of the top floor to soak up the sun & help cure my tint. With temps around 100, the interior thermometer reads around 125+ sitting up there in the sun.
The original buyer of my '09 SS installed the sun shields flush on the outside. He must not even have looked at the directions. He even put them over the third window, which I removed.
He also installed the vertical chrome strips (ugh) which I immediately removed.
I decided to leave the sun shields as they are for now. The back ones were quite difficult and time consuming to remove. One of these days I shall remove them and put them on correctly.
I bought the car in 2013 with only 10,833 miles. Original buyer became ill and died and the car sat in his garage for a long time. It was just like new when I bought it.
Boydie
[QUOTE=Slide_Rite;753396]I decided to wait several additional days to let the window tint cure...a full 8 days after tinting. So on the available sunny work days I had, I took advantage of the top floor to soak up the sun & help cure my tint. With temps around 100, the interior thermometer reads around 125+ sitting up there in the sun.

Joined: 03-25-2012
Posts: 8
From: DFW Texas
Really enjoyed this thread. Love the 3-bar mod. I have always preferred the SS grille look, but don't have the money to change out with the real deal. I am in the North Garland area. I'd love to see your grille up close and personal, to get a better grasp on how it turned out and what is involved, if I decide to do mine some day.
Thread Starter
Senior Member
Joined: 03-20-2012
Posts: 292
From: Dallas, TX
Yo!
The original buyer of my '09 SS installed the sun shields flush on the outside. He must not even have looked at the directions. He even put them over the third window, which I removed.
I decided to leave the sun shields as they are for now. The back ones were quite difficult and time consuming to remove. One of these days I shall remove them and put them on correctly.
The original buyer of my '09 SS installed the sun shields flush on the outside. He must not even have looked at the directions. He even put them over the third window, which I removed.
I decided to leave the sun shields as they are for now. The back ones were quite difficult and time consuming to remove. One of these days I shall remove them and put them on correctly.
Really enjoyed this thread. Love the 3-bar mod. I have always preferred the SS grille look, but don't have the money to change out with the real deal. I am in the North Garland area. I'd love to see your grille up close and personal, to get a better grasp on how it turned out and what is involved, if I decide to do mine some day.
I actually need to redo the grill, it's pretty well chipped from road shrapnel. Also, I painted the mesh with rattle can black...chipping as well. Planning to re-spray it with plasti-dip, as it will likely hold up better than the spray paint. Since the plasti-dip has a rubber texture, I'm sure it will absorb (at least more than the paint) the little rocks, or helmet wearing bugs that are bombing my grill...hahaha. Plus I can peel it off when I get bored & want to change it.

If you haven't started reading about plasti-dip yet in the new forum section, you should check it out. I will be spraying my wheels with it soon since the steelies are fading. Plus, the two 17's I got off a Malibu are newer...so a different shade of black. Just gonna spray them with black so they at least all match. I sprayed all of the accents, front window surround, handles, and wheels on our Crossfire with black quite a while ago and it still looks great. It has a nice texture depending on how you put it on, protects the original surface beneath, can be custom mixed & sprayed to literally limitless color possibilities, is not permanent, easily washable, and can be removed rather easily with zero indication it was ever there in the first place (seriously...check out Lunchboxes thread with many of his inspiring custom jobs). --> Plasti-dipThread
Some people frown on plasti-dip, but I love it. I'll be using it for some other mods in the future as well.
Last edited by Slide_Rite; Jul 24, 2014 at 09:28 PM.
Thread Starter
Senior Member
Joined: 03-20-2012
Posts: 292
From: Dallas, TX
Weaponized Window Visors?
Found out today just how sharp the edges of my EGR window visors are...the painful way. 
Sprayed it off & kept washing her...lesson learned though, won't do that again.
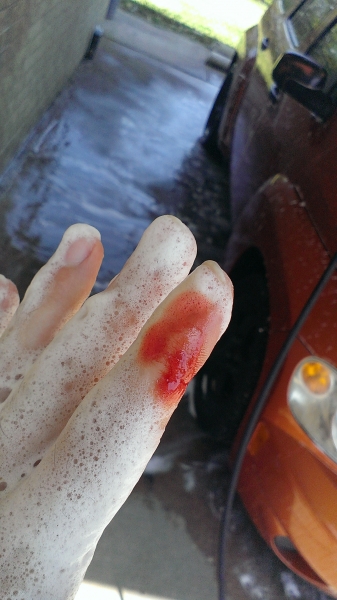
Sprayed it off & kept washing her...lesson learned though, won't do that again.
Thread Starter
Senior Member
Joined: 03-20-2012
Posts: 292
From: Dallas, TX
...I guess I could just be more careful, but I am very clumsy & prone to self-injury...hahaha.

Thread Starter
Senior Member
Joined: 03-20-2012
Posts: 292
From: Dallas, TX
Nothing new, just a few pics...
Haven't done anything new, just cleaned her & snapped a few pics. Waiting for some parts to come in so I can do my SS Non-Brembo upgrade.
This was last week sometime while she was clean. It was beautifully overcast due to a cold front, so took her up to the parking garage roof after work to get a couple shots. Not the best background, but it was impromptu.
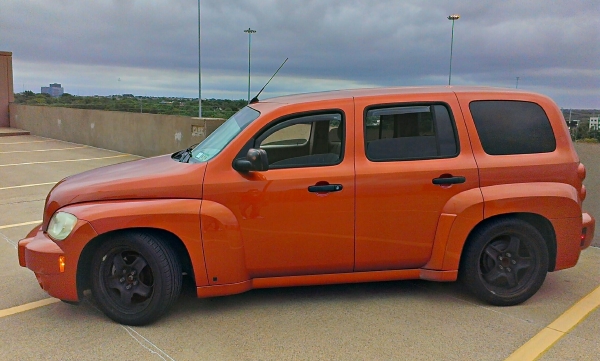
Same day/place...different shot. I really like this view, but it doesn't help the lowered look at all.

...and then, one more because I cleaned her again. Freshly waxed, I even cleaned & waxed the steelies.
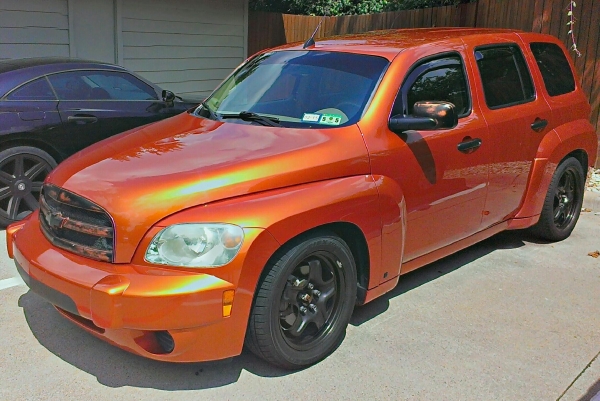
This was last week sometime while she was clean. It was beautifully overcast due to a cold front, so took her up to the parking garage roof after work to get a couple shots. Not the best background, but it was impromptu.
Same day/place...different shot. I really like this view, but it doesn't help the lowered look at all.
...and then, one more because I cleaned her again. Freshly waxed, I even cleaned & waxed the steelies.

Senior Member
Joined: 12-06-2013
Posts: 540
From: Everett, Wa
Thing's clean. Have you thought about doing anything with the black plastic in the front bumper? I sanded smooth and painted moine body color. I think it looks infinitely better, even on my darker color. I can imagine it would make a world of difference on yours. Or even "Copper'ed out" like your grille and mirrors.

