When you click on links to various merchants on this site and make a purchase, this can result in this site earning a commission. Affiliate programs and affiliations include, but are not limited to, the eBay Partner Network.
Mount up! We?re tracking shimmy shakes! An engine transmission mount problem
Problems/Service/RepairsIf you have a problem with your HHR, want a tip on repairing or performing a particular service to you HHR here is the place to post!
Mount up! We’re tracking shimmy shakes! An engine transmission mount problem
I replaced the upper engine mount awhile ago, it had indications of metal contact and had collapsed and sunk approximately an 1”
I looked at the front and rear transmission mounts, at the time they looked fine, wrong, at closer inspection the rubber is cracked and started to separate from the metal sleeve .
Both the front and rear were easy to access, the front mount I accessed the top two 18mm bolts from the top, even had room for my torque wrench to tighten the new ones up. Of the four bolts only the one that goes through the transmission case and threads into the lower threaded hole.
The two lower bolts,can be accessed from below.
I did chock both rear tires, jacked the drivers side up and supported with a 2 1/2 ton jack stands.
I don’t see how a Quick Lift would work because of the contours of our floor pans and the placement of the fuel and brake lines.
The rear mount has three 15mm bolts pointing straight up under the rear cross member and the side through bolt, this I had to use a piece of wood to protect the transmission pan and gently jack up the engine /transmission approximately 3/4 of an inch to thread the bolt into place. I used a long extension to get to the 18mm head to torque to specs
I used the torque specs found in our tightening spec sheet , post #7
These two bolts at the bottom of the front mount, easy access
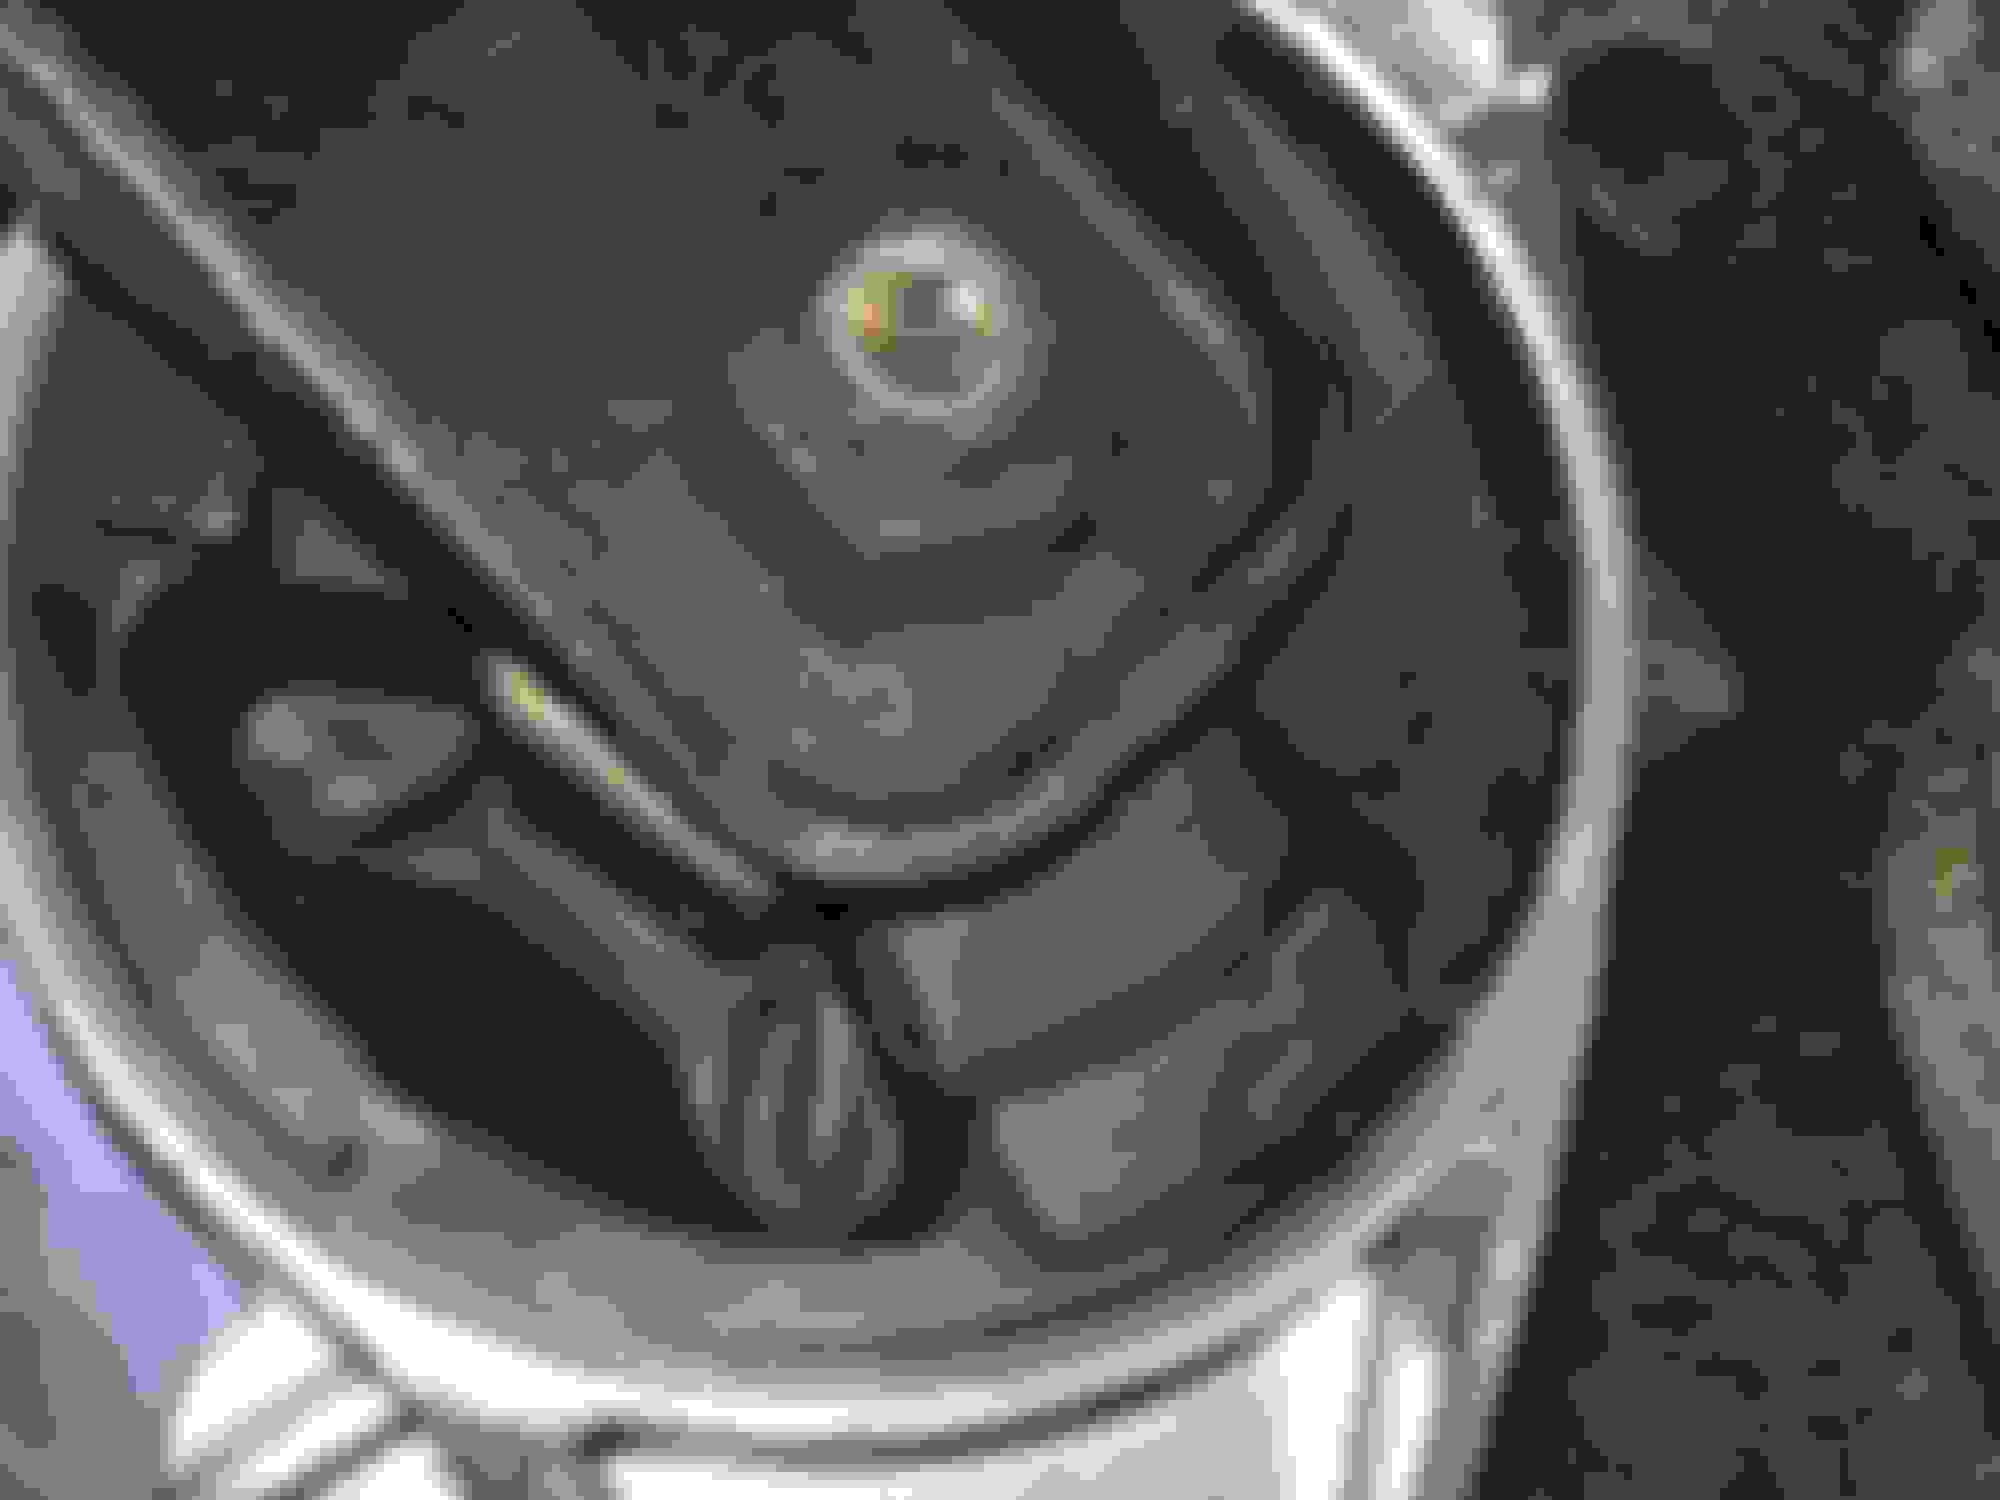
The new rear mount settling in for it’s eleven year run.
Rear mount , in the sun first time in eleven years, note the cracking of the rubber to the left of the centre bolt hole at the edge of the rubber biscuit.
New front mount , ready for its years of service
Old front mount, the bottom is to the left note the wear marks from the centre bolt pin to the rubber.
I’ll test drive it a couple of days and let you know the improvement, if any.
All three mounts are AC Delco purchased from RockAuto, in hind sight I should have bite the bullet and replaced all three mounts at once.
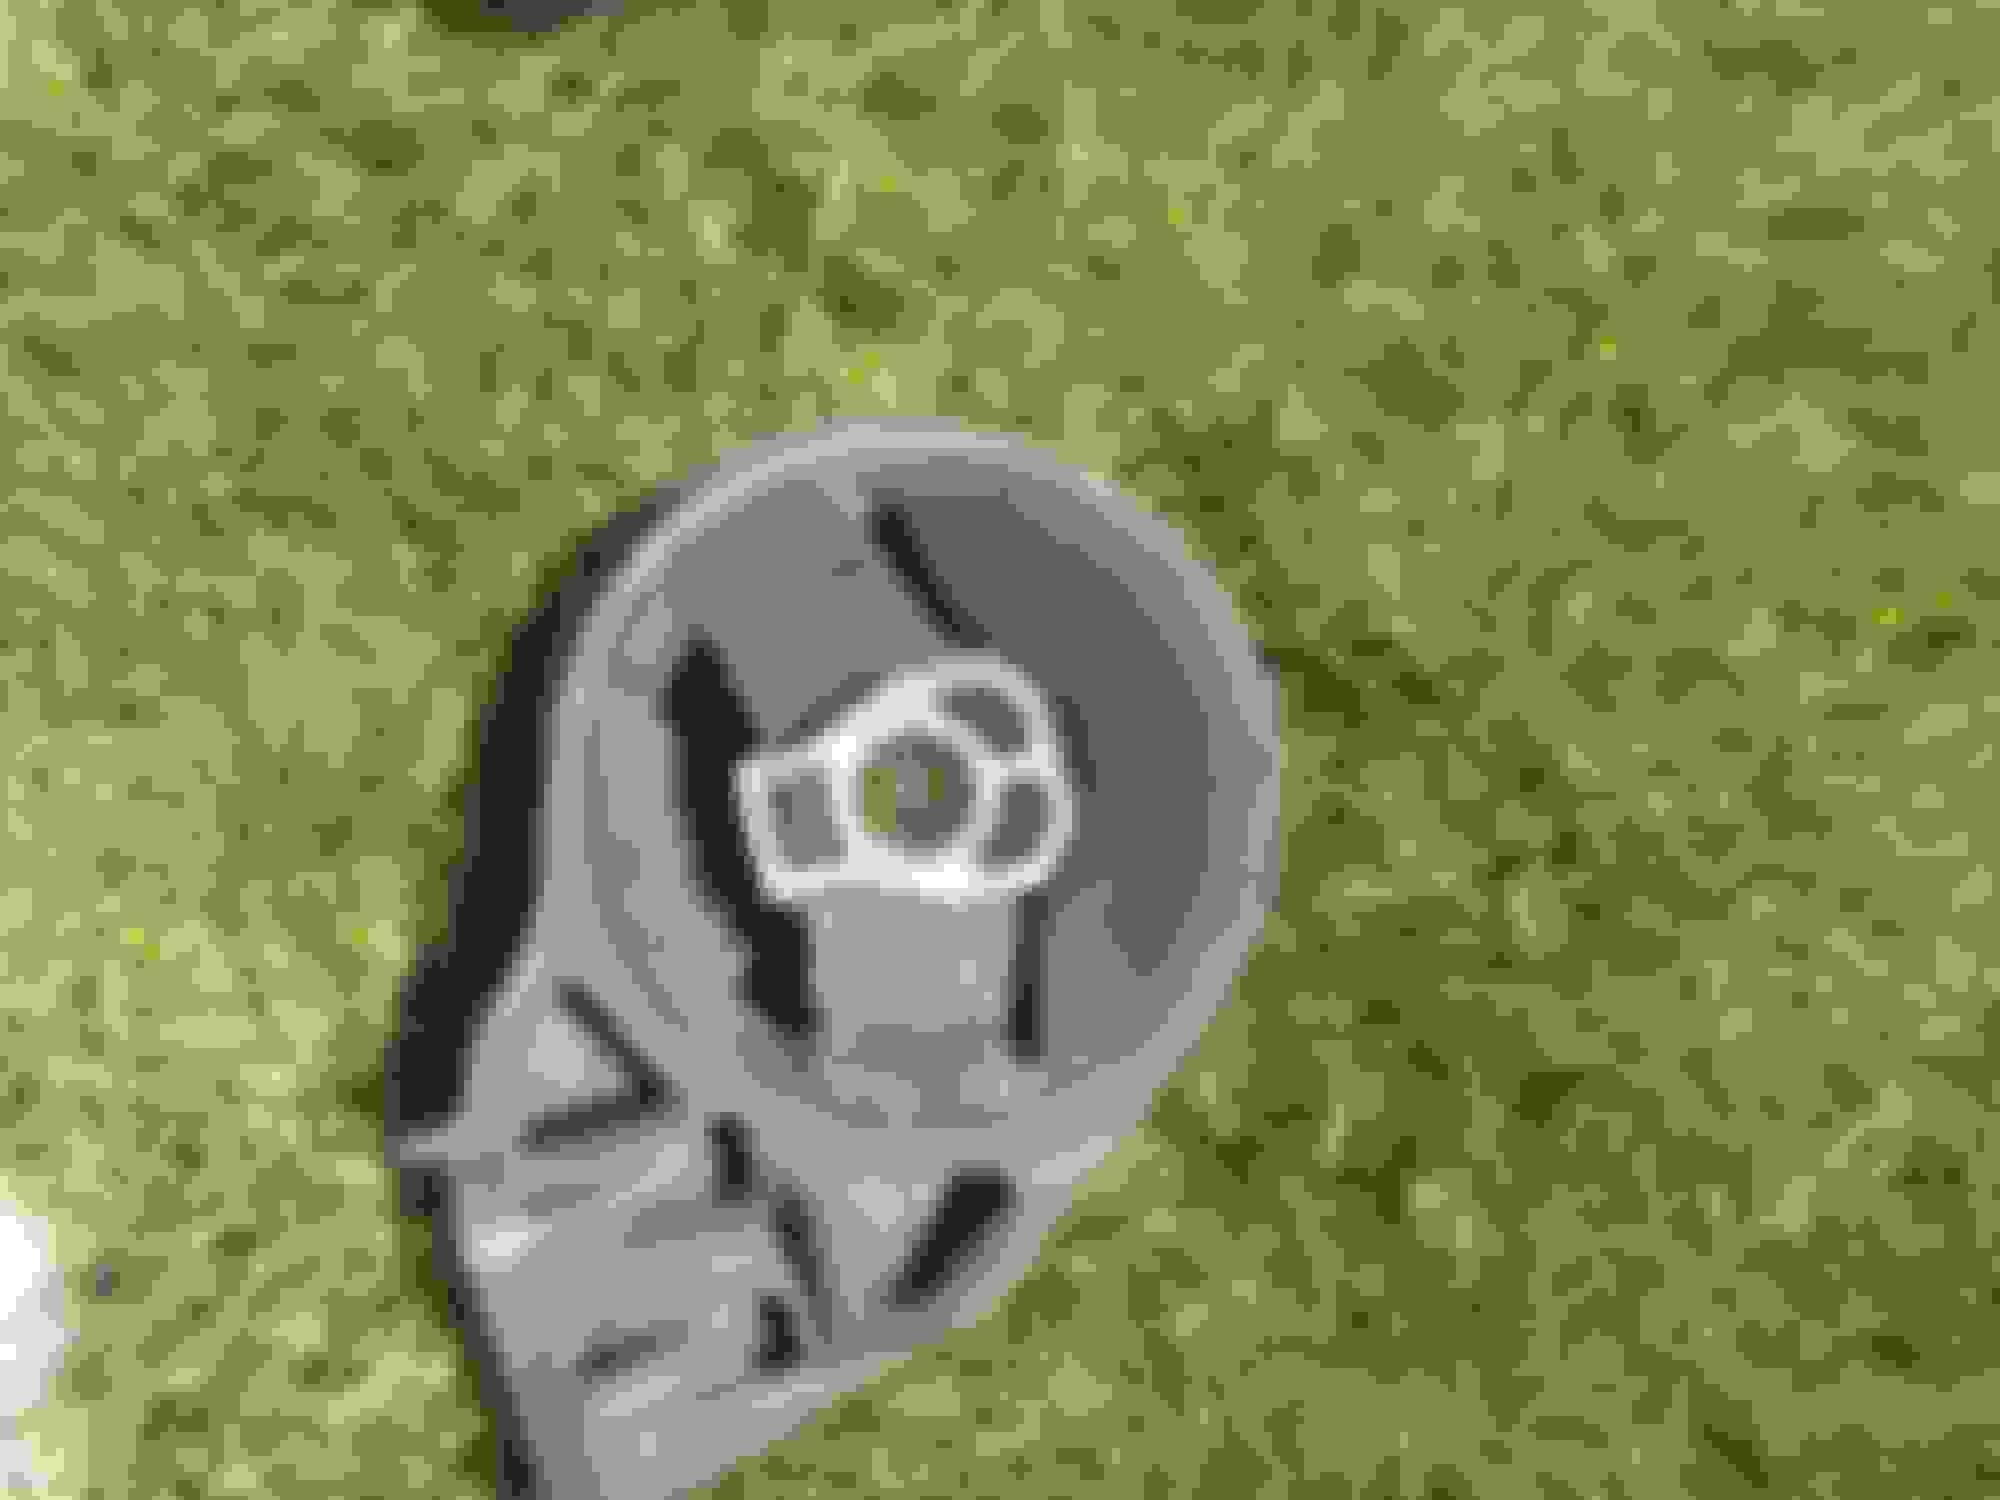
I did locate a fourth mount , three bolts to the drives end of the transmission and a few bolts into frame . Looks like this
I’ve not seen any problems from this mount so it’s gonna stay and show the new mounts how it’s done!
So, I’ve driven about 500 miles now, I have noticed a couple of clunks are now gone, not a big deal but the transition from throttle to brakes is much better, backing out of my driveway is now quite.
Leaving a traffic light, the shifts are less violent, I suppose due to the firm new rubber mounts.
I have the old mounts, I’ll press out the bushings and wash the mounts, anybody want them to press in polyurethane bushings? Just pay the shipping.
Awesome write up! Ill get to my lower mounts eventually, but the upper mount made a world of difference shifting out of park. My lower mounts "look" good, and haven't been subjected to the kind of weather old blue has over the years. We tested them with a pry bar and power break test after throwing in the new upper mount. After replacing the upper mount and re balancing all four tires, Gregg can finally travel past 60 without rattling my teeth out. For me, I still have those two bad Sumitomo tires in the rear mentioned on here in a thread, causing a bit of body shake from 50-60, but no where near as bad as where it was. One thing to note, is the upper mount bolts are slightly tucked under the valve cover, and require a swivel, short socket, and some imagination. All three are super easy to replace, thankfully. Never knew about the fourth mount!
PS Gregg is catching up! I should roll over 230,000 miles on the way home today!