
Progress Tech Sway Bar Install...

Thread Starter
Senior Member
Joined: 10-14-2005
Posts: 5,359
From: SoCal
Progress Tech Sway Bar Install...
Here's a complete how-to for installing the Progress Technology Rear Anti-Sway Bar for the HHR:
Rear Sway Bar Install
Enjoy!
Rear Sway Bar Install
Enjoy!


Thread Starter
Senior Member
Joined: 10-14-2005
Posts: 5,359
From: SoCal
Nope, not even close! I once hauled 3 tall steel storage racks (in boxes), two 3 drawer base cabinets, and a 78-inch door - all at ONCE in my HHR!
Oh, and with the sub box inside, hooked up and playing!
Oh, and with the sub box inside, hooked up and playing!


Senior Member
Joined: 04-19-2006
Posts: 5,065
From: Arvada CO
Was looking thru all my many HHR photos and found the pics that Mike from SoCalHHR's had for install.
Thought I'd share them with those of you who would like to see them and post my version of installing the sway bar.
Plus the pics are here on the site, just in case Mike's page ever disappears for some reason.
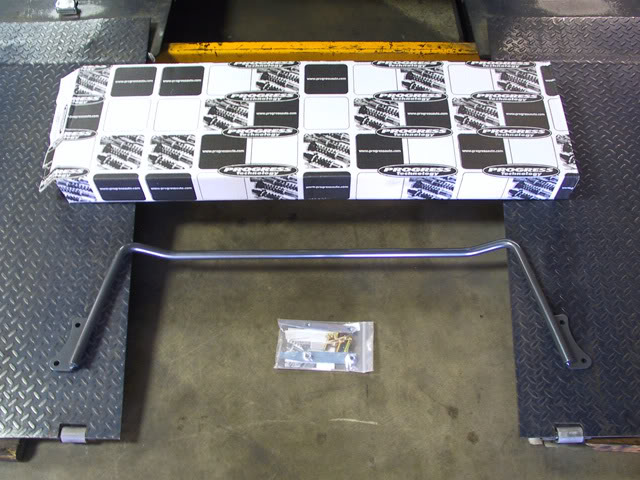
This is what your package should look like if's it's a Progress Tech.
Very large heavy box with sway bar and a bag of parts.
Mine came with instructions when I bought it from Mike.
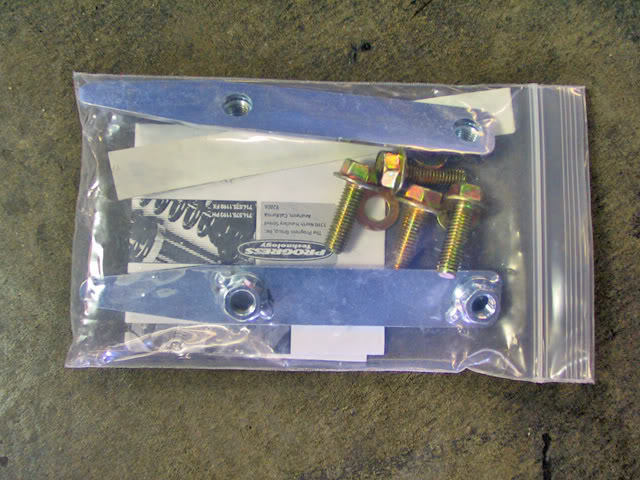
Hardware needed to install the sway bar.
(oh lookie there...there's the directions inside that plastic bag)
Ladies will read them...guys will do the macho thing and set them aside.
Henry and I backed my car up on ramps and that made it much easier to install.
It is recommended to do it flat...
but when you are in your early 50's like us,
you don't fit under the car like you used to.
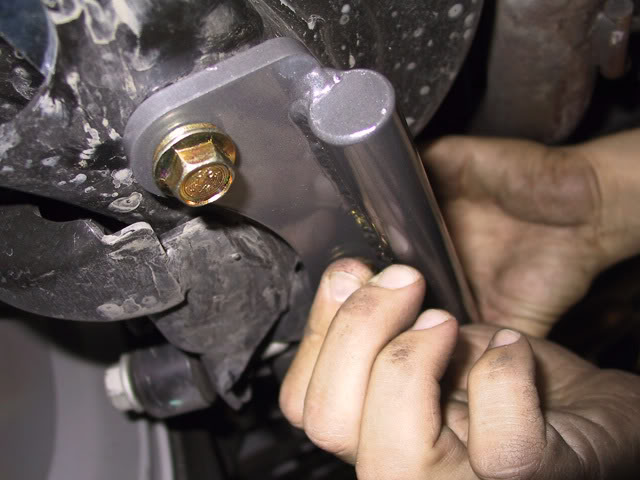
Easy part is finding the holes where the sway bar will attach.
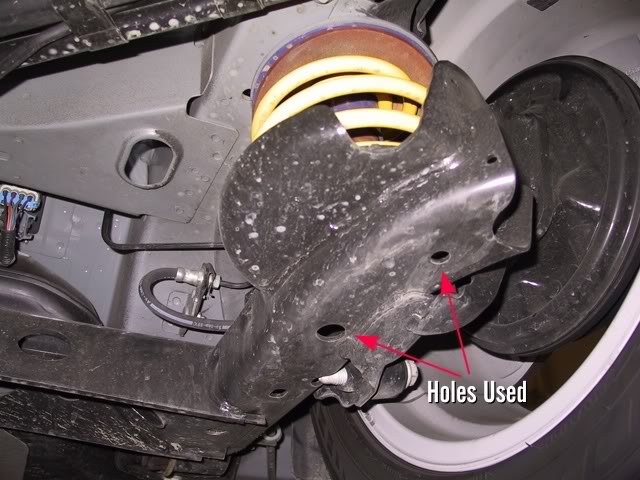
Then slide the piece that the bolts will screw into above these holes
and line it up as best you can.
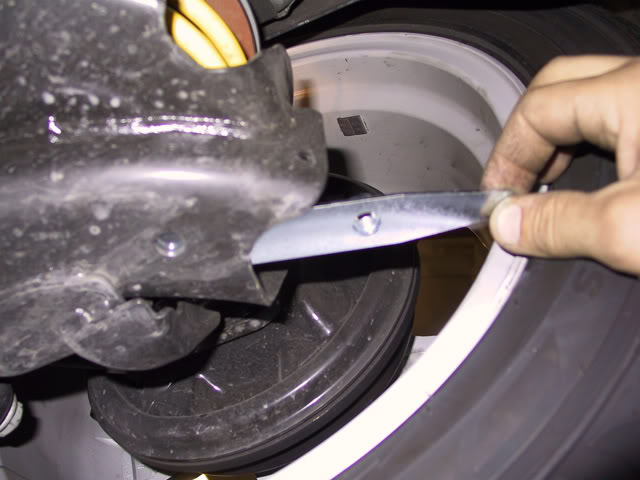
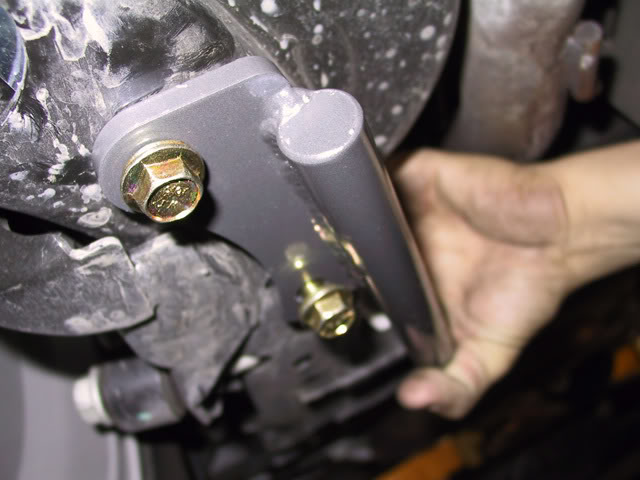
This can be a little tricky when putting the bolt and washer on,
cuz the dang thing moves.
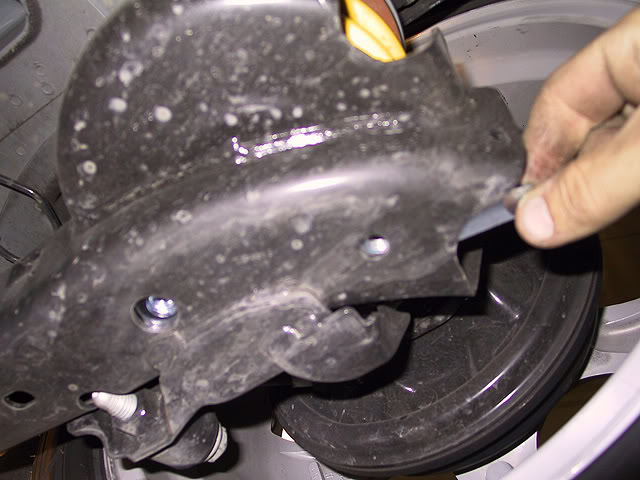
Insert bolts and hand tighten.
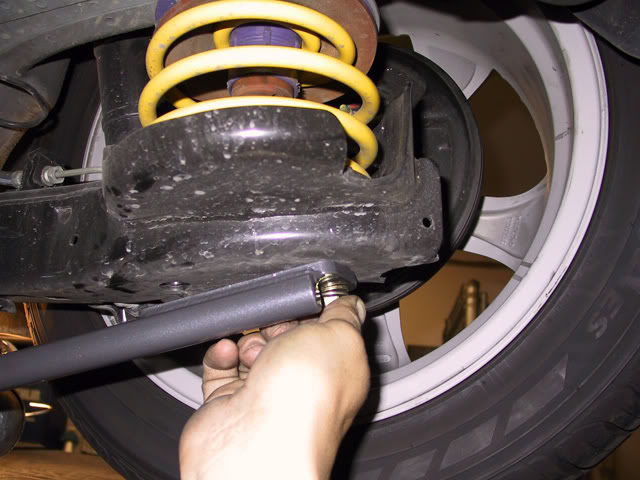
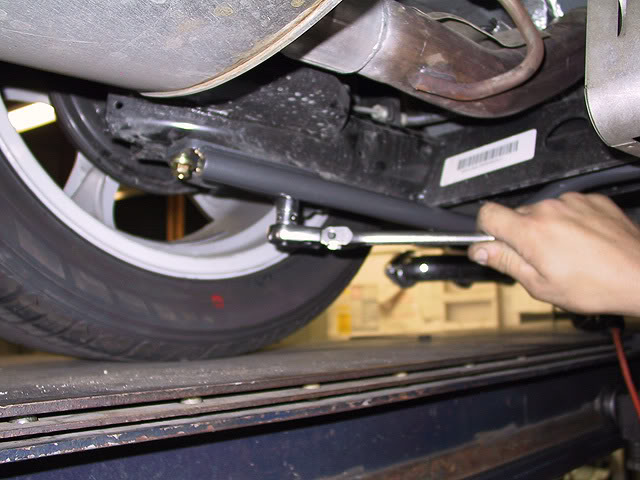
Tighten the right side with torque wrench to 45 ft lbs.

Tighten the left side with torque wrench to 45 ft lbs.
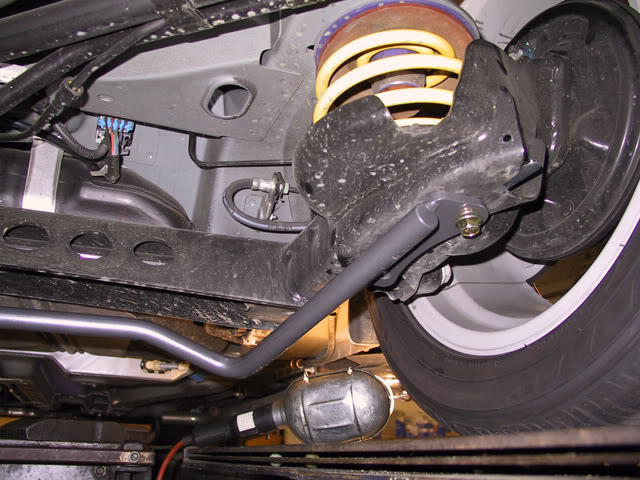
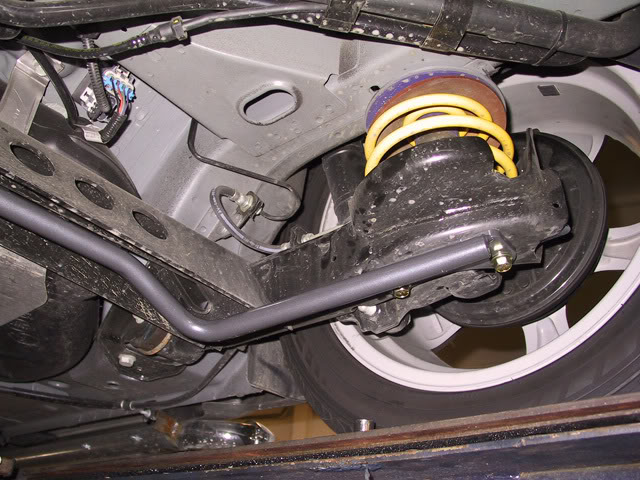
You are now done...take that mean machine of yours out for a spin
and check out the difference in the ride.
Thanks go out to Mike from SoCalHHR's for the great photos and product he supplied me.
Definitely made a huge difference with body roll once it was installed.
Thought I'd share them with those of you who would like to see them and post my version of installing the sway bar.
Plus the pics are here on the site, just in case Mike's page ever disappears for some reason.
This is what your package should look like if's it's a Progress Tech.
Very large heavy box with sway bar and a bag of parts.
Mine came with instructions when I bought it from Mike.
Hardware needed to install the sway bar.
(oh lookie there...there's the directions inside that plastic bag)
Ladies will read them...guys will do the macho thing and set them aside.
Henry and I backed my car up on ramps and that made it much easier to install.
It is recommended to do it flat...
but when you are in your early 50's like us,
you don't fit under the car like you used to.
Easy part is finding the holes where the sway bar will attach.
Then slide the piece that the bolts will screw into above these holes
and line it up as best you can.
This can be a little tricky when putting the bolt and washer on,
cuz the dang thing moves.
Insert bolts and hand tighten.
Tighten the right side with torque wrench to 45 ft lbs.
Tighten the left side with torque wrench to 45 ft lbs.
You are now done...take that mean machine of yours out for a spin
and check out the difference in the ride.
Thanks go out to Mike from SoCalHHR's for the great photos and product he supplied me.
Definitely made a huge difference with body roll once it was installed.


Senior Member
Joined: 07-13-2008
Posts: 480
From: Buffalo, NY
Is this something I could/should do on my SS? I haven't looked underneath yet to even see if there is an anti-sway bar for mine.
My how things change, the first mod I made to my Jeep was to disconnect the anti-sway bar for offroading...
JIm
My how things change, the first mod I made to my Jeep was to disconnect the anti-sway bar for offroading...
JIm