
Project Loud Wood (lol)


Thread Starter
Member
Joined: 04-23-2012
Posts: 42
From: Fairborn, Oh
Well i am slowly still stripping the interior out. I quickly hooked up the amp and sub, and almost immediately the roof rack was loosened. Guess its a good thing i am dropping the headliner anyways, and i will be investing in a case of thread locker lol. Oh boy was that loud!
Thread Starter
Member
Joined: 04-23-2012
Posts: 42
From: Fairborn, Oh
Between the USPS failing, the mosquito infestation, the rainy weather, and my knack for being a perfectionist, this is taking for ever to get done lol.
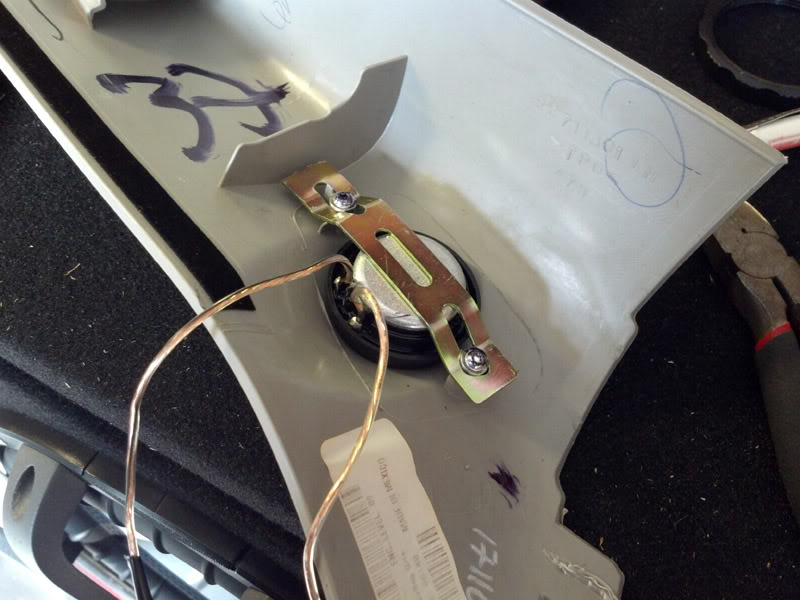
Tweeters mounted and wires run
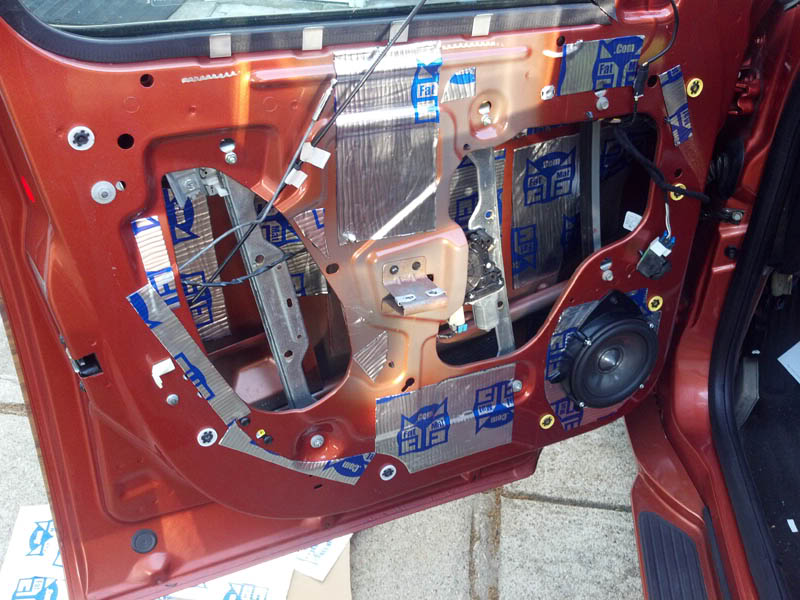
Drivers door deadened and speaker installed
I pulled the headliner yesterday and covered the rear half of the roof completely. Made a HUGE difference!
Tweeters mounted and wires run
Drivers door deadened and speaker installed
I pulled the headliner yesterday and covered the rear half of the roof completely. Made a HUGE difference!
Thread Starter
Member
Joined: 04-23-2012
Posts: 42
From: Fairborn, Oh

Man I am about done with Sonic Electronix. I ordered a single sealed box and received a dual 12 box. I ordered the scosche adapters and it took over a month to get them. So long that i ordered another set from another ebayer, and received all of them on the same day.
Thats my luck! 


rant over

Thread Starter
Member
Joined: 04-23-2012
Posts: 42
From: Fairborn, Oh
Thread Starter
Member
Joined: 04-23-2012
Posts: 42
From: Fairborn, Oh
Well painfully slow progress continues...here is a video of my FatMat install. Kind of a demo.
http://www.youtube.com/watch?v=iv_kAuv3FGo
http://www.youtube.com/watch?v=iv_kAuv3FGo
Thread Starter
Member
Joined: 04-23-2012
Posts: 42
From: Fairborn, Oh
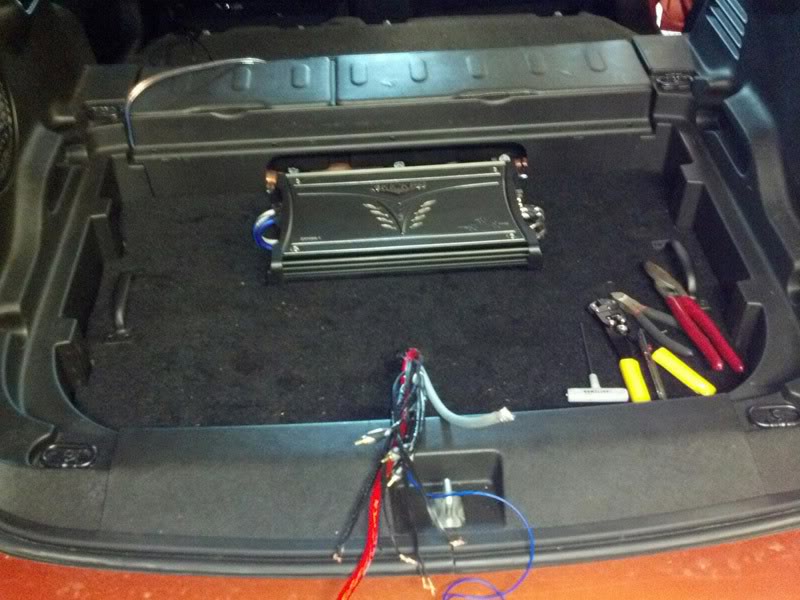
Finally kicked my rear end in gear and got the system in its final home...oh and I might have gone overboard on the subs... 

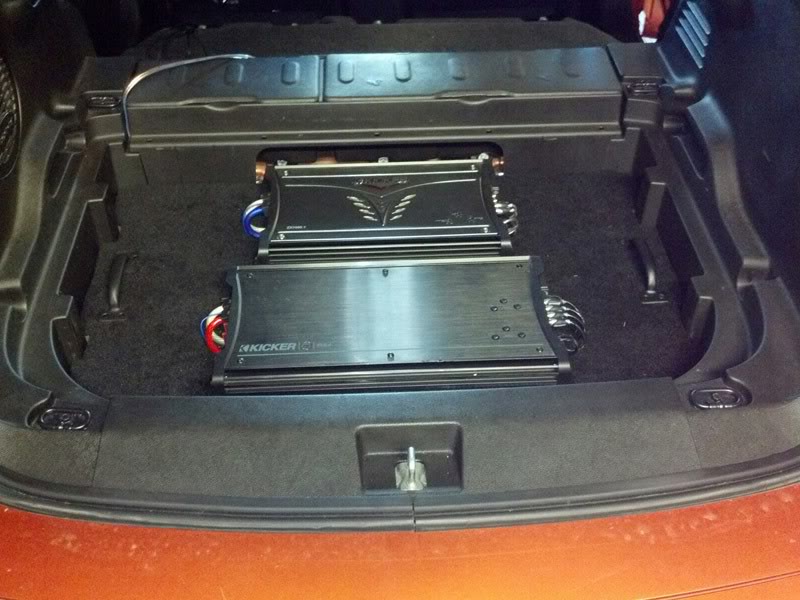
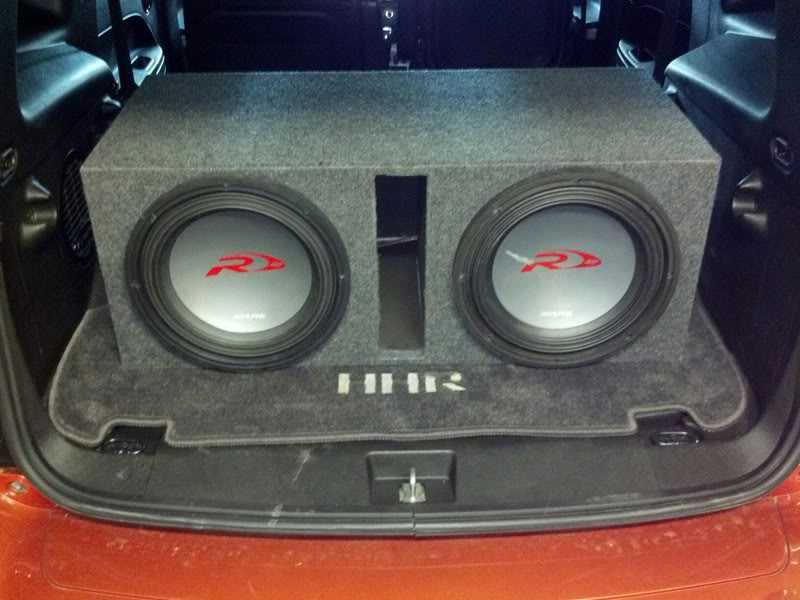

Yeah so I am not sure if these subs are staying but...the other little ones were not cutting it at all. This is a good balance sound wise but I lost all storage space.
Yeah so I am not sure if these subs are staying but...the other little ones were not cutting it at all. This is a good balance sound wise but I lost all storage space.

Member
Joined: 07-21-2010
Posts: 44
From: Blacksburg, VA
I know this thread is almost a year old, but I was wondering something.
James - what are the dimensions of your amp rack? I have been measuring the spare tire cover in my HHR and am worried that if I make the final cuts, a lot of sanding and adjustments will need to be made to make it fit flush. Just thought maybe you would have the dims written down to make that step easier.
Thanks for your help, and your set up looks great!
Thread Starter
Member
Joined: 04-23-2012
Posts: 42
From: Fairborn, Oh
Unfortunately I did not take measurements during the install. I actually just cut the top edge of the tray off using a dremel
 and used that to trace out onto mdf. It was pretty forgiving and I still had to go back and nibble away here and there to get it to sit all the way down on the lip. I think the easiest way to do it again without cutting up the tray insert would be to lay poster board down and just use scissors to get it correct. Make a template and then transfer that to MDF. 3/4" worked out nicely. Hope that helps. Sorry I didn't have measurements for ya.