
DIY Roof Rack Install


Thread Starter
New Member
Joined: 12-31-2008
Posts: 28
From: MN
DIY Roof Rack Install
This is where it all started… I purchased my HHR and had no idea that my Yakima roof rack system would not fit… It seemed like my best choice was to install the factory side rails and use the Thule 450 Crossroad system.
Because I have more time than money I purchased the GM rails and installed them myself. I took photos along the way so I could make us a DIY page.
Please understand that the purpose of this is to give an idea of what is involved in installing the GM rails. Hopefully this will help you decide if you want to attempt this project.
This is just an outline; PLEASE follow the instruction supplied by General Motors.
Step one
Unpack your GM roof rack part number 19159799 (chrome) or 19159798 (black) and make sure everything is there.
2 Side rails
8 M6 Bolts
8 Rivet Nuts
1 Drill bit 9mm
1 Set of instructions
4 Side rail covers (end caps)

Step Two
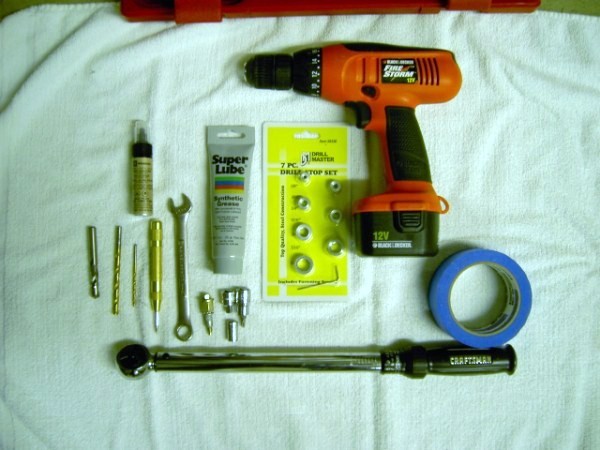
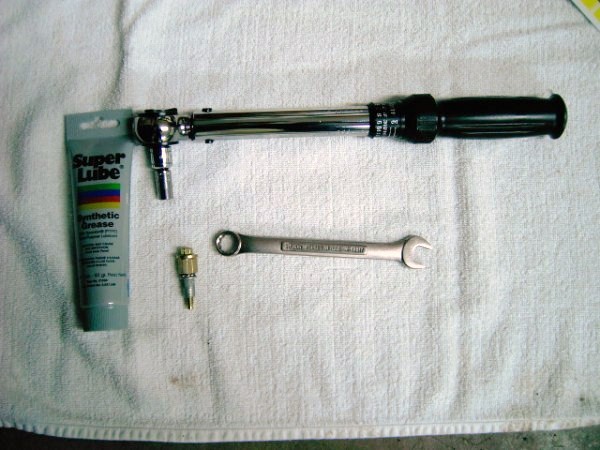
Gather the required tools (recommended tools)
Drill
2mm Drill Bit
6mm Drill Bit
9mm drill bit (provided with your kit)
Blue painters tape (for easy removal)
Templates (provided with your kit)
Drill bit stops
GM Super Lube part # 12371287 (I used Super lube Synthetic Grease with PTFE)
Center punch (spring loaded one worked great)
13mm wrench
T30 Driver
Torque wrench. Inch pounds (NOT Foot pounds)
10mm Socket for Torque wrench
Tape measure (I used a metric one)
Step Three
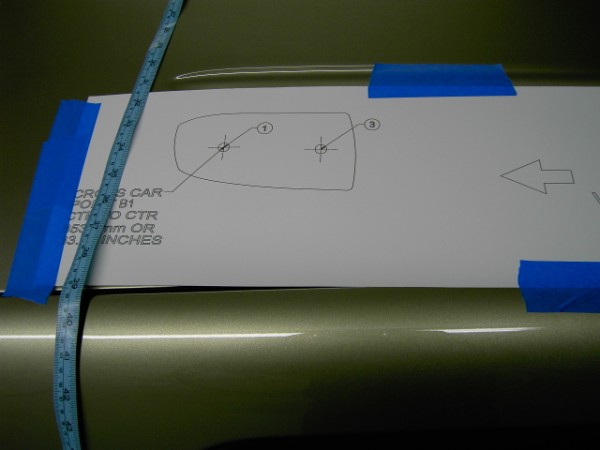
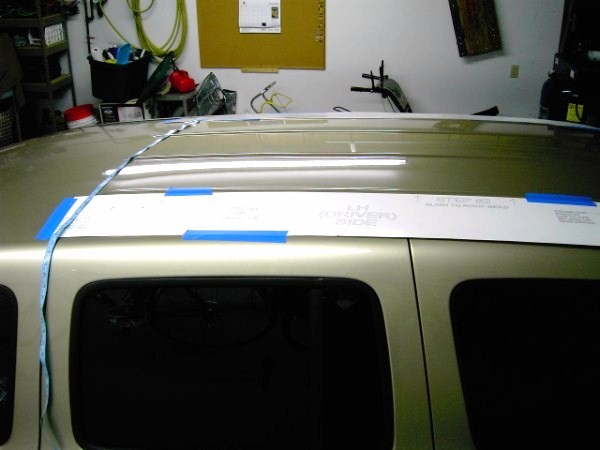
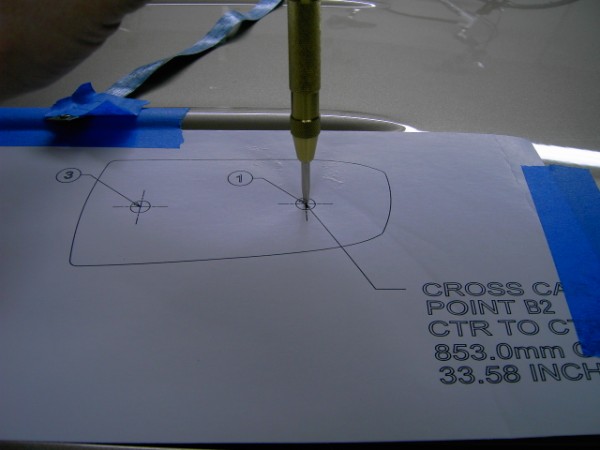
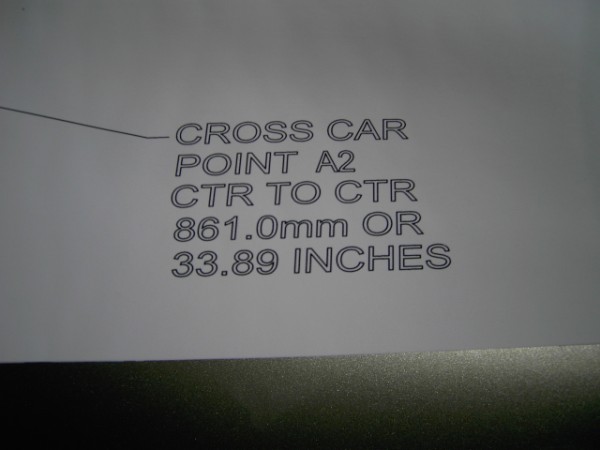
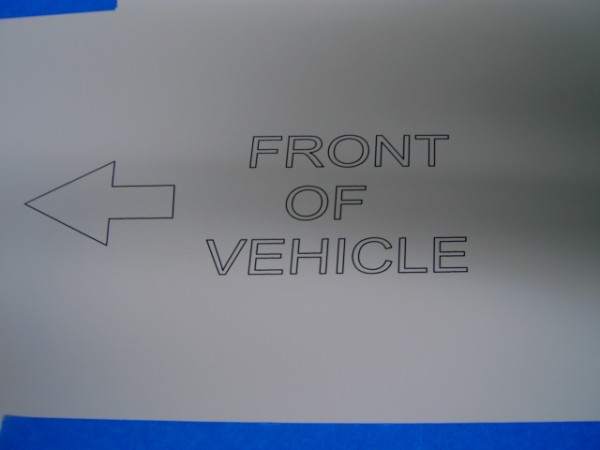
Apply the templates
Position the right and left templates per directions. Tape them down to your roof once you have the correct measurements. The templates are very good. They will tell you where they should be positioned. XXX CHECK and RECHECK the placement of your templates XXX. Your measurements need to be +- 1mm.
Once you are confident the templates are in the proper position secure them with more blue painters tape and measure again!


Step Four
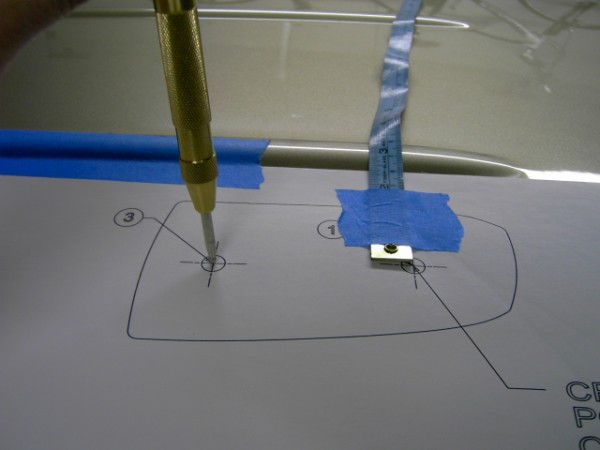
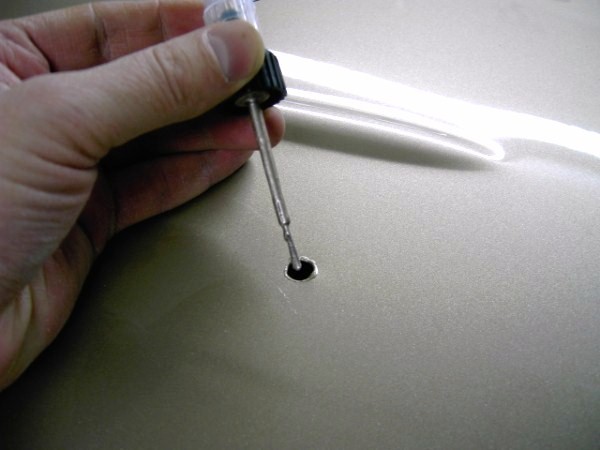
Mark the spots to be drilled
With your center punch mark the eight spots using the template. I used a spring loaded punch.

Step Five
Get ready to make some holes!
Once the eight spots are marked remove the template and look at what you have done! The template must be removed prior to drilling. DO NOT drill through the templates. Remove the template and use the marks you just made.
Step Six
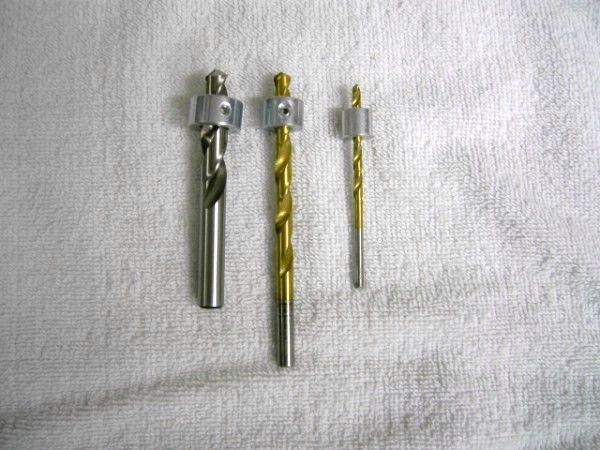
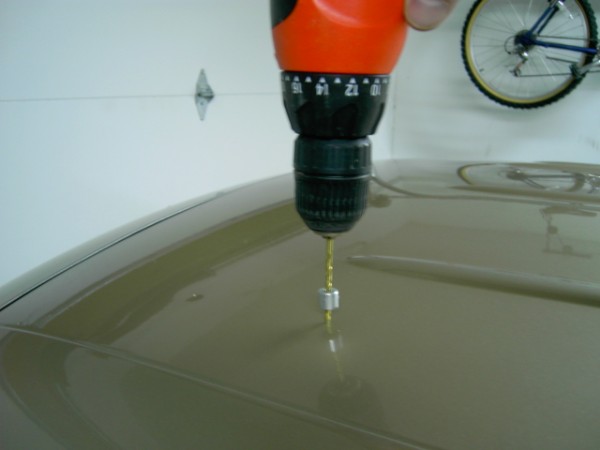
Make the holes…
Start with your smallest drill bit to make pilot holes. Make sure you have drill bit stops on your bits so you do not go through the head liner (I purchased stops at Harbor Freight Tools for under $2.00) The drill stop should not allow more that � inch travel.
Once you have the pilot holes done get your next size bit and drill the holes a bit bigger. Take your time…

Now the final pass… use the 9mm drill bit GM gave you to make your final pass.

Step 7 and 11 on next Page
Because I have more time than money I purchased the GM rails and installed them myself. I took photos along the way so I could make us a DIY page.
Please understand that the purpose of this is to give an idea of what is involved in installing the GM rails. Hopefully this will help you decide if you want to attempt this project.
This is just an outline; PLEASE follow the instruction supplied by General Motors.
Step one
Unpack your GM roof rack part number 19159799 (chrome) or 19159798 (black) and make sure everything is there.
2 Side rails
8 M6 Bolts
8 Rivet Nuts
1 Drill bit 9mm
1 Set of instructions
4 Side rail covers (end caps)
Step Two
Gather the required tools (recommended tools)
Drill
2mm Drill Bit
6mm Drill Bit
9mm drill bit (provided with your kit)
Blue painters tape (for easy removal)
Templates (provided with your kit)
Drill bit stops
GM Super Lube part # 12371287 (I used Super lube Synthetic Grease with PTFE)
Center punch (spring loaded one worked great)
13mm wrench
T30 Driver
Torque wrench. Inch pounds (NOT Foot pounds)
10mm Socket for Torque wrench
Tape measure (I used a metric one)
Step Three
Apply the templates
Position the right and left templates per directions. Tape them down to your roof once you have the correct measurements. The templates are very good. They will tell you where they should be positioned. XXX CHECK and RECHECK the placement of your templates XXX. Your measurements need to be +- 1mm.
Once you are confident the templates are in the proper position secure them with more blue painters tape and measure again!
Step Four
Mark the spots to be drilled
With your center punch mark the eight spots using the template. I used a spring loaded punch.
Step Five
Get ready to make some holes!
Once the eight spots are marked remove the template and look at what you have done! The template must be removed prior to drilling. DO NOT drill through the templates. Remove the template and use the marks you just made.
Step Six
Make the holes…
Start with your smallest drill bit to make pilot holes. Make sure you have drill bit stops on your bits so you do not go through the head liner (I purchased stops at Harbor Freight Tools for under $2.00) The drill stop should not allow more that � inch travel.
Once you have the pilot holes done get your next size bit and drill the holes a bit bigger. Take your time…
Now the final pass… use the 9mm drill bit GM gave you to make your final pass.
Step 7 and 11 on next Page
Last edited by ChevyMgr; Jul 19, 2010 at 07:55 PM. Reason: reposted all images
Thread Starter
New Member
Joined: 12-31-2008
Posts: 28
From: MN
Steps 7 to 11
Step Seven
Clean the area
Clean up all your metal shavings. Vacuum and wipe the area clean. Also, look at the holes you just made and make sure you clean up any burrs left by the drilling process.

Step Eight
Use touch up paint to protect the exposed metal.
Here comes my favorite part...Drink a beer (or soda) and let the paint dry…
Step Nine
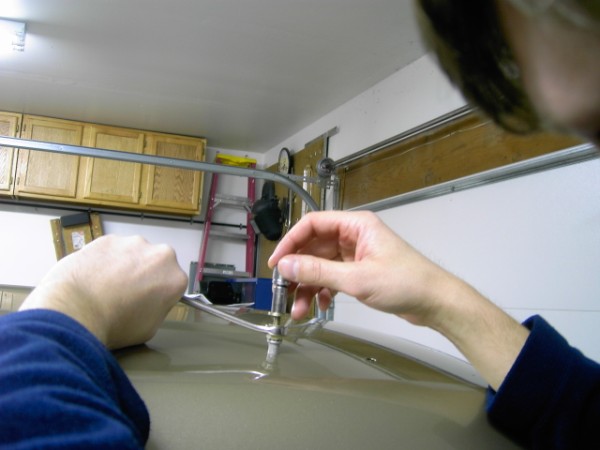
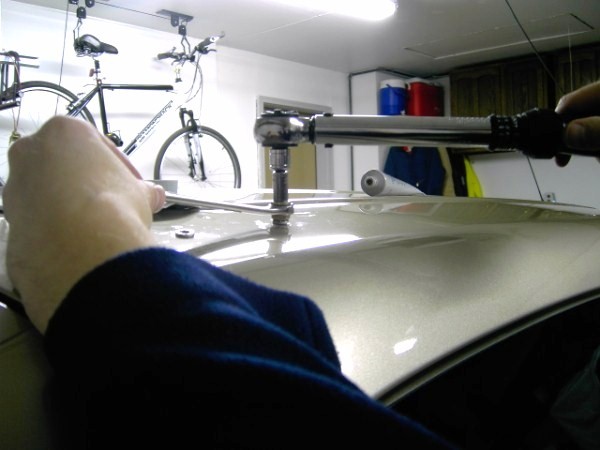
Install the riv nuts
Prior to installing the riv nuts lubricate the nut and the tool with GM Super Lube part number 12371287 with PTFE per the supplied directions (I used Super Lube Synthetic grease with PTFE).
Use the riv nut tool provided to install the nuts. Use your 13mm wrench to hold the tool/nut in place. Use your torque wrench with 8mm socket to set them. Your torque wrench should be set at 75in-lbs (8.5N-m) XXX Inch pounds NOT foot Pounds XXX


Step Ten
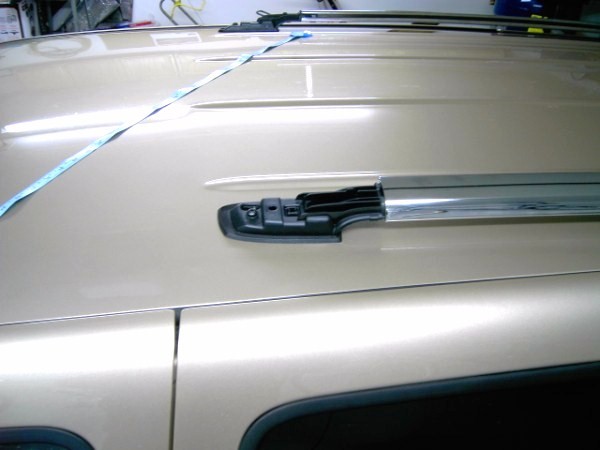
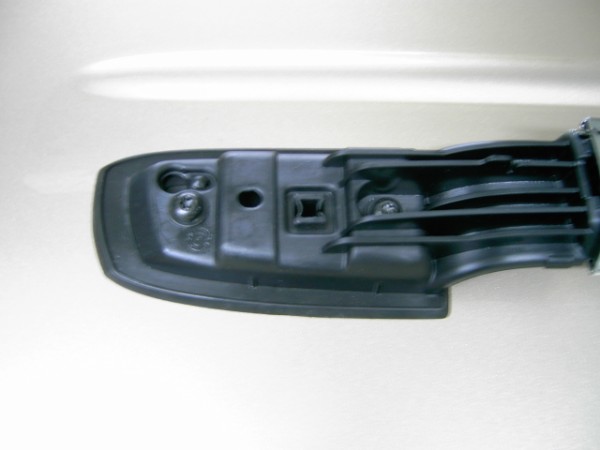
Install the rails
Set the rails in place making sure to verify placement (LH front and RH front) the rails are marked near the end caps on the plastic.
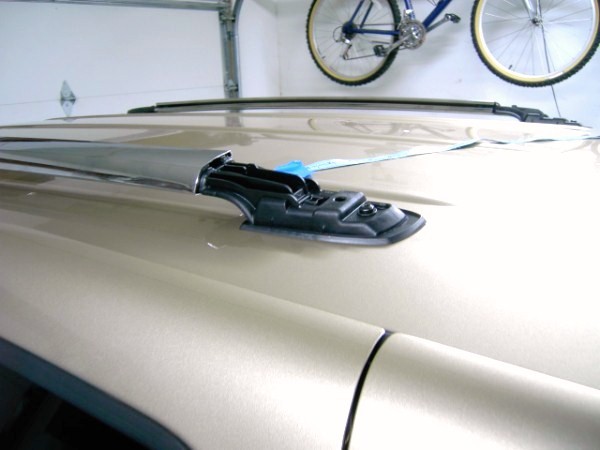
Step Eleven
Snap the end caps in place and admire your nice work!
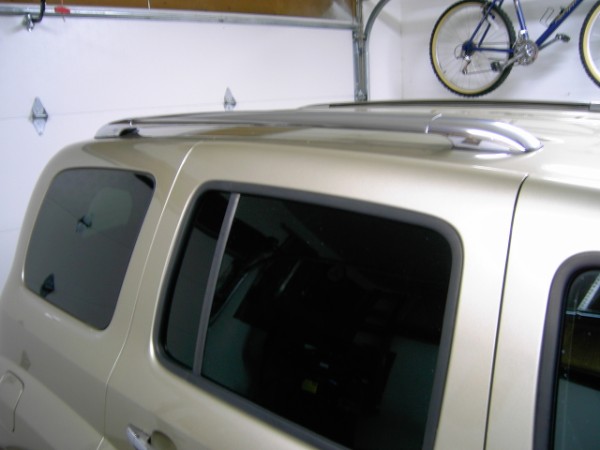
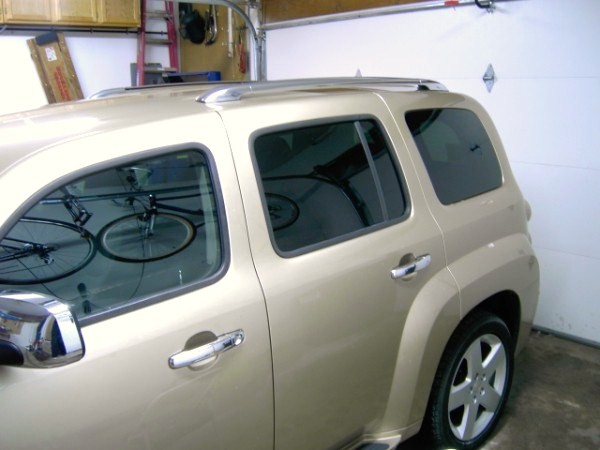
Please let me know if this is helpful! Sorry for the blury images, I am not sure what happened...
Clean the area
Clean up all your metal shavings. Vacuum and wipe the area clean. Also, look at the holes you just made and make sure you clean up any burrs left by the drilling process.
Step Eight
Use touch up paint to protect the exposed metal.
Here comes my favorite part...Drink a beer (or soda) and let the paint dry…
Step Nine
Install the riv nuts
Prior to installing the riv nuts lubricate the nut and the tool with GM Super Lube part number 12371287 with PTFE per the supplied directions (I used Super Lube Synthetic grease with PTFE).
Use the riv nut tool provided to install the nuts. Use your 13mm wrench to hold the tool/nut in place. Use your torque wrench with 8mm socket to set them. Your torque wrench should be set at 75in-lbs (8.5N-m) XXX Inch pounds NOT foot Pounds XXX
Step Ten
Install the rails
Set the rails in place making sure to verify placement (LH front and RH front) the rails are marked near the end caps on the plastic.
Step Eleven
Snap the end caps in place and admire your nice work!
Please let me know if this is helpful! Sorry for the blury images, I am not sure what happened...
Last edited by ChevyMgr; Jul 19, 2010 at 09:02 PM. Reason: admin edit


 That detail is sure to help someone wanting roof rails, & maybe give someone that wasn't quite confident to do it themselves that extra push to go ahead with it!


