
How to remove valve cover for 2.4.


Thread Starter
Senior Member
Joined: 04-30-2006
Posts: 9,149
From: Maryland Heights, MO
How to remove valve cover for 2.4.
I had to switch out my valve covers so I figured I'd do a how-to while I was at it. Please excuse the lack of all the technical terms. I don't know what half the stuff was I had to remove. This just goes to show that if I could do this, anyone could.
The whole job took about an hour including taking the pics along the way.
Tools needed:
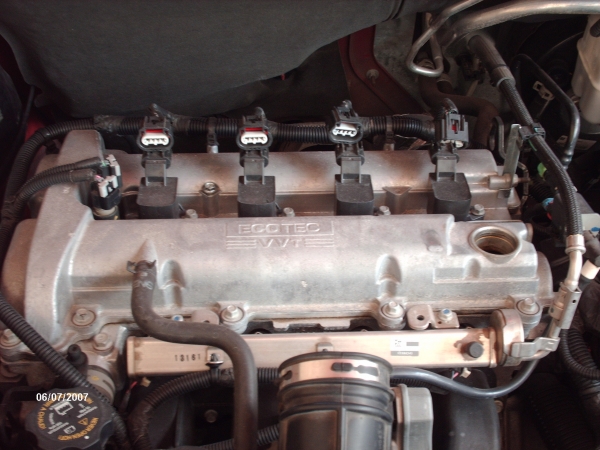
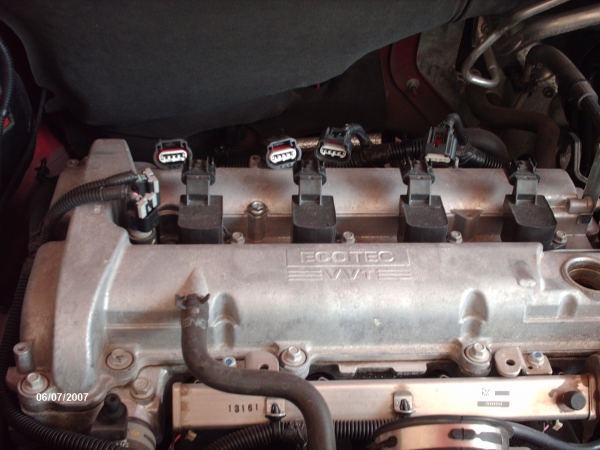
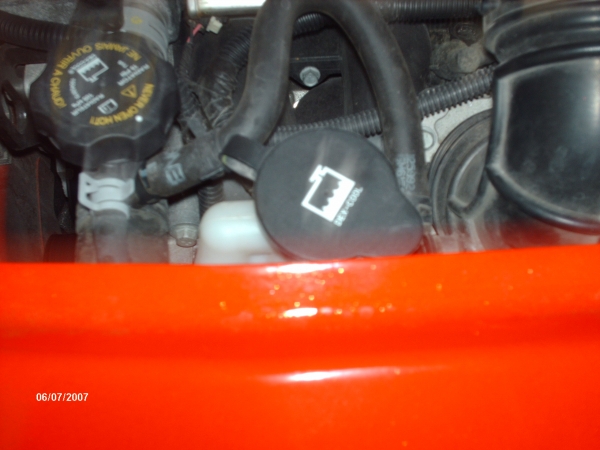
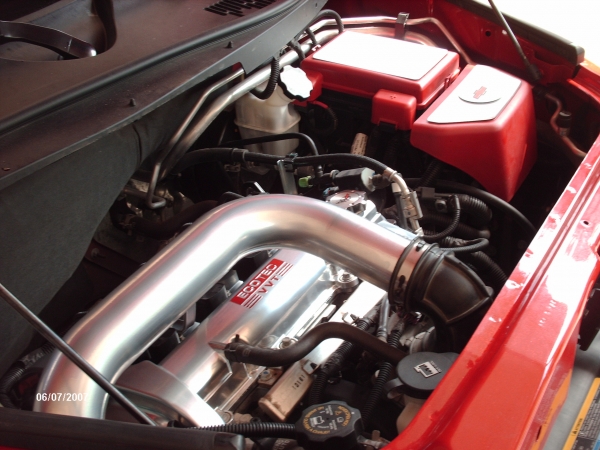
After removing intake oem or aftermarket, the first step is to start by diconnecting all of the harnesses. I removed these four first. (Oil cap was already off to help cool valve cover, this will need to be removed but not to remove valve cover.)
They are along the center of the cover. I draped them to the rear.
Next I removed the fuel line from this support bracket.
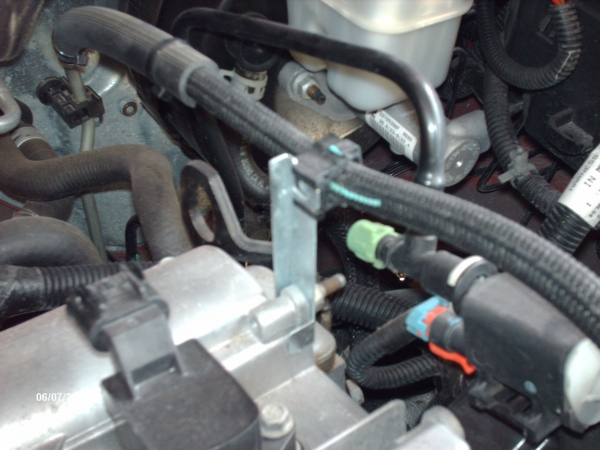
This is the only time I needed the screwdriver. I wedged it, as shown, so that I could remove the plastic piece from the bracket. I removed the bracket later.
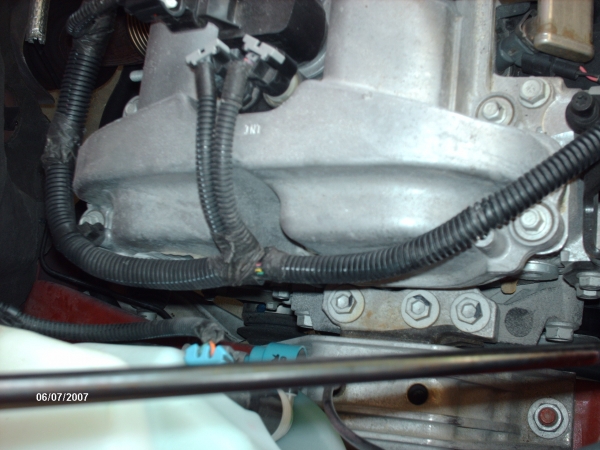
Next, I disconected the wiring bundles which were attached to the valve cove along the left side and rear. These were a little difficult to get out. I used a plyers to grip them. One broke.
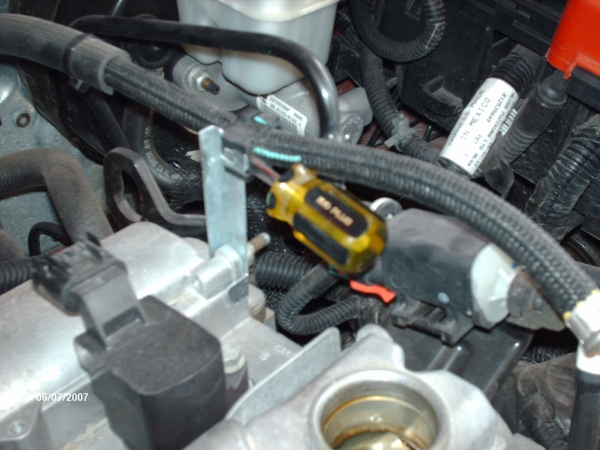
Next I used a plyers to disconnect this hose from the cover. I just tucked it down in front.

Next I removed these. Don't know what they are but they had to go. Be carful, they have to be wiggled out and I got a little oil splash when I pulled them out. All of the bolts are 10mm.

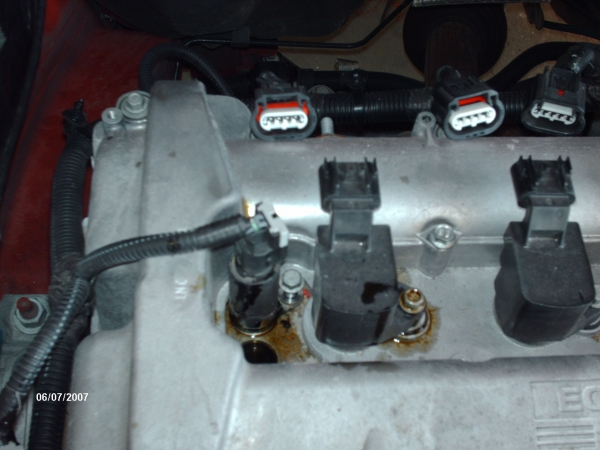
Next came what I belive are the spark plug assemblies. (If someone would let me know how to get to the plugs that would be great!) The bolts for these came out with the large piece and left a rubber gasket thingamagig. All of the bolts are 10mm.

The whole job took about an hour including taking the pics along the way.
Tools needed:
- 10mm deep socket and extension
- 13mm open wrenck/deep sockect
- this nosed standard screwdriver
- plyers
After removing intake oem or aftermarket, the first step is to start by diconnecting all of the harnesses. I removed these four first. (Oil cap was already off to help cool valve cover, this will need to be removed but not to remove valve cover.)
They are along the center of the cover. I draped them to the rear.
Next I removed the fuel line from this support bracket.
This is the only time I needed the screwdriver. I wedged it, as shown, so that I could remove the plastic piece from the bracket. I removed the bracket later.
Next, I disconected the wiring bundles which were attached to the valve cove along the left side and rear. These were a little difficult to get out. I used a plyers to grip them. One broke.
Next I used a plyers to disconnect this hose from the cover. I just tucked it down in front.
Next I removed these. Don't know what they are but they had to go. Be carful, they have to be wiggled out and I got a little oil splash when I pulled them out. All of the bolts are 10mm.
Next came what I belive are the spark plug assemblies. (If someone would let me know how to get to the plugs that would be great!) The bolts for these came out with the large piece and left a rubber gasket thingamagig. All of the bolts are 10mm.
Thread Starter
Senior Member
Joined: 04-30-2006
Posts: 9,149
From: Maryland Heights, MO
Now all that's left are the 11 bolts around the valve cover. These are all 10mm. These too have an attached rubber gasket thingy on them.
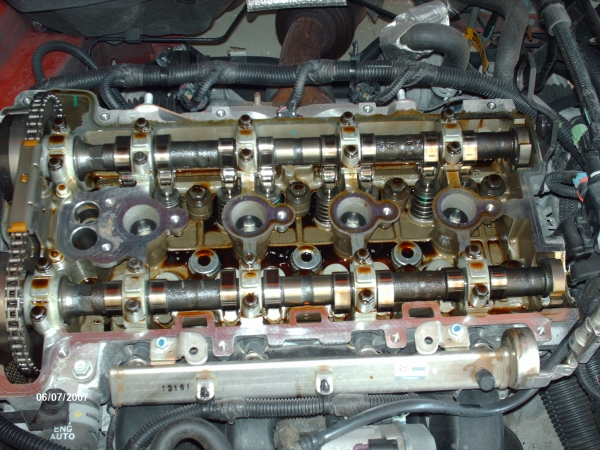
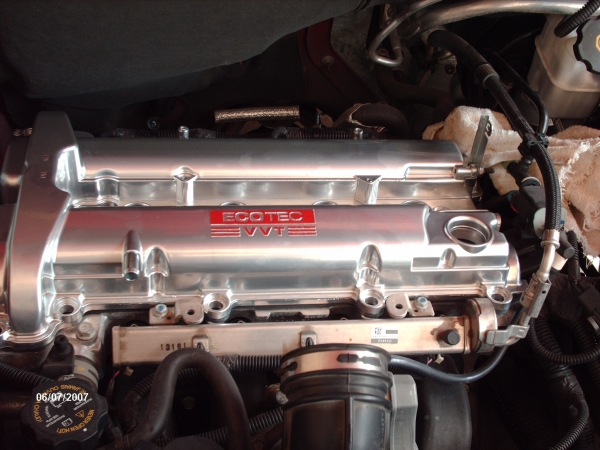
I removed the valve cover with them still attatched. This pic shows the underside of the valve cover and one of the bolts next to it.

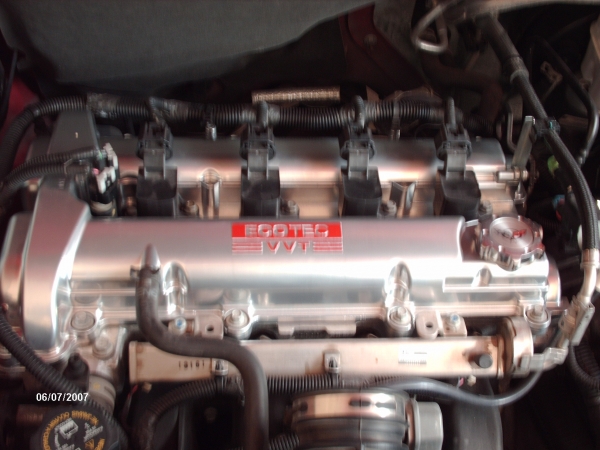
The inside of the 2.4 ecotec.
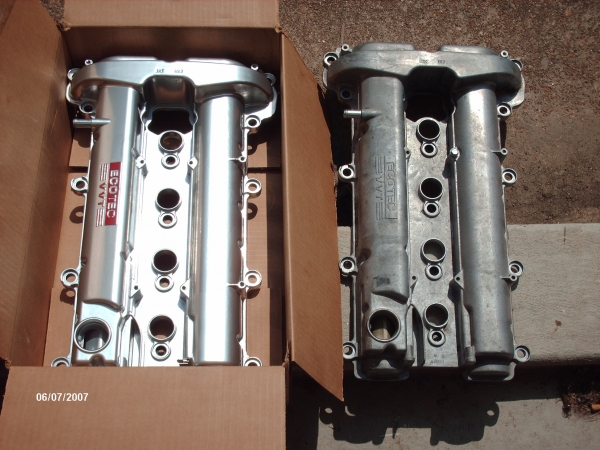
Here are a couple side-by-side pics of the old and new valve covers.

Now I removed the bracket for the fuel line. I used the 13mm open wrech to remove it from the old cover and the 13mm deep socket to put it on the new before installing the new valve cover. I bought a new set of gaskets when I got the new valve cover. The rubber gasket on the original was in very good condition though and I would not hesitate to re-use it next time.

I put a towel over a large heavy bracket to the left of the engine. This helps prevent scraping when putting the cover on. This bracket angles a little over the engine so you need to place that side first.
All that left is re-attaching everything.
First I bolted the valve cover down. I finger tightened all the bolts first and the used the socket (10mm). I did the lower, center one on the left side first. Then I did the fatherest corner. Then I alternated from one side to another. I did not put much pressure yet.
I installed all of the items on top of the valve cover tightening them down well. I was careful, not to torque them down too much.( I don't have a torque wrench.) I then torqued down the valve cover bolts. Again being careful not to use too much pressure.
Next I plugged all the harnesses back in, attatched the fuel line to the support bracket, and re-ran the wiring bundle along the rear and left of the engine. I also put the oil cap back on.
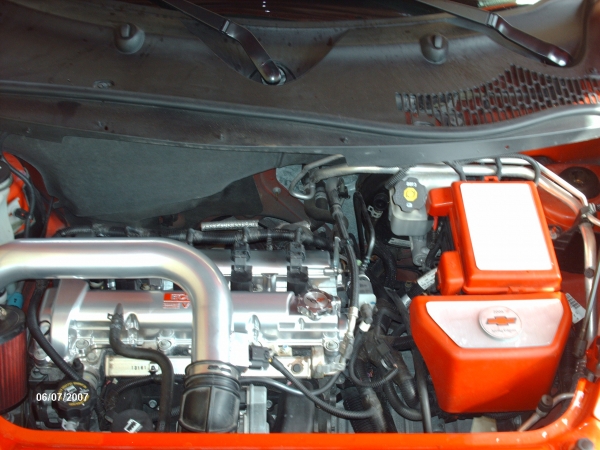
I then re-installed the intake and I was ready to go!
I did a quick trip around the block, no leaks or codes so far. I'll keep a close eye on it over the next few days.
That's it. Pretty easy and not a bunch of tools needed.
I removed the valve cover with them still attatched. This pic shows the underside of the valve cover and one of the bolts next to it.
The inside of the 2.4 ecotec.
Here are a couple side-by-side pics of the old and new valve covers.
Now I removed the bracket for the fuel line. I used the 13mm open wrech to remove it from the old cover and the 13mm deep socket to put it on the new before installing the new valve cover. I bought a new set of gaskets when I got the new valve cover. The rubber gasket on the original was in very good condition though and I would not hesitate to re-use it next time.
I put a towel over a large heavy bracket to the left of the engine. This helps prevent scraping when putting the cover on. This bracket angles a little over the engine so you need to place that side first.
All that left is re-attaching everything.
First I bolted the valve cover down. I finger tightened all the bolts first and the used the socket (10mm). I did the lower, center one on the left side first. Then I did the fatherest corner. Then I alternated from one side to another. I did not put much pressure yet.
I installed all of the items on top of the valve cover tightening them down well. I was careful, not to torque them down too much.( I don't have a torque wrench.) I then torqued down the valve cover bolts. Again being careful not to use too much pressure.
Next I plugged all the harnesses back in, attatched the fuel line to the support bracket, and re-ran the wiring bundle along the rear and left of the engine. I also put the oil cap back on.
I then re-installed the intake and I was ready to go!
I did a quick trip around the block, no leaks or codes so far. I'll keep a close eye on it over the next few days.
That's it. Pretty easy and not a bunch of tools needed.


Senior Member
Joined: 02-03-2006
Posts: 1,785
From: So Cal
Looks great  The CGS & coated valve covers go well together. I've got an airaid and it covers most of the valve cover, so I consider this a long term project...
BTW...thanks for the how-to, we need more of these on this forum.
Ng
BTW...thanks for the how-to, we need more of these on this forum.
Ng


Senior Member
Joined: 08-17-2006
Posts: 1,851
From: Ottawa, Ontario
That looks really sharp.
There is also a how-to on SoCal's site for this:
http://www.socalhhr.citymax.com/page/page/3892106.htm
There is also a how-to on SoCal's site for this:
http://www.socalhhr.citymax.com/page/page/3892106.htm
Thread Starter
Senior Member
Joined: 04-30-2006
Posts: 9,149
From: Maryland Heights, MO
Thanks! So many of the how-to's on here have help me do a bunch of stuff, and I like taking pics, so I thought it be a good chance to do my first how-to.
My next project involves pulling the headliner out completely, not looking forward to that!
My next project involves pulling the headliner out completely, not looking forward to that!
Senior Member
Joined: 08-17-2006
Posts: 1,851
From: Ottawa, Ontario
So was the poweder coating one of those deals that you send you old "core" back after you've done the swap?
Mines a leased vehicle (even though I'm buying it out at the end) but that job would have to wait until I was the owner.
Mines a leased vehicle (even though I'm buying it out at the end) but that job would have to wait until I was the owner.

Thread Starter
Senior Member
Joined: 04-30-2006
Posts: 9,149
From: Maryland Heights, MO
I bought a new one, along with a new gasket. That way I wouldn't lose use of the car.
The gasket is reusable, but I got one anyway just in case. So right now I just happen to have an extra. I'm having it done for my wife's and then I'll still have an extra.
We're thinking of doing her's a dark purple. Should look good with the amethyst. Just need to get her a CGS intake.
The gasket is reusable, but I got one anyway just in case. So right now I just happen to have an extra. I'm having it done for my wife's and then I'll still have an extra.
We're thinking of doing her's a dark purple. Should look good with the amethyst. Just need to get her a CGS intake.