
Spring Install (Dial-up, enter at your own risk)


Thread Starter
Senior Member
Joined: 02-03-2006
Posts: 1,785
From: So Cal
Spring Install (Dial-up, enter at your own risk)
Here it is, after much anticipation, my Goldline spring install. The springs were bought, along with camber and shim kit, through SoCal  . This was a solo install in my garage. I give it a 3 out of 5 wrench difficulty only because of the special tools required. There are different ways of doing this, but this is how I did it:
Tools I used:
Sockets: 10, 13, 18, 19 (lugnuts), and 21 mm (24mm for the spring compressor tool).
Large brass punch
Hammer
Air compressor and impact wrench (1/2 inch drive)
2 jacks (1 heavy duty 3 ton Craftsman and a small one to help line-up bolt holes during installation)
2 jackstands
Spring compressor tool
1 hacksaw
TQ wrench (100 ft. lbs. for lugnuts)
universal adapter (3/8)
Ratchet wrench and two 3 inch extensions (3/8)

Here's the kit I bought from SoCal .
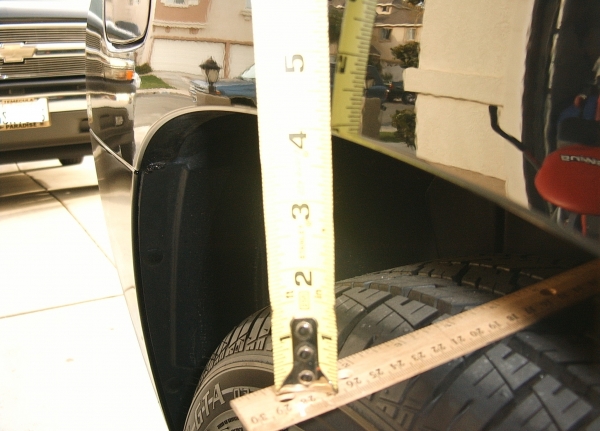
Stock rear
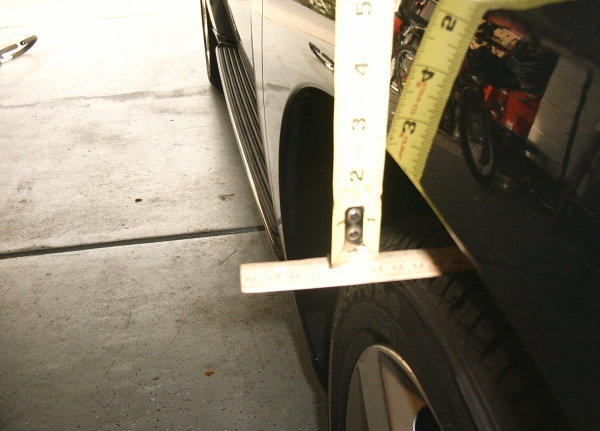
Stock front .
.
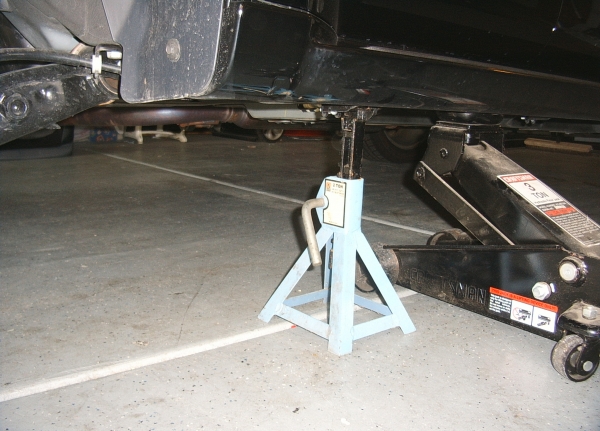
I started with the rear first. Jack it up and remove the tires.
. This was a solo install in my garage. I give it a 3 out of 5 wrench difficulty only because of the special tools required. There are different ways of doing this, but this is how I did it:Tools I used:
Sockets: 10, 13, 18, 19 (lugnuts), and 21 mm (24mm for the spring compressor tool).
Large brass punch
Hammer
Air compressor and impact wrench (1/2 inch drive)
2 jacks (1 heavy duty 3 ton Craftsman and a small one to help line-up bolt holes during installation)
2 jackstands
Spring compressor tool
1 hacksaw
TQ wrench (100 ft. lbs. for lugnuts)
universal adapter (3/8)
Ratchet wrench and two 3 inch extensions (3/8)
Here's the kit I bought from SoCal
.Stock rear
Stock front
.I started with the rear first. Jack it up and remove the tires.
Last edited by ng8650; Feb 27, 2006 at 10:57 AM.
Thread Starter
Senior Member
Joined: 02-03-2006
Posts: 1,785
From: So Cal
Cont...
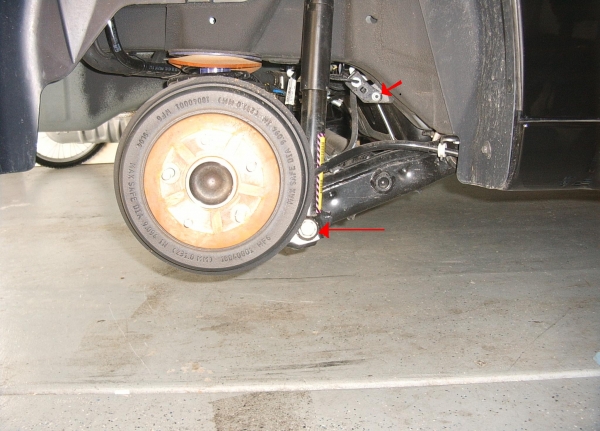
Stock rear set up. The two red arrows show the two bolts you'll need to remove on both sides. This is all that is needed to remove the springs from the rear.

Remove the rear brake line nut from both sides (10 mm). Move this bracket and brake line so you have room to push down on the lower arm without stretching the brake line.

Remove both lower shock bolt.

Bolt removed. Once both bolts are removed you can push down on the spring arm and remove the stock spring.
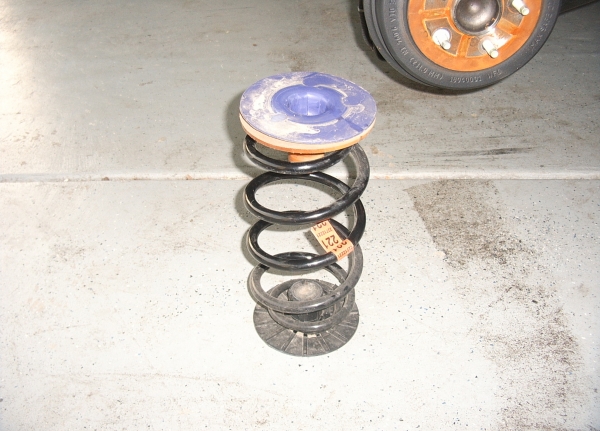
Rear spring removed.
Last edited by ng8650; Feb 27, 2006 at 02:05 PM.
Thread Starter
Senior Member
Joined: 02-03-2006
Posts: 1,785
From: So Cal
Cont...

Remove the lower isolator and bumpstop top pads from the stock spring and install on the goldline. Make sure you trim the bumpstop per Goldline specs (SoCal has a nifty flyer that shows you how).

Trim the rear bumpstop with a hacksaw and install on the new spring.
Then install the Goldline set-up. I used a small jack to help compress the spring and line-up the lower shock bolt holes. Afterwards, installation is the reversal of removal.
Last edited by ng8650; Feb 27, 2006 at 11:00 AM.
Thread Starter
Senior Member
Joined: 02-03-2006
Posts: 1,785
From: So Cal
Now for the front...
You only want to do one front strut at a time. This allows you to see the other side if you forget how something goes back together.
Remove 2 out of 3 of the top strut bolts (13mm)

I left the front one half way on to hold it up while removing the lower hardware. You will need a universal adapter and the two 3 inch extensions together to reach the two back bolts here. (Sorry about the pix, cheap camera )
)

For the bottom, you will be removing a total of 3 nuts, two bolts and one wiring harness.

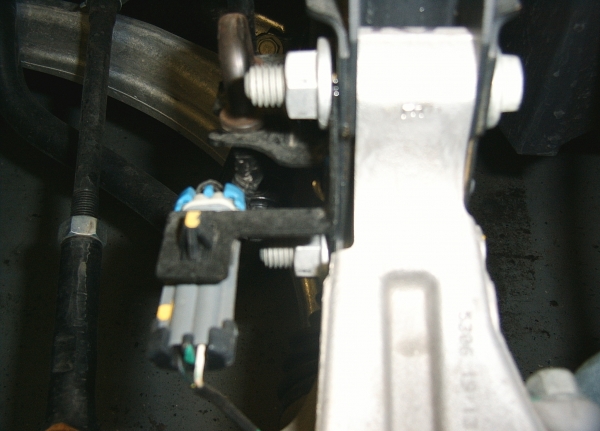
Start by disconnecting this plug and removing the wire harness from the strut and out of the way (it simply pulls out of the bracket). Once you remove the two nuts, you will be able to move the bracket out of harms way.

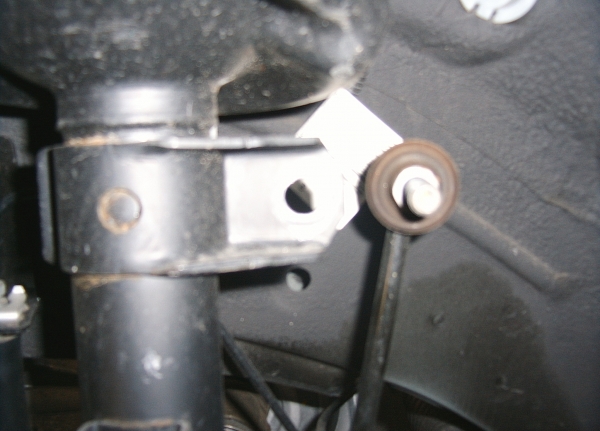
Then remove the top sway bar nut (18mm) and move it out of the way. Here I used a small jack underneath the spindle. I pumped up on the jack until the strut lined up with the bolt. If you don't, once you remove the nut, the spring pressure will push down on the link and it will be hard to remove or you will damage the threads.
Remove 2 out of 3 of the top strut bolts (13mm)
I left the front one half way on to hold it up while removing the lower hardware. You will need a universal adapter and the two 3 inch extensions together to reach the two back bolts here. (Sorry about the pix, cheap camera
For the bottom, you will be removing a total of 3 nuts, two bolts and one wiring harness.
Start by disconnecting this plug and removing the wire harness from the strut and out of the way (it simply pulls out of the bracket). Once you remove the two nuts, you will be able to move the bracket out of harms way.
Then remove the top sway bar nut (18mm) and move it out of the way. Here I used a small jack underneath the spindle. I pumped up on the jack until the strut lined up with the bolt. If you don't, once you remove the nut, the spring pressure will push down on the link and it will be hard to remove or you will damage the threads.
Last edited by ng8650; Feb 27, 2006 at 02:17 PM.
Thread Starter
Senior Member
Joined: 02-03-2006
Posts: 1,785
From: So Cal
Front cont...
Remove the two spindle bolts (18mm). After you remove the nuts, you will need a hammer and a large brass punch. These bolts are pressed in and need force to be removed. Word to the wise, be careful not to damage the threads. I put the nut back on flush with the top of the bolt and hammered away. Did not damage the threads. I also left the small jack under the spindle to support the weight of the spindle assy (to prevent any possible damage to parts while the strut is removed, user preference).
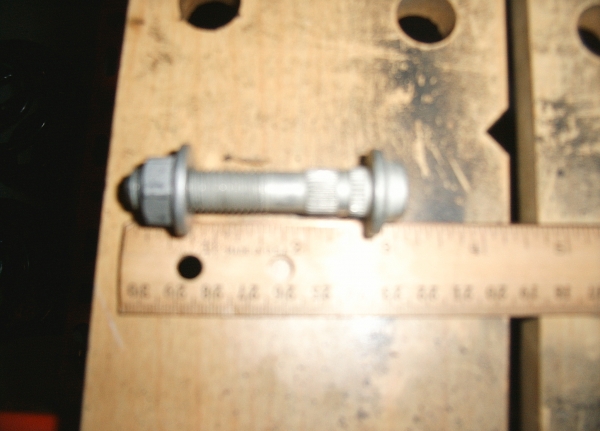
These little boogers do not want to come out

Stock strut removed. Take notes or draw a picture of how all the hardware goes that will be reinstalled on the goldline springs.
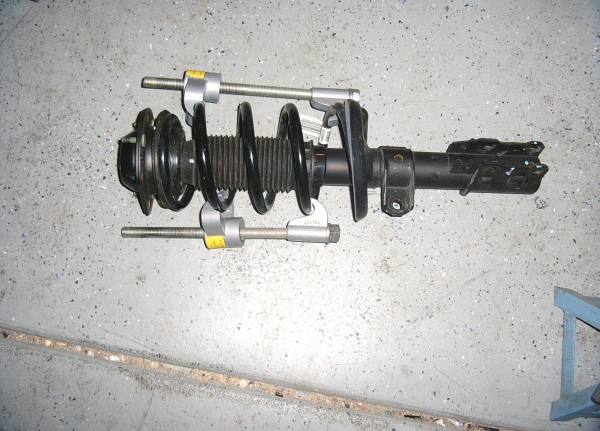
Spring compressor tool installed. Impact wrench comes in handy here. Properly tighten down the spring tool. I tighten them down until I see a gap between the bottom of the strut and the spring.
Last edited by ng8650; Feb 27, 2006 at 11:04 AM.
Thread Starter
Senior Member
Joined: 02-03-2006
Posts: 1,785
From: So Cal
Front cont...
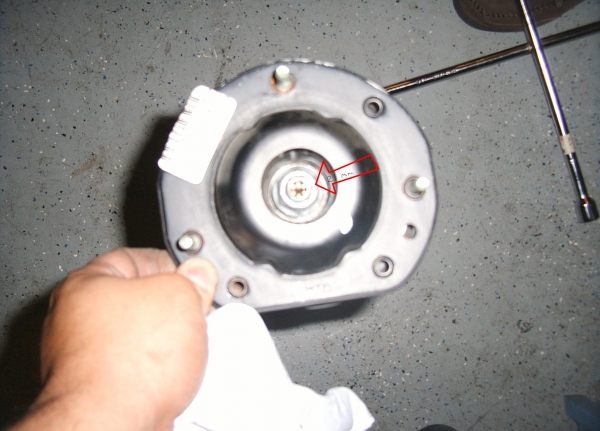
Once you have the spring properly compressed, this is the nut you will need an impact wrench for.

Stock vs. Goldline. Make sure you keep track the way the hardware was installed on the stock setup.

The bumpstop is hiding inside the dust boot. Trim the bumpstop according to Goldline. Just like the rear, I used a hacksaw and then reinstalled the bumbstop inside the boot.
Compress the Goldline spring and re-install all other hardware. Put the strut together and tighten down the main nut with the impact.

Once everything is together, installation is reversal of removal. Don't forget the ABS wiring bracket before you install the spindle nuts. Once again those spindle bolts are pressed in, so use a large brass punch and persuade those bad boys in.
Last edited by ng8650; Feb 27, 2006 at 02:10 PM.


Thread Starter
Senior Member
Joined: 02-03-2006
Posts: 1,785
From: So Cal
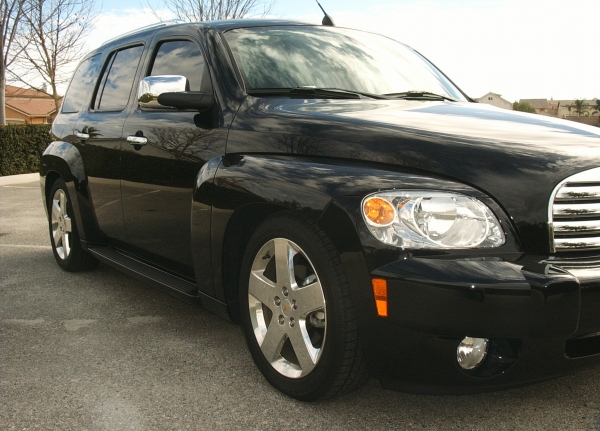
Some mo pixs...

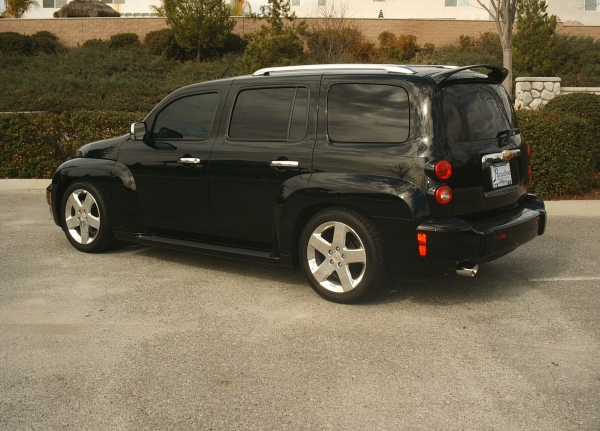

The road test will come this week. I work Tuesday through Sunday 70 miles roundtrip each day. I'll let you know in a couple of days how it rides. Also next Monday I'll take it to the alignment shop and let you know how much, if any, the alignment was out. Later...
The End
Ng
Last edited by ng8650; Feb 27, 2006 at 10:44 AM.
