When you click on links to various merchants on this site and make a purchase, this can result in this site earning a commission. Affiliate programs and affiliations include, but are not limited to, the eBay Partner Network.
so u gonna kill the electric steering , and just run the juice steering ?
I thought about running them both, but figure the steering might be too light and twitchy. I like a little resistance in my steering wheel. I worry that if I just ran the electric power steering, it might be to strenuous and burn it up. I've driven cars with burned up pumps, but it ain't any fun The lines shouldn't be too difficult. Gotta make some tranny lines too.
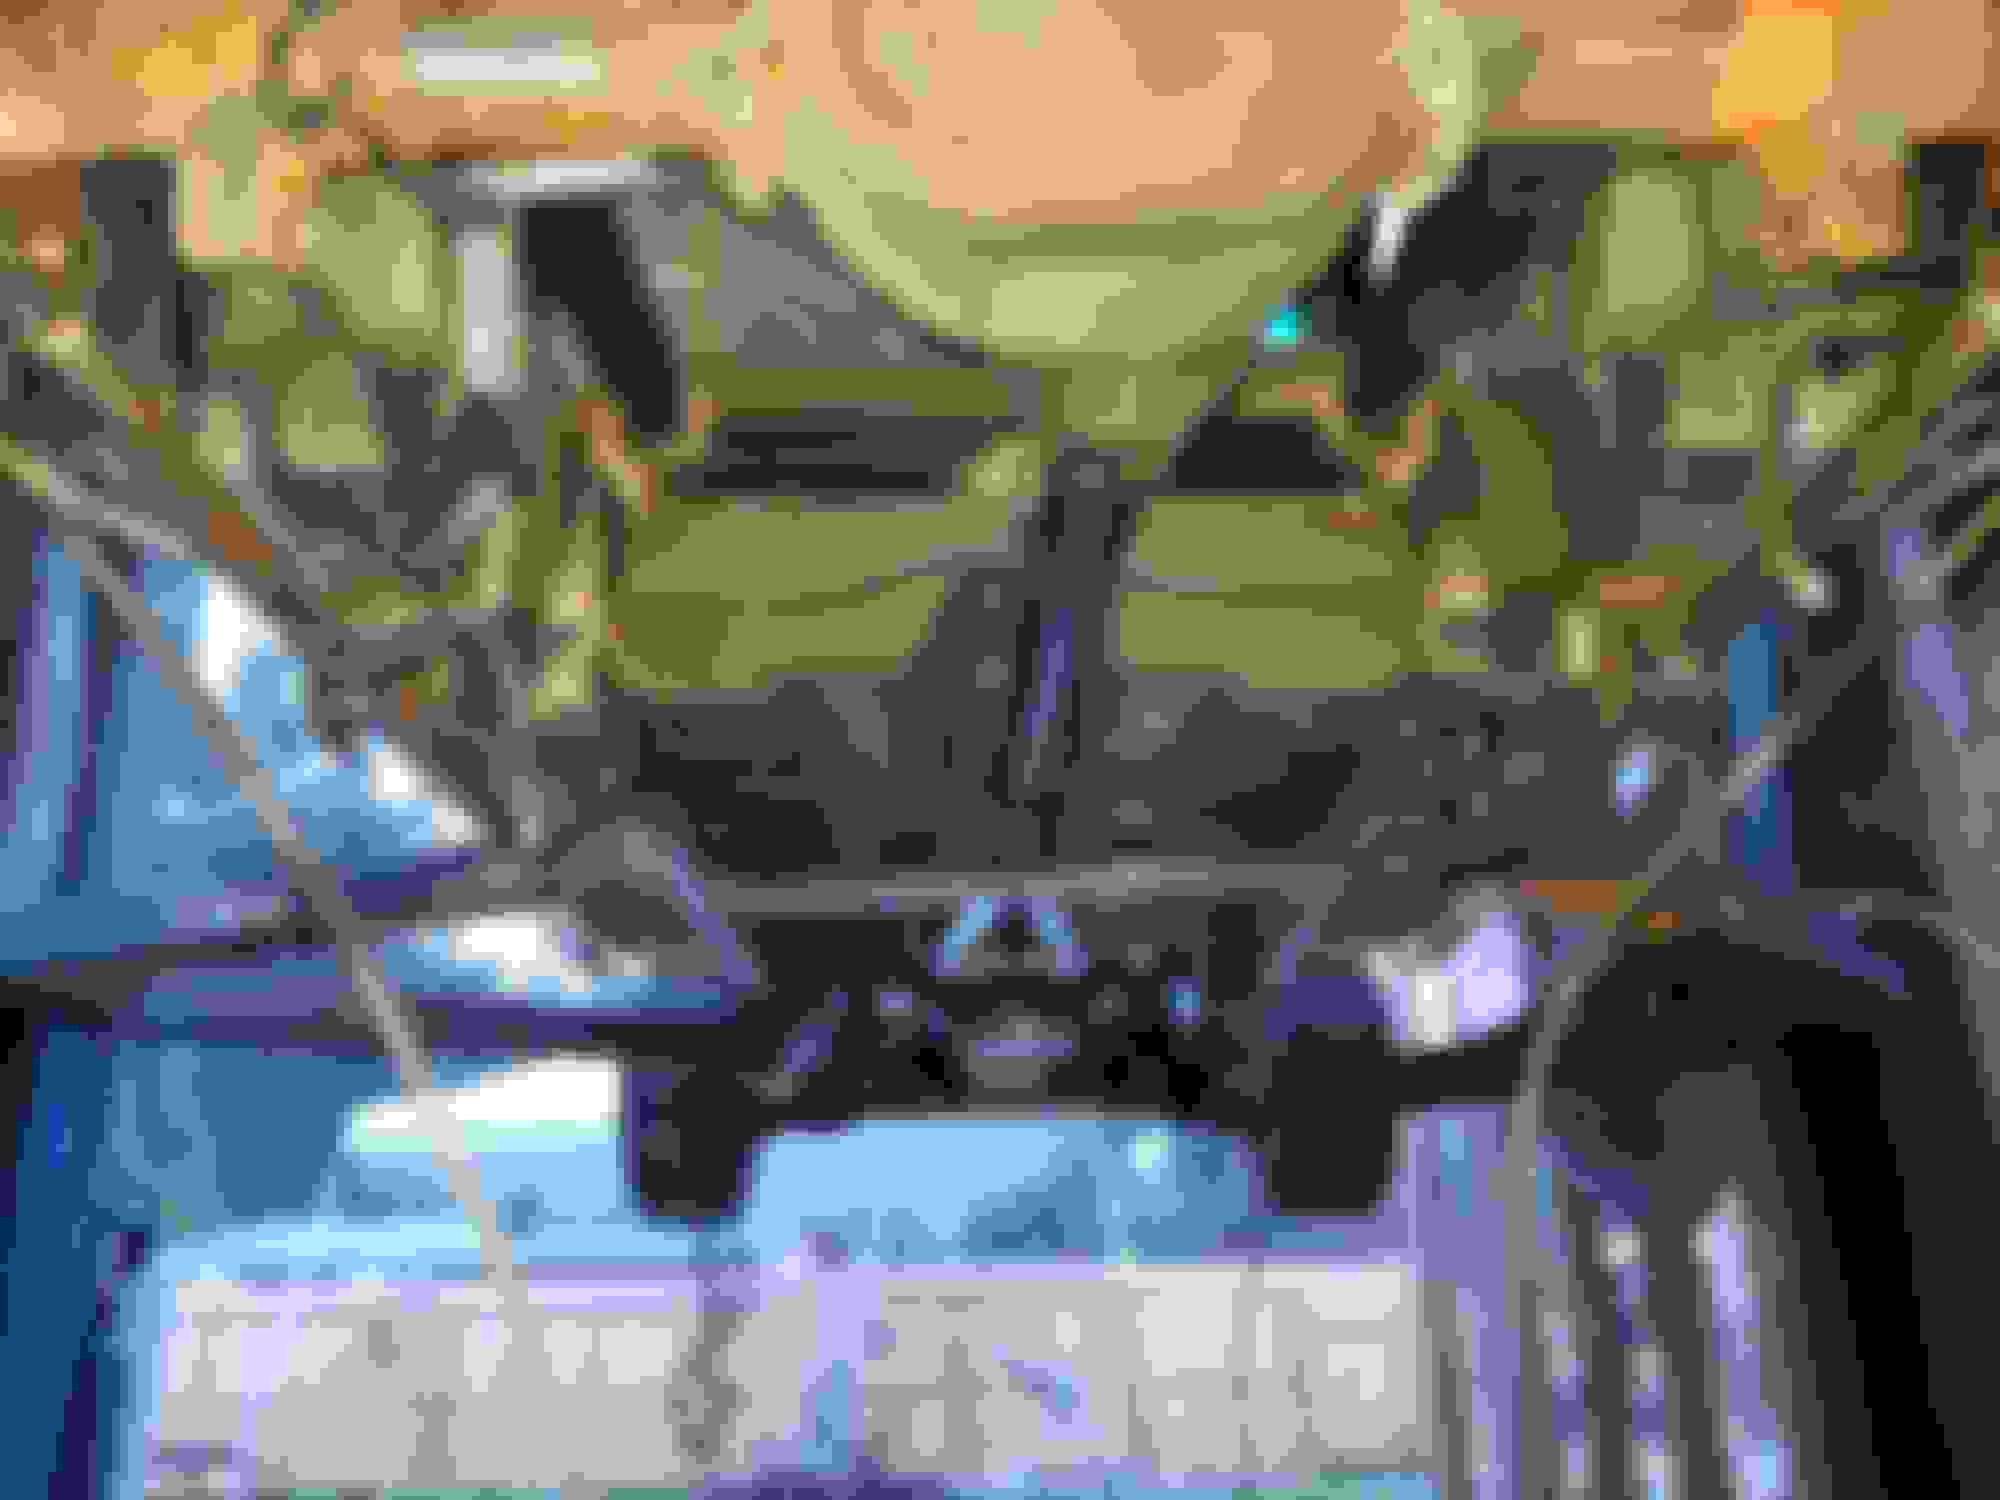
Been getting a a lot of work done. If I wired everything correctly, then the wiring is almost complete. Starter, alternator, distributor, and starter switch are all wired. I reused the factory HHR grounding cable on the front of my engine. I'e got a couple more to use that I'm going to attach to the back of the engine. Wired all my grounds onto a ground block that I mounted in my electrical compartment. I need to ground the negative battery cable in the rear, and then I can hook up a battery and see if it's gonna work. Routed my heavy battery cable and headlights around the front tubing. I need to check over everything in the morning, then give it a try.
Got metal transmission line and bent my lines and hard mounted them. Then I cut sections out and used rubber transmission lines to give them some flexibility. Need to make some power steering lines, and connect all my brake lines.
Picked up the driveshaft today. Fits perfect. Tacked me a crossmember in place and got it installed no problem. Has all new U joints and carrier bearing, and is balanced. Got new u joint straps at o Reilly, they actually had them in stock. Might get a little fuel in the carb tomorrow afternoon and see if she will fire.
Was able to turn the engine over using my dash mounted switch today. Also got the transmission torque converter lockup switch all installed. Will only lock up in 4th gear, with an over ride switch in the dash. Got my crossmember drilled and welded in place, and the carrier bearing bolted it. Slid the bearing over about an inch to help better align the driveshaft, we'll see how it works at speed.
Tied up some loose ends on the rear suspension, finished some welds, and welded in 5" wide by 1/8" flat stock across the bottom of my frame rail and the factory HHR frame rail to join strengthen their connection. Still have a few more bolts to drill and install, but it's pretty solid. Just wanna make sure with a few hundred pounds of trailer tongue weight the frame to body mounts will stay strong and tight.
Getting close to being able to attempt to start the engine. I've got transmission lines, power steering lines, and fuel lines on the engine side all finished. My front subframe is from a 78 Camaro, and there is a complete 79 Camaro back in the field. I was able to drag it around and take parts that I needed. Was able to get the factory bent brake line that runs across the crossmember, main brake distribution block, all the fittings I need to finish the front brakes, a speedometer cable, and the pre bent hard line that runs from the fuel pump to the carburetor. I need a few feet of 3/16 brake line to finish the front.
From the factory, the camaro has a pretty standard master cylinder. 2 lines coming out, that go into a distribution block thats mounted to the brake booster. I have the fittings to run 2 new lines from my HHR master cylinder, to the distribtuion block. the front line goes in, and has 2 exit ports that go to each front wheel. I was able to get all of that from the Camaro. The rear brake line from master cylinder has one 3/16 line entrance, and 1 exit port that uses 1/4" line. On the rear axle is a distribution block that has a 1/4" line input, and (2) 3/16" line outputs going to each rear drum. Im gonna take that splitter, and bring it to the front. I left plenty of both rear brake lines to bend them into the splitter at the firewall, and run about 18" of 1/4" line to where i have the main distribution block. I was able to find two standard fittings that will fit my rear axle drums. 3/16 line, so Im gonna cut the metric fittings off the hard line went to the hhr's brakes, put on the standard fittings, and reflair the ends. I left all the factory hhr brake lines going to the rear intact, and am reusing everything. Theoretically I should have functioning brakes once i finish. Am i wrong in assuming that since I have removed everything but the factory master cylinder, that it should function as a regular master cylinder? I think i remember cutting out a big distribution block, maybe it was an abs pump. That should be what would have distributed the fluid to the lines, so im replaces that with a mechanical version. I guess I'll know when i hit the pedal Also found a cool metal bowtie emblem at the swap meet for $1. I think its from a C10 Chevy Truck. Gonna look real nice in the middle of my grill.
Still knocking things off the punch list. I found a distribution block at the local speed shop out here. Mounted it inside my electrical compartment opposite the ground block. Ran an 8 gauge wire from the EPS lug to the block. From the block I wired a switch that I hid inside the top glove box. Little black toggle switch. This switch is wired inline with my ignition wire. No switch, no fire. It's not foolproof, but there isn' a car out there that can' be stolen. So ill do what I can and hope for the best. The quadrajet that was on top of the motor was looking pretty rusty, and my girlfriends dad decided to clean up and rebuild an Edelbrock he had laying around. Looks great sitting on top of the motor. Now I've got a couple electric choke wires to wire up, and we should be good to go. Put 5 qts of tranny fluid in, filled up the cooling system with water only, and filled up p/s reservoir. I've got about 12" of fuel line to run, and I need to grab a pcv valve, and this thing will be ready to start. Wired up my temp and oil pressure guages so I can moniter things. I'l post a video if she fires.
Just a suggestion, tee off your oil pressure location and use a 2 prong oil pressure switch to power the electric choke. This way if you only have the key on it does power it up. I put a 3 prong on a friends Buick to use his oil pressure light and power the choke on his Eddie carb.
Also use the correct vacuum port for the distributor and also the large port in front is for the PCV valve, the one in the back is for power brake booster.
Just a suggestion, tee off your oil pressure location and use a 2 prong oil pressure switch to power the electric choke. This way if you only have the key on it does power it up. I put a 3 prong on a friends Buick to use his oil pressure light and power the choke on his Eddie carb.
From the factory, the camaro has a pretty standard master cylinder. 2 lines coming out, that go into a distribution block thats mounted to the brake booster.
If the Camaro master can bolt up to the HHR booster do it that way as long as the rod out of the HHR booster matches the rod out of a Camaro one, along with the Camaro proportioning valve (distribution block). If your rear wheel cylinders have a bore diameter that is close to the 79 Camaro you won't have this:
" I guess I'll know when i hit the pedal"
One of the things I looked at was the booster. The HHR is a dual diaphragm 6" and a Camaro standard single diaphragm is 11". The dual 6" equals a single 12" which has a little more area of force.
Don't over think the lines also. If it's 1/4" to the back and 3/16" in front do it that way.
Your dealing with pressure vs volume. Your basically using a Camaro brake system not an HHR.
I could go on but I'll stop here.
We got a runner! Took about 45 seconds to fire, but she came to life. Runs and idles great. Electric fan came on at 180, had a consisten 50 psi of oil pressure. No smoke or anything out of the exhaust. I'm gonna say today is a good day.
I need to find my brake fittings, figure out how to hook this shifter up, and get my fuel cell. Be ready for a road test then
 01-27-2018, 10:29 PM

 The lines shouldn't be too difficult. Gotta make some tranny lines too.


 Also found a cool metal bowtie emblem at the swap meet for $1. I think its from a C10 Chevy Truck. Gonna look real nice in the middle of my grill.


