
What Did You Do To Your HHR Today?


Member
Joined: 04-03-2010
Posts: 62
From: Canton Ohio
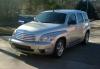
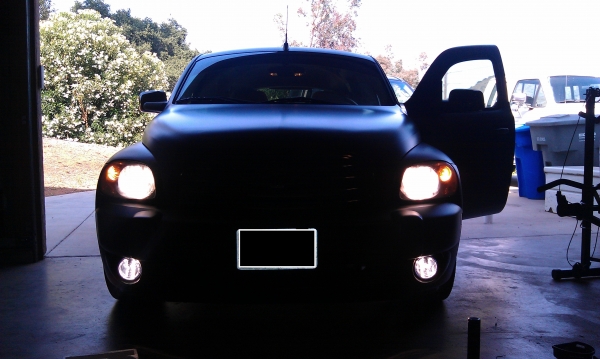
well today I installed fog lights and drove it a bit. they need aimed but I am going to wait till I do a bulb upgrade  Maybe next month the wing I hope. Then all I will have left I want to do is running boards, mud flaps, lower it, and depo lights

Banned
Joined: 10-02-2010
Posts: 5,933
From: Port Huron, MI
Mike, I won't be able to do anything about it until Wednesday. Unfortunately. I have work tomorrow and tuesday, and then wednesday is my next day off.. I will call and make an appointment with the tire place I can get free checks done on as a result of buying the rims and tires from them..


Member
Joined: 09-27-2009
Posts: 83
From: nORcAL


Rest In Peace
Joined: 06-13-2010
Posts: 2,301
From: IL.
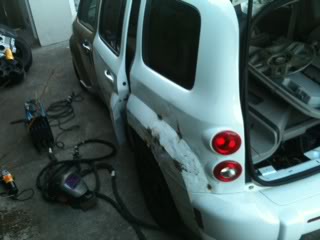
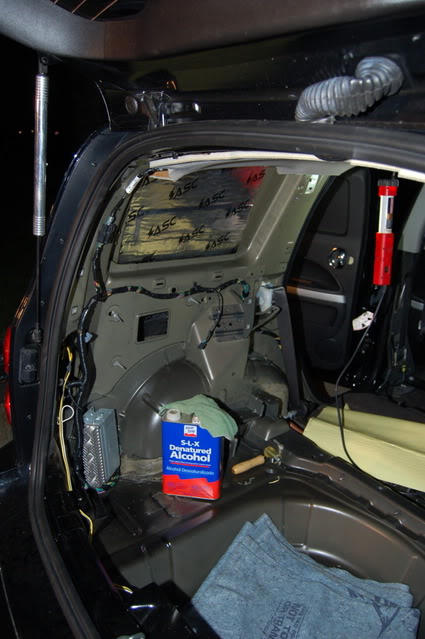
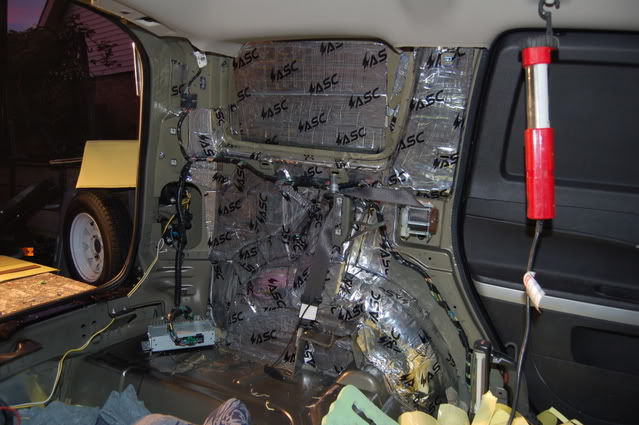
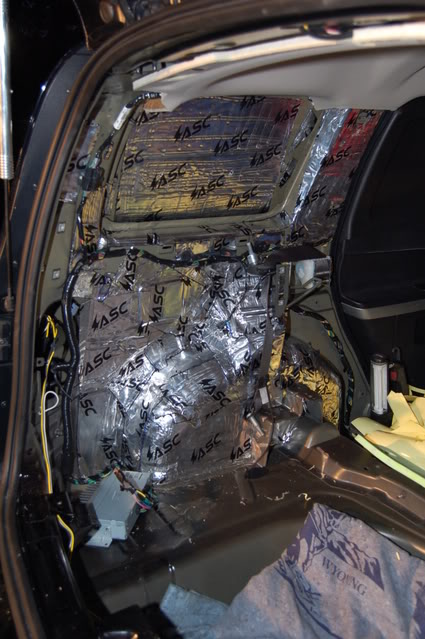
Started gutting out my interior the other day to install the sound proofing.
Been sunny and hot out so I work on it very early AM and at night with some lights set up.
Will be running the wires and cables to install my upgrade aftermarket audio and video.
The carpet and the headliner are coming out once I finish the rear section.
Not trying or going to cover every inch with the sound deadener, just going after the major areas to help my new sound system sound even better than without any sound proofing installed.
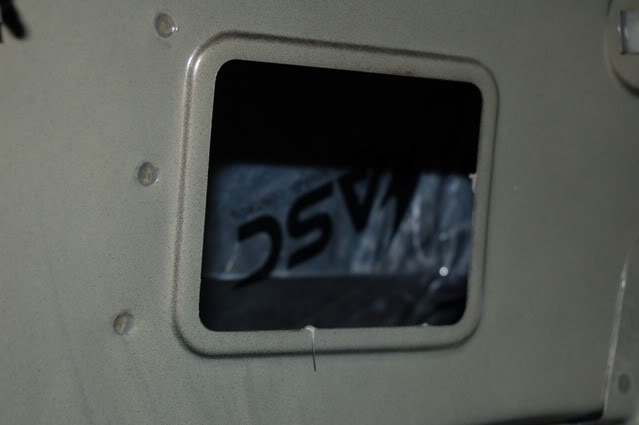
The large flat areas of the HHR Panel where windows would have gone if it were a windowed HHR sound very Tinny with a high pitch vibration when to tap your fingers on the outside metal body panels, this stuff works very well to give them a solid Thud, with little reverberation when tapped with your fingers once applied.
This is a butyl based sound barrier. Similar to Dynomat that many of you may have heard of.
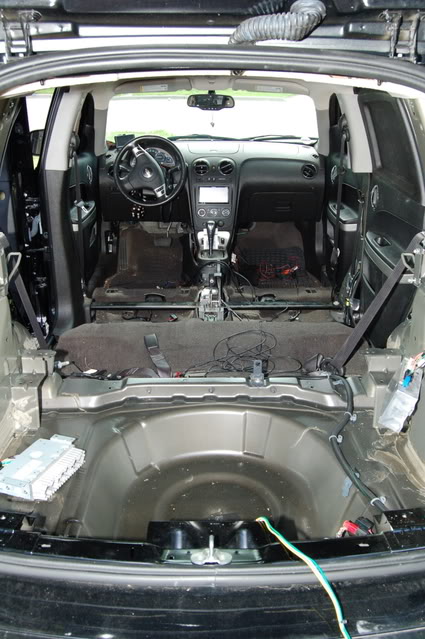

Just taking my time here on this Project, it will take some time to get it all done.
Once installed and my cables and wires run, I will hopefully get all of my Pioneer Stage 3 stuff finally installed.
I knew this was one of those labor intensive Projects (the sound proofing) so I was putting it off some.
But damn, I wanna Rock N Roll and HEAR the Pioneer stuff I bought. So, like it or not I am getting it all installed one way or another.
Lots of work ahead but it will be worth it.
I am still working on Polishing the Blower as well. Hour or so here and there, it is getting there slowly, and looking Sweet.


Been sunny and hot out so I work on it very early AM and at night with some lights set up.
Will be running the wires and cables to install my upgrade aftermarket audio and video.
The carpet and the headliner are coming out once I finish the rear section.
Not trying or going to cover every inch with the sound deadener, just going after the major areas to help my new sound system sound even better than without any sound proofing installed.
The large flat areas of the HHR Panel where windows would have gone if it were a windowed HHR sound very Tinny with a high pitch vibration when to tap your fingers on the outside metal body panels, this stuff works very well to give them a solid Thud, with little reverberation when tapped with your fingers once applied.
This is a butyl based sound barrier. Similar to Dynomat that many of you may have heard of.
Just taking my time here on this Project, it will take some time to get it all done.
Once installed and my cables and wires run, I will hopefully get all of my Pioneer Stage 3 stuff finally installed.
I knew this was one of those labor intensive Projects (the sound proofing) so I was putting it off some.
But damn, I wanna Rock N Roll and HEAR the Pioneer stuff I bought. So, like it or not I am getting it all installed one way or another.
Lots of work ahead but it will be worth it.
I am still working on Polishing the Blower as well. Hour or so here and there, it is getting there slowly, and looking Sweet.
Last edited by American & Proud; Jul 4, 2011 at 11:56 AM.