
How To: Remove your rear SS bumper & bumper reflectors


Thread Starter
Senior Member
Joined: 01-04-2010
Posts: 1,584
From: Imported from Detroit
How To: Remove your rear SS bumper & bumper reflectors
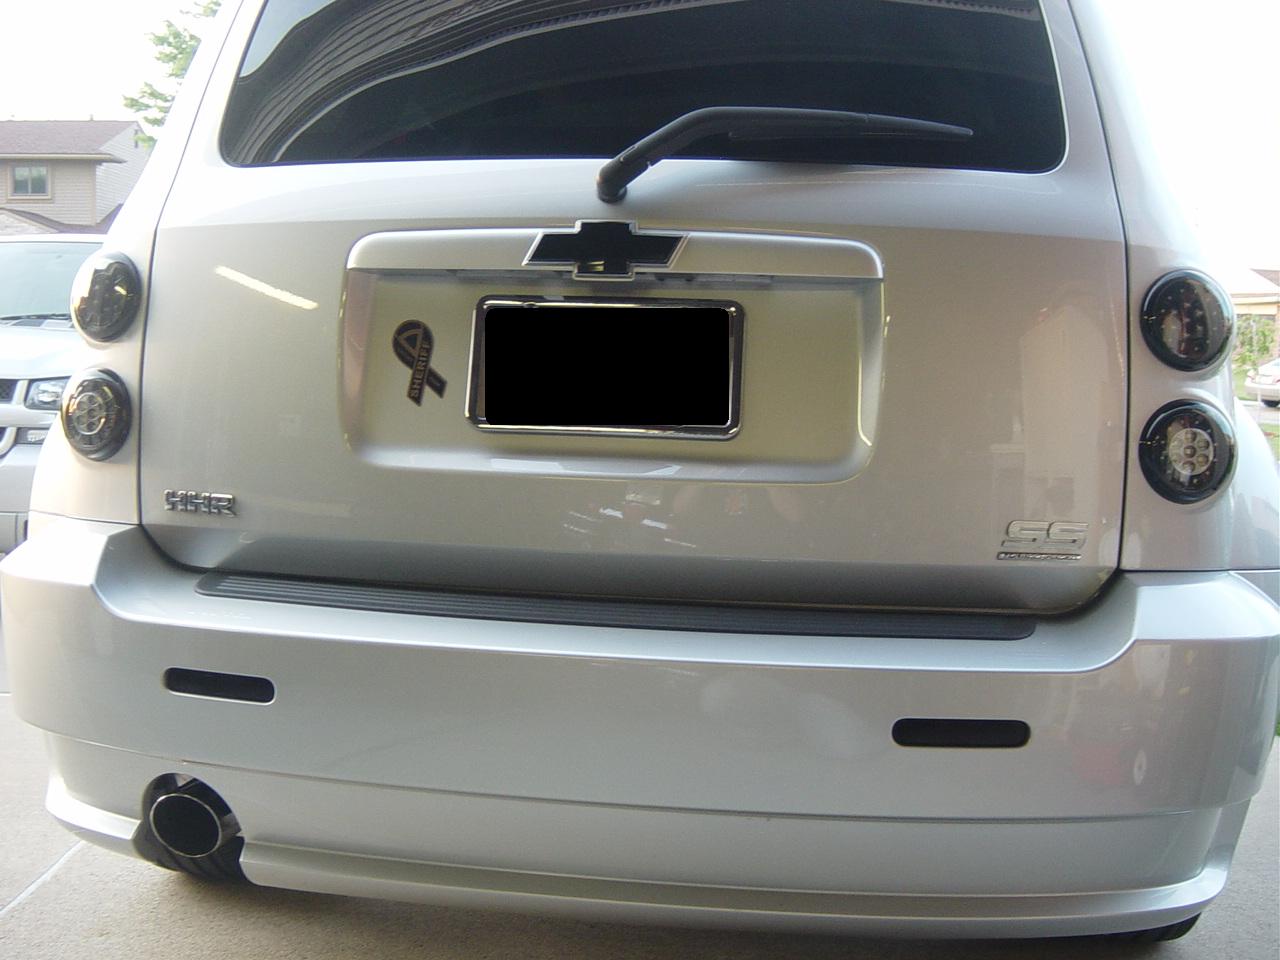
On my 2010 SS at least... and not sure if this is already done. I simply took pics as I go, as I always do, and decided I would pass along a few tips.
For me it was to remove the rear reflectors for paint. Taping off and painting on the vechicle just wasn't up to par for me. But oh boy I paid for it... Took my an 1.5 hour to remove it but only about 20mins to reinstall once I knew and assembled the proper tool.
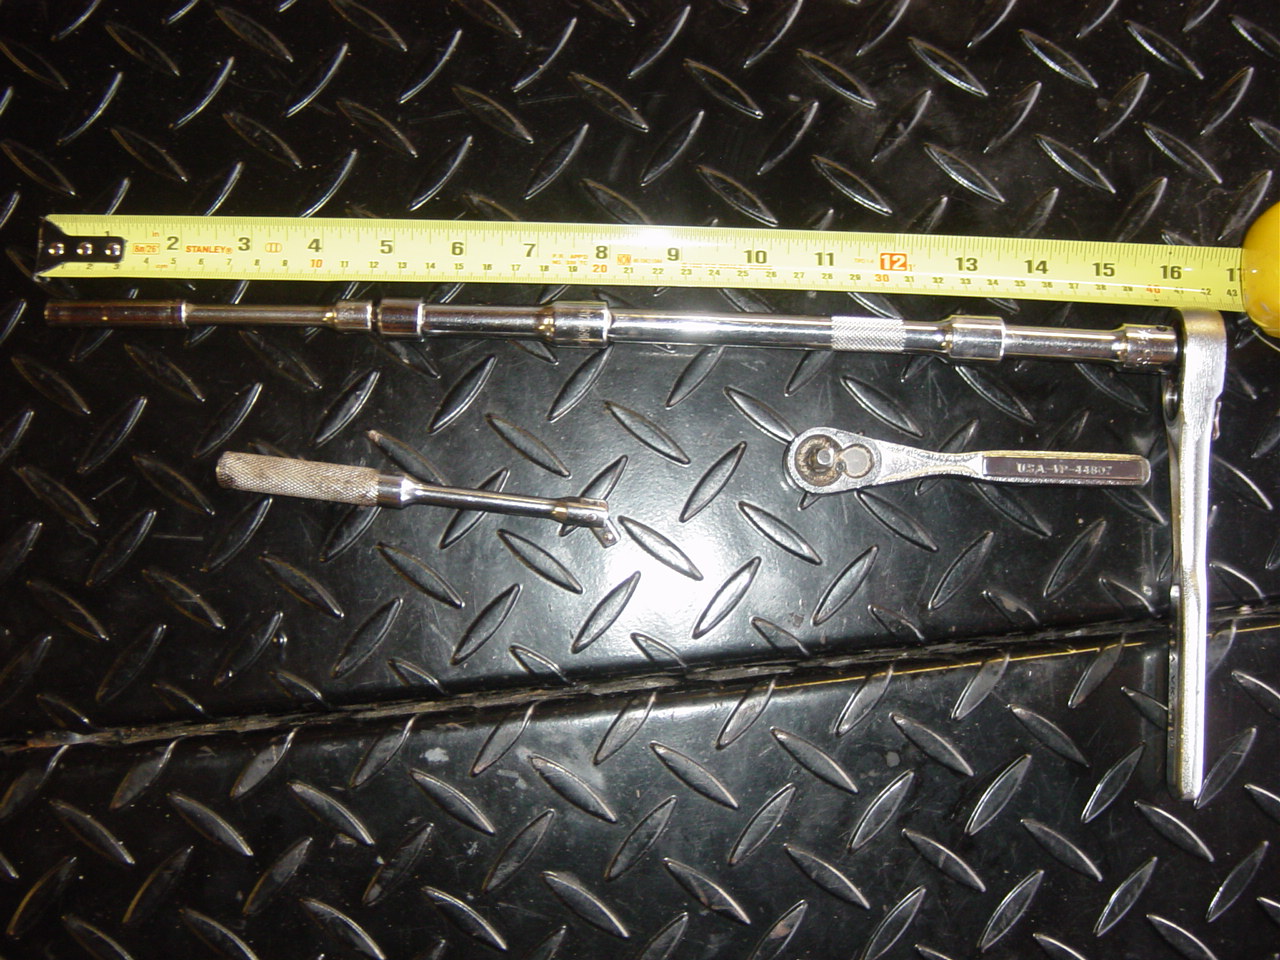
First off, you need at times ~13" of total extension including your socket and ~16". Depending on which bolt you are working on as to whether or not you remove that first small extension at the ratchet.
First remove the 3 clips on the rear of the rear wheel fender splash gaurd inside the wheel well. This clips the rear bumper to that plastic gaurd. It may even help if you remove the rear marker lights with the phillips screw.
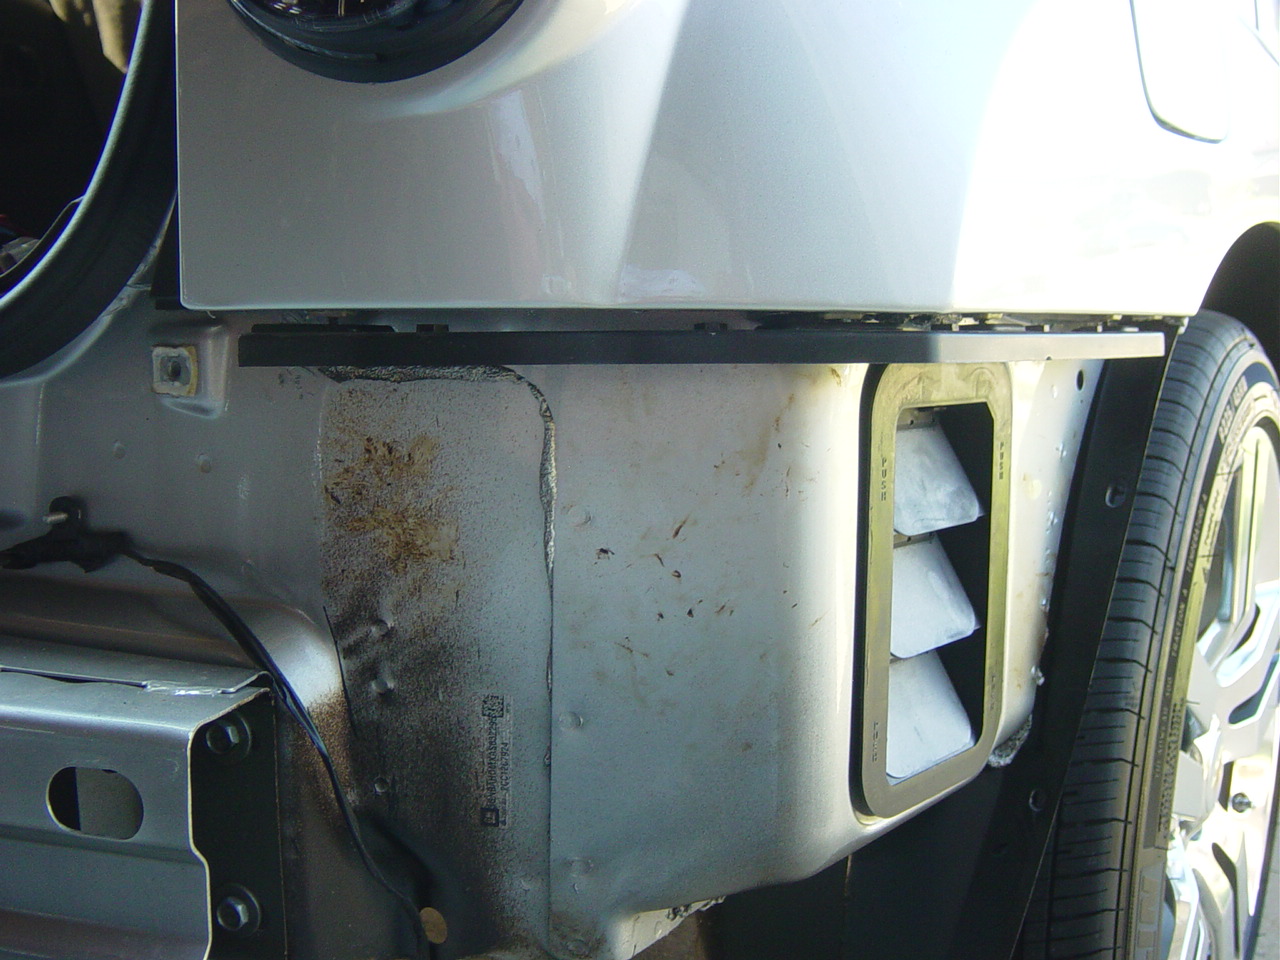
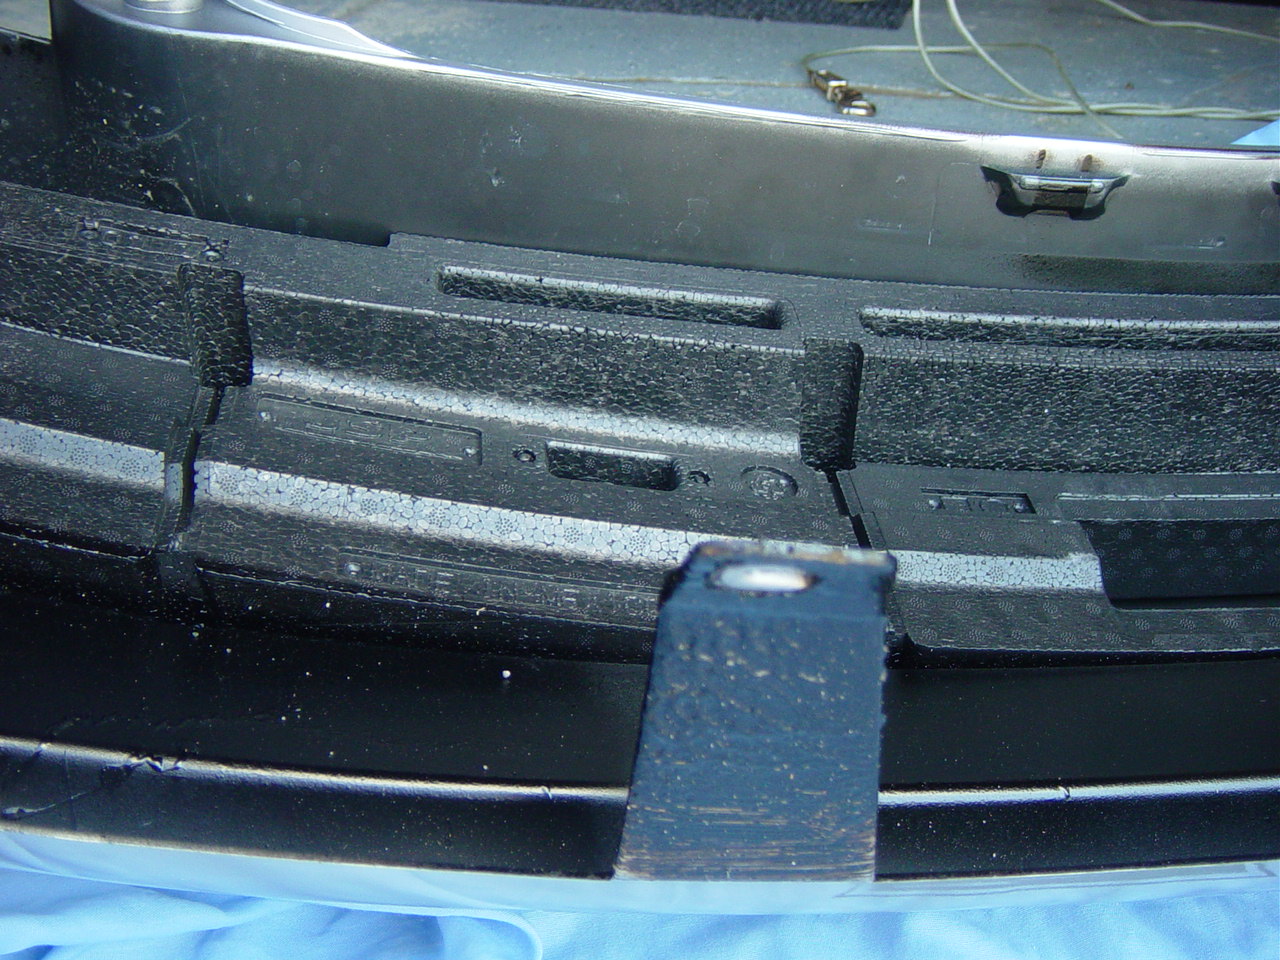
There are 4 bolts (7mm) holding up the plastic wedge to the body on each side of the car. Wedge what I'm calling this black piece hanging from the body corner. Loosen the bolts well enough to free the bumper. You do NOT need to remove.
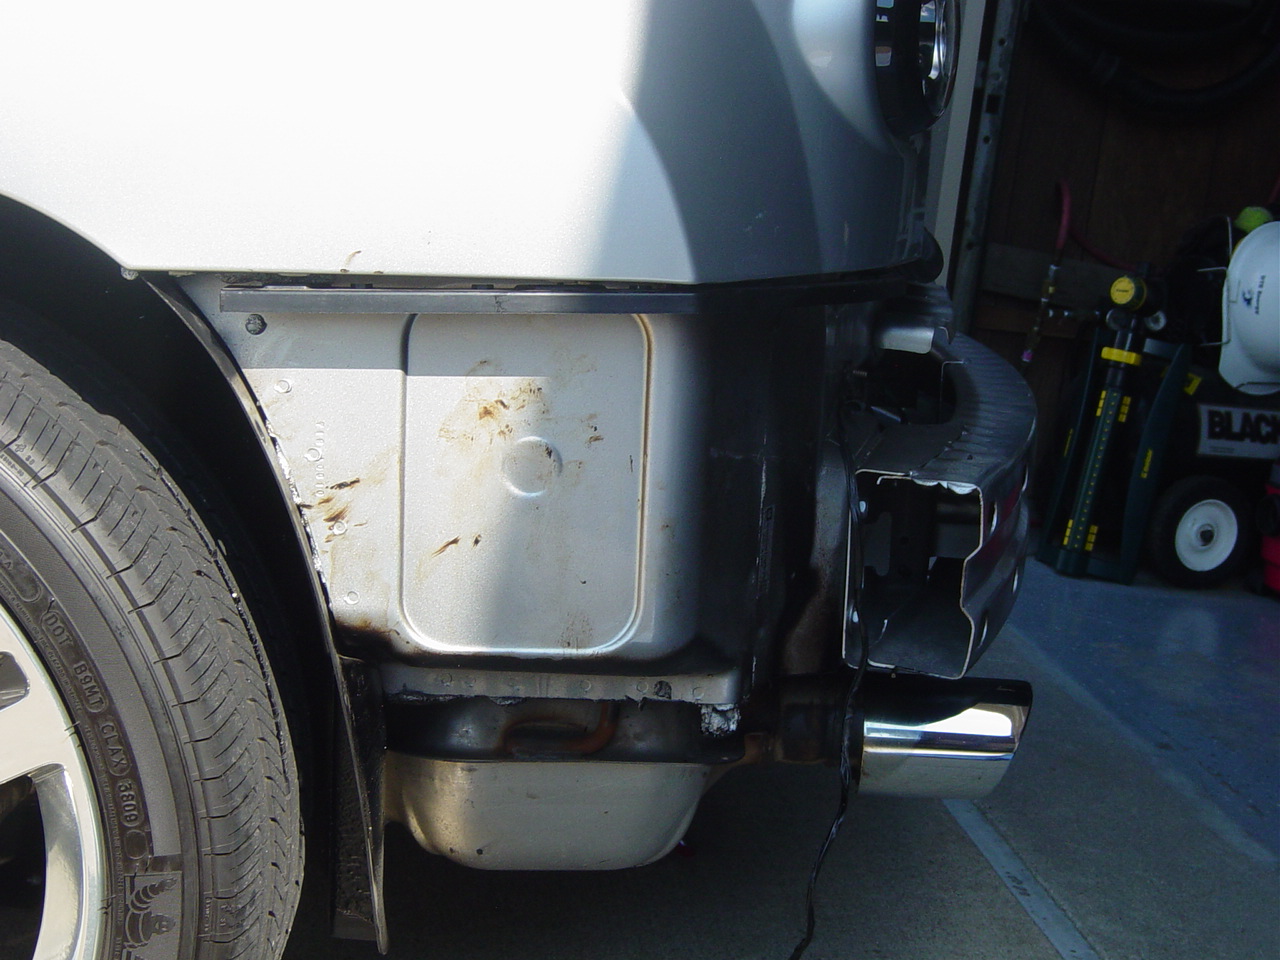
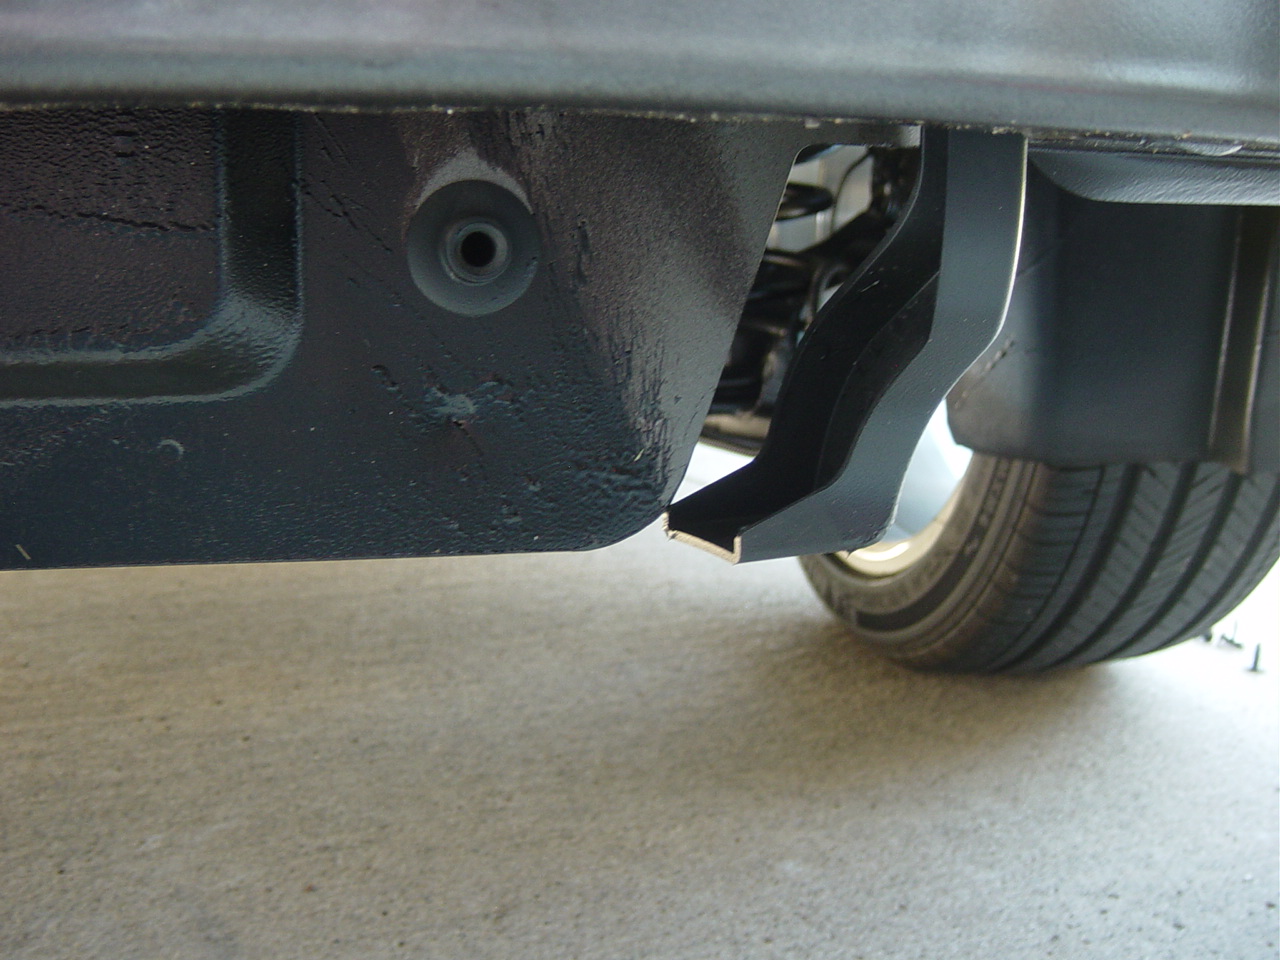
There is also an additional 7mm bolt on each side bolting the bumper to the body. It is JUST behind the fender well gaurd before the body wedge piece.
You can gain access to these from under the car and from the fender well. It is a tricky job and a hand cruncher. But the super long extensions REALLY help.
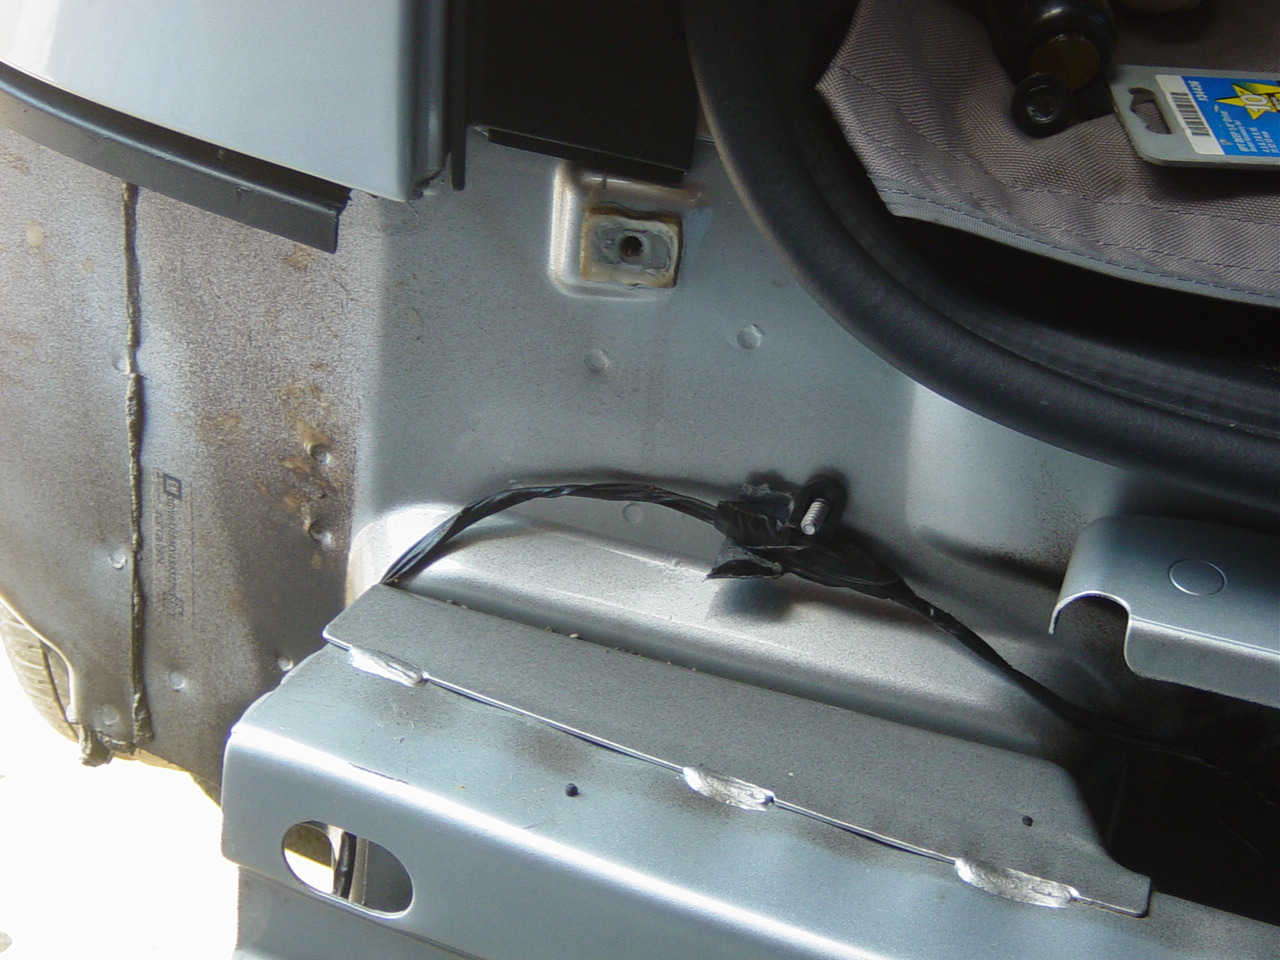
There are dimples there that clasp the corresponding holes in the bumper.
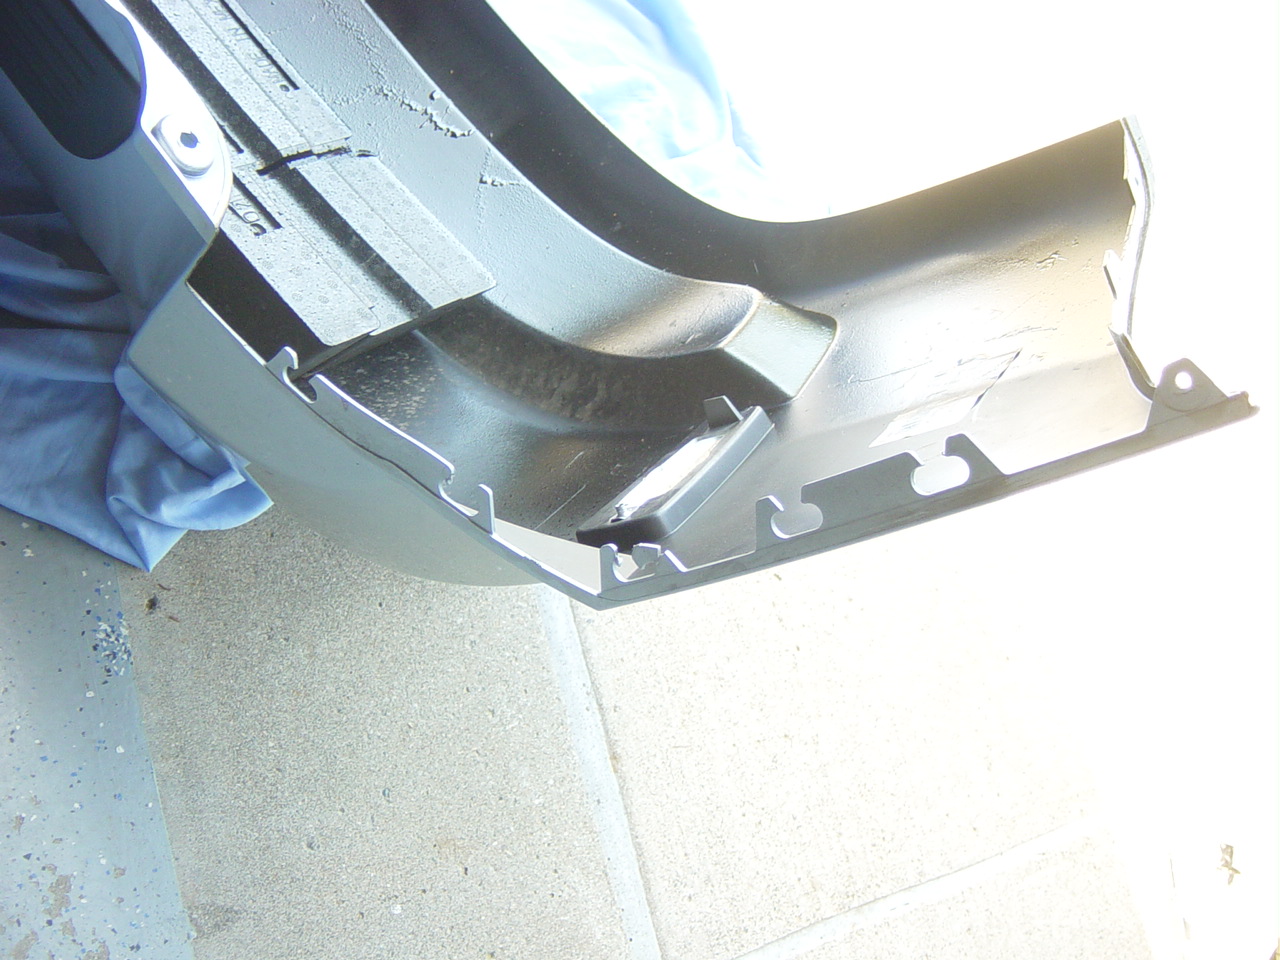
Now remove the 2 clips on the back/bottom of the rear bumper. They insert here on the bumper
and here on the body. And yes the bracket on the body is loose cause it is only clipped as well.
Remove the two 10mm bolts under the rear hatch. One on each side.
Simply slide the bumper off the car. The top center of the bumper slides into tabs to keep it secure but that won't effect removal. Just take notice of it for installation later.
Now I did this all just to remove the stupid reflectors. I'll add that in for what ever reason
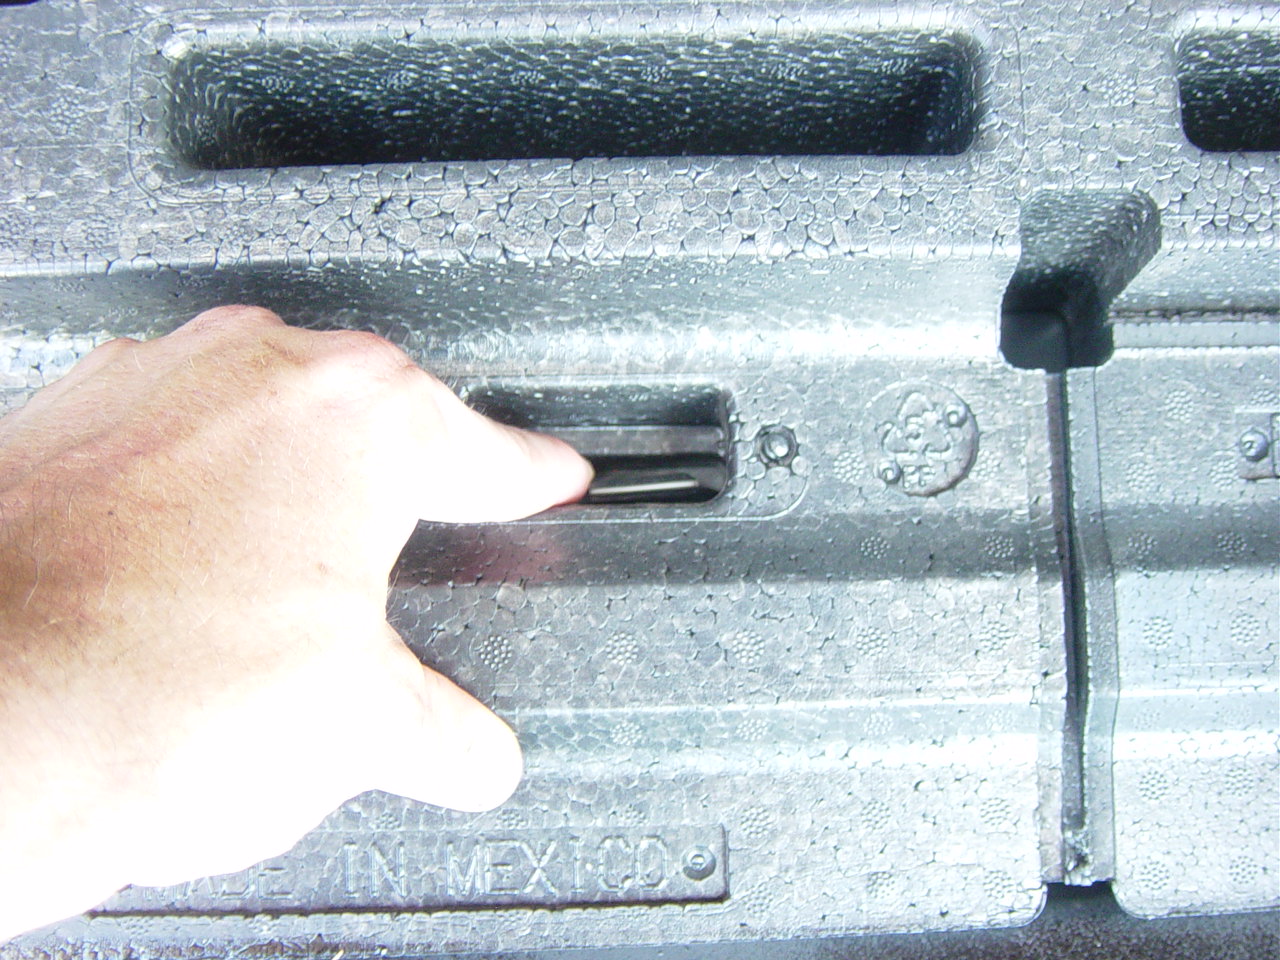
Once bumper is off, remove the foam crush by simply pressing its release tabs
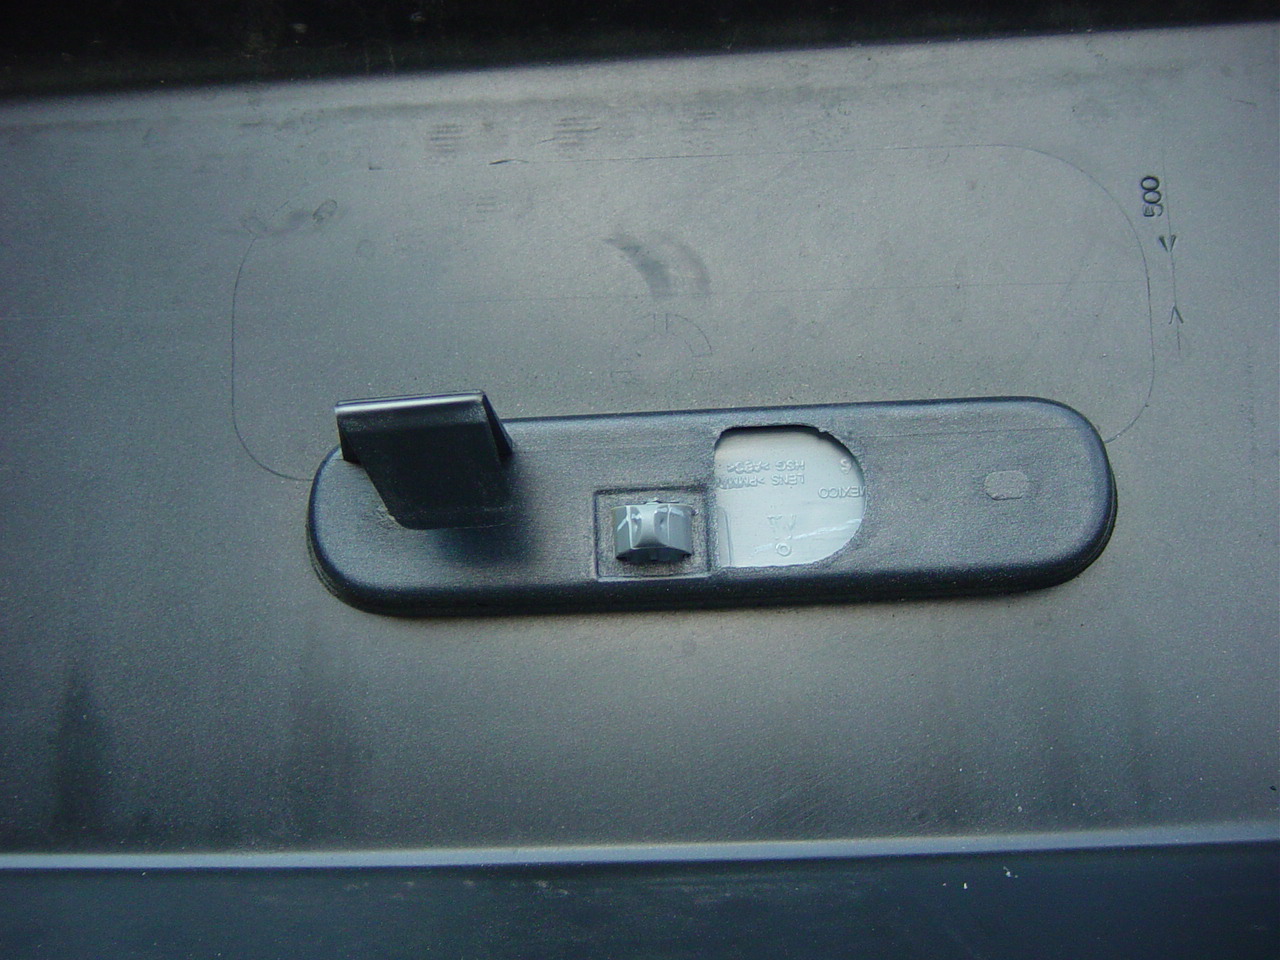
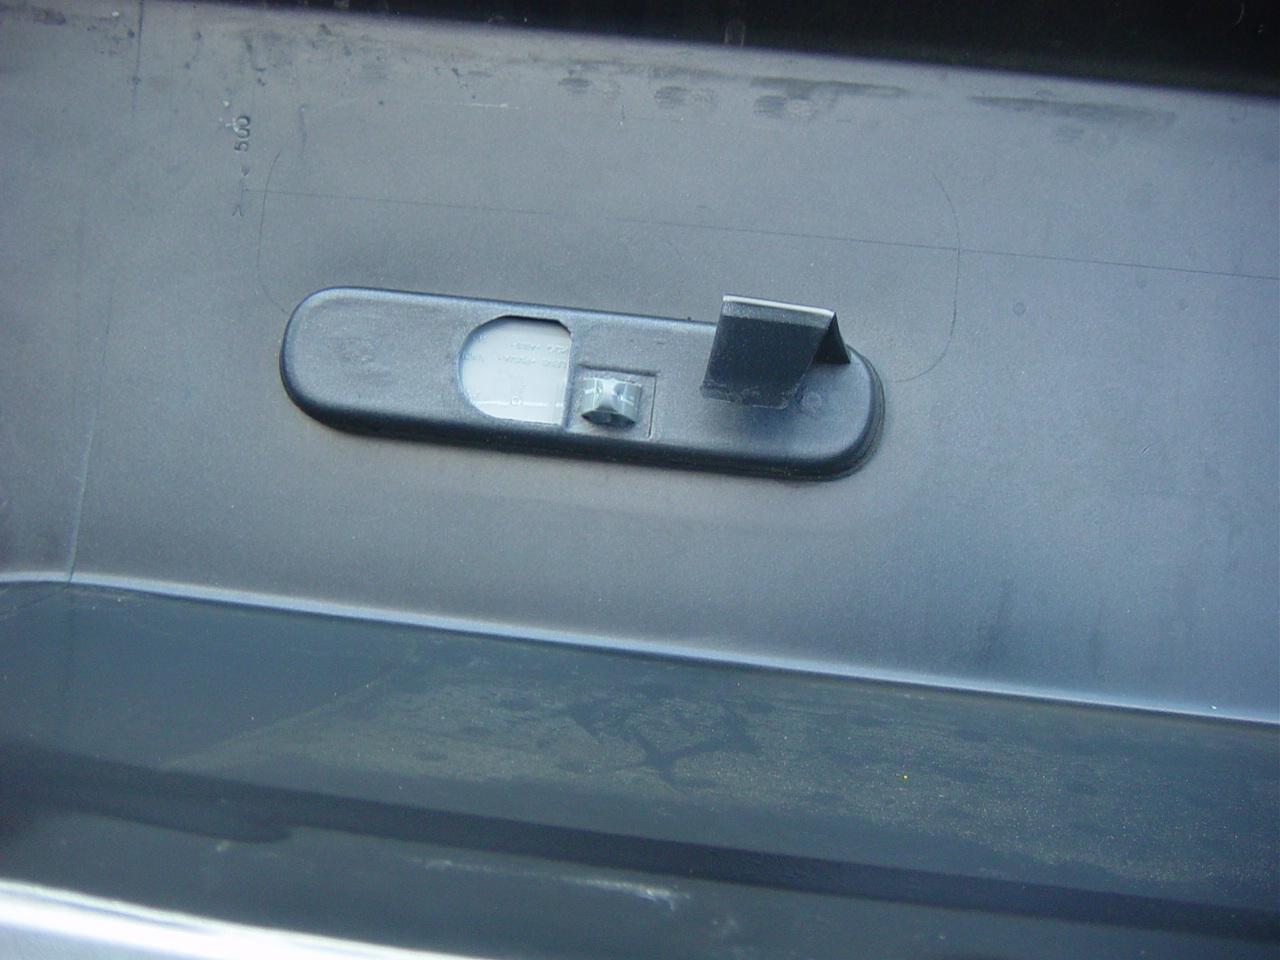
Simply pinch with pliers, the clip and the reflector will drop out.
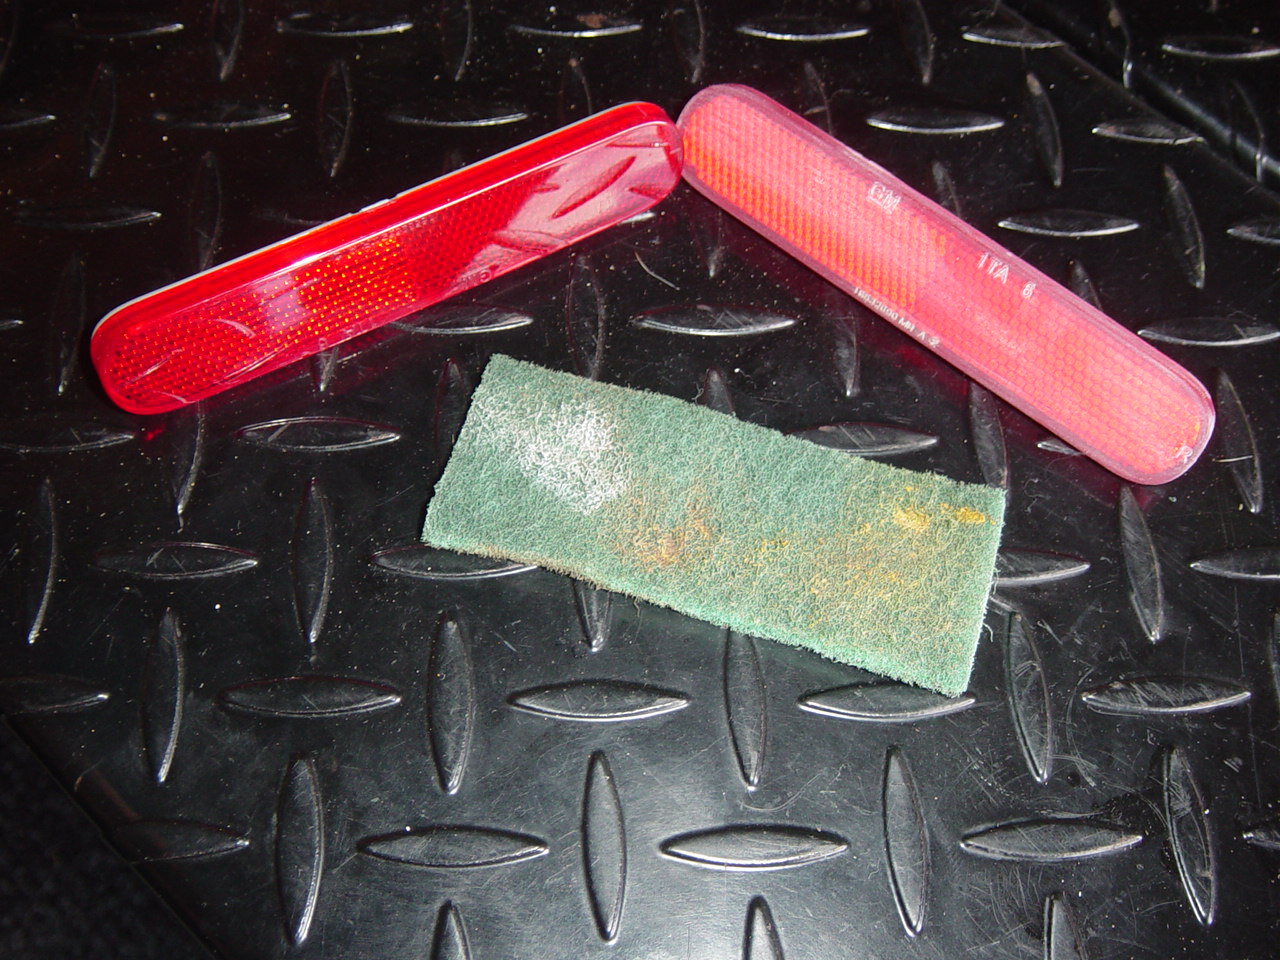
Tint, modify, or whatever floats your boat. I tinted.
Ruff up with sandpaper or scotchbrite
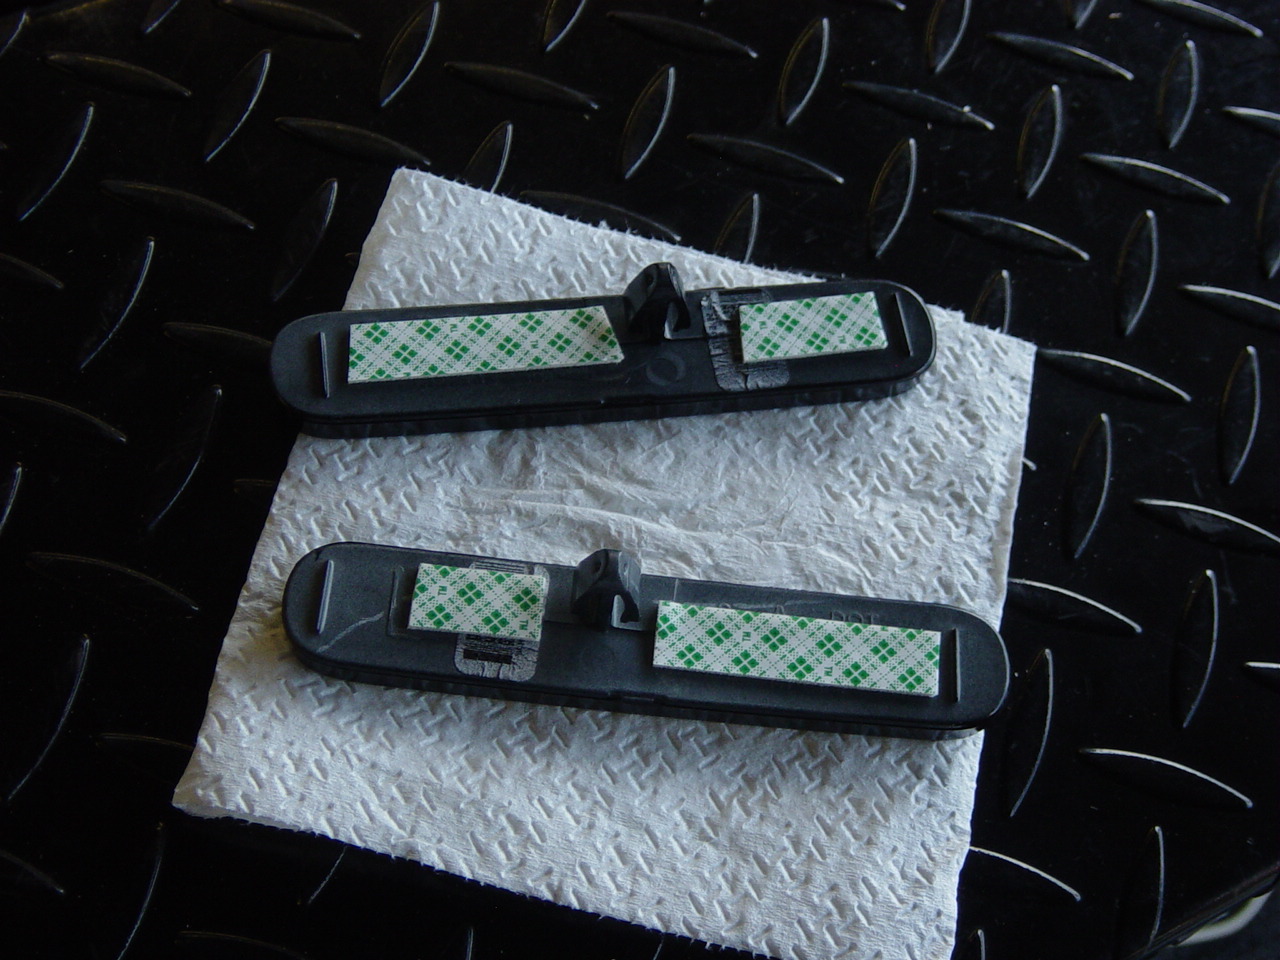
Now I never liked how they rattled and moved. So a little double sided tape on the backs.
Snap reflectors back in, Reinstall bumper, side markers, and BAM. Enjoy the new "_______" modified rear reflectors.

For me it was to remove the rear reflectors for paint. Taping off and painting on the vechicle just wasn't up to par for me. But oh boy I paid for it... Took my an 1.5 hour to remove it but only about 20mins to reinstall once I knew and assembled the proper tool.
First off, you need at times ~13" of total extension including your socket and ~16". Depending on which bolt you are working on as to whether or not you remove that first small extension at the ratchet.
First remove the 3 clips on the rear of the rear wheel fender splash gaurd inside the wheel well. This clips the rear bumper to that plastic gaurd. It may even help if you remove the rear marker lights with the phillips screw.
There are 4 bolts (7mm) holding up the plastic wedge to the body on each side of the car. Wedge what I'm calling this black piece hanging from the body corner. Loosen the bolts well enough to free the bumper. You do NOT need to remove.
There is also an additional 7mm bolt on each side bolting the bumper to the body. It is JUST behind the fender well gaurd before the body wedge piece.
You can gain access to these from under the car and from the fender well. It is a tricky job and a hand cruncher. But the super long extensions REALLY help.
There are dimples there that clasp the corresponding holes in the bumper.
Now remove the 2 clips on the back/bottom of the rear bumper. They insert here on the bumper
and here on the body. And yes the bracket on the body is loose cause it is only clipped as well.
Remove the two 10mm bolts under the rear hatch. One on each side.
Simply slide the bumper off the car. The top center of the bumper slides into tabs to keep it secure but that won't effect removal. Just take notice of it for installation later.
Now I did this all just to remove the stupid reflectors. I'll add that in for what ever reason
Once bumper is off, remove the foam crush by simply pressing its release tabs
Simply pinch with pliers, the clip and the reflector will drop out.
Tint, modify, or whatever floats your boat. I tinted.
Ruff up with sandpaper or scotchbrite
Now I never liked how they rattled and moved. So a little double sided tape on the backs.
Snap reflectors back in, Reinstall bumper, side markers, and BAM. Enjoy the new "_______" modified rear reflectors.


Senior Member
Joined: 07-03-2009
Posts: 748
From: Blo-hio Transplant
Nice right up Gas Man
I took mine off also to just get to the relfectors, although I stuck a small set of LED in them for "legal" reverse lights
On my '09 the wedge piece does not exist. iirc its just the 4 7mm bolts hold the cover directly to the body. no clips either just holes... a real pain in the arse to line back up when bolting it all back together..
Definitely looks like GM made it a little easier on the '10

Thread Starter
Senior Member
Joined: 01-04-2010
Posts: 1,584
From: Imported from Detroit
Nice right up Gas Man
I took mine off also to just get to the relfectors, although I stuck a small set of LED in them for "legal" reverse lights
On my '09 the wedge piece does not exist. iirc its just the 4 7mm bolts hold the cover directly to the body. no clips either just holes... a real pain in the arse to line back up when bolting it all back together..
Definitely looks like GM made it a little easier on the '10
I took mine off also to just get to the relfectors, although I stuck a small set of LED in them for "legal" reverse lights
On my '09 the wedge piece does not exist. iirc its just the 4 7mm bolts hold the cover directly to the body. no clips either just holes... a real pain in the arse to line back up when bolting it all back together..
Definitely looks like GM made it a little easier on the '10
YEA for GM for hitting a home run in the bottom of the 9th. Nothing like waiting till the last year to fix an issue then kill it. <shakes head>
Thanks guys... this was just a little simple job.

Joined: 08-29-2011
Posts: 1
From: Garden Grove
Reverse sensors
I just installed reverse sensors and I did have remove the 6 splash shield tree rivets, the 2 push lock rivets at the bottom, the 2 7mm screws at the coners, and the 2 torx head screws behind the lip of the rear hatch. Removed side marker lights Then lightly tugged on either side and straight back to release the clips

Thread
Thread Starter
Forum
Replies
Last Post
Airman89
Appearance/Modifications Discussions
3
Jun 25, 2015 11:45 AM
Twistedtat
"How To" Tutorial Library
8
Nov 2, 2014 12:19 PM