


Toms 26 T project



Thread Starter
Senior Member
Joined: 01-13-2006
Posts: 3,000
From: Superior, WI - Over the Hill Warranty Club member
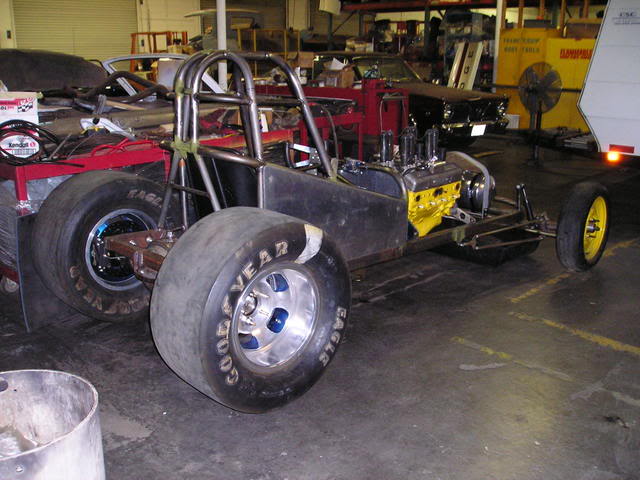
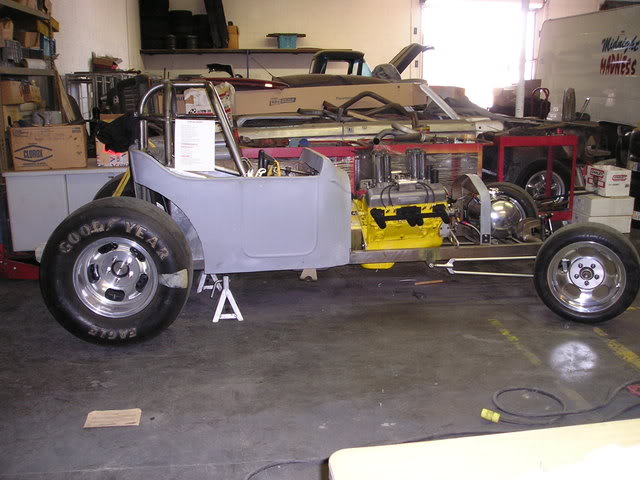
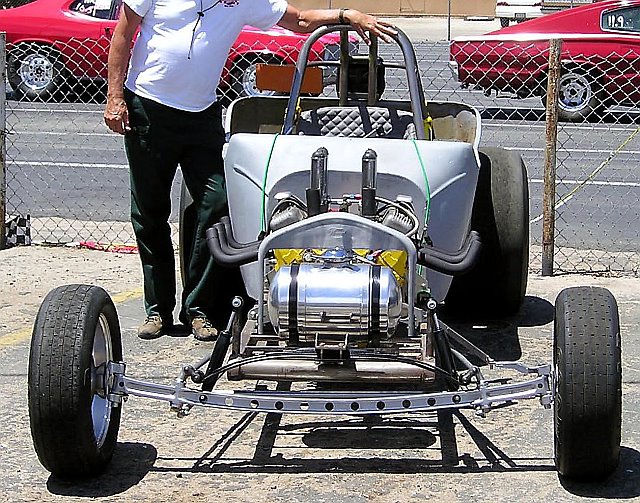
I hope to wrap up the wiring this week. Right now I want to get everything mounted and primered to take it in for the inspection.
I found there is a shop here in Superior that the State Patrol comes to and does them.
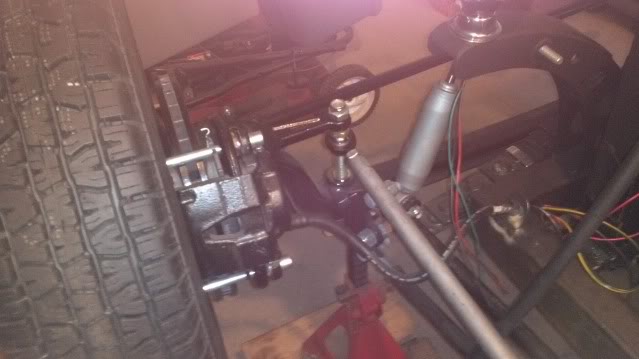
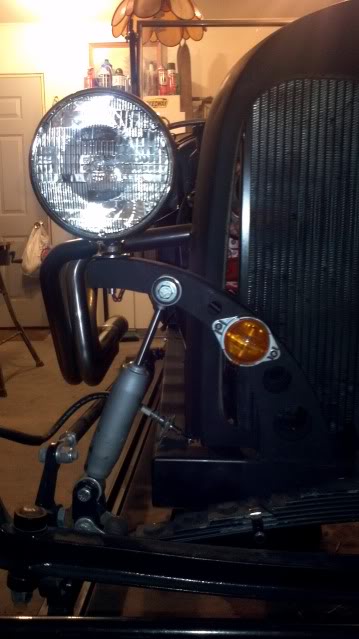
Here are the front shock mounts with the top plate added and in primer.
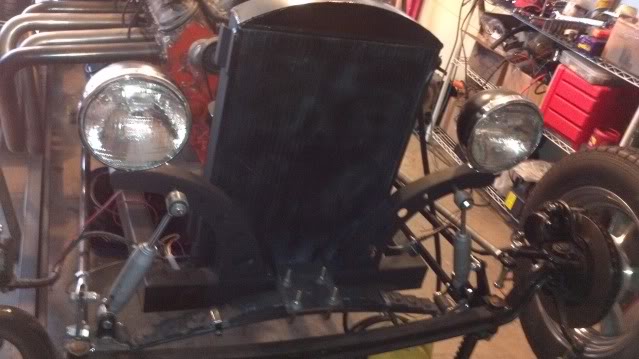
The corvair box mounted.
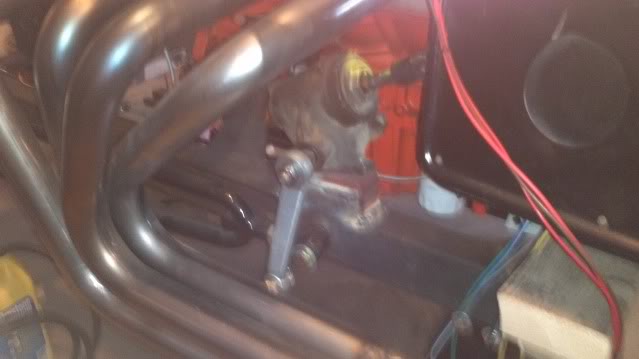
The front drag link in position, the post needs shortening.
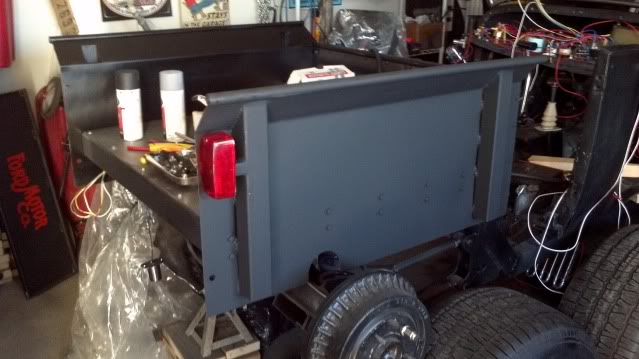
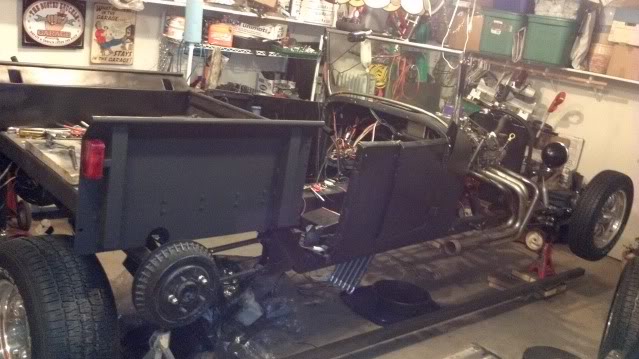
Here is the box in primer with tail light. Will get more photos later today with my Camera, these are from the Phone.
I found there is a shop here in Superior that the State Patrol comes to and does them.
Here are the front shock mounts with the top plate added and in primer.
The corvair box mounted.
The front drag link in position, the post needs shortening.
Here is the box in primer with tail light. Will get more photos later today with my Camera, these are from the Phone.
Thread Starter
Senior Member
Joined: 01-13-2006
Posts: 3,000
From: Superior, WI - Over the Hill Warranty Club member
We have tail lights, turn signals, brake lights, hi/low beams, yabba dabba dooooooo, now for the horn and wiper wires, and more odds and ends. Run out of connectors so its time for a run to the store.. More painting and attach the radiator shroud. then the floor goes back in... Getting to sound like a honey-do list!!
Ran down the battery working on the lights. But that's what they make chargers for.
Ran down the battery working on the lights. But that's what they make chargers for.
Thread Starter
Senior Member
Joined: 01-13-2006
Posts: 3,000
From: Superior, WI - Over the Hill Warranty Club member
More phone Pics, But soon I will be rolling the Bucket outside. Just to get past the Blizzard that is predicted
starting tuesday with 8" of snow, Yea right.
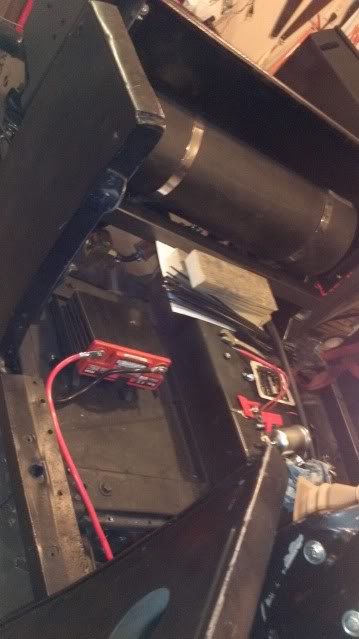
Here is a Pic of the Battery mount location under the passanger seat.
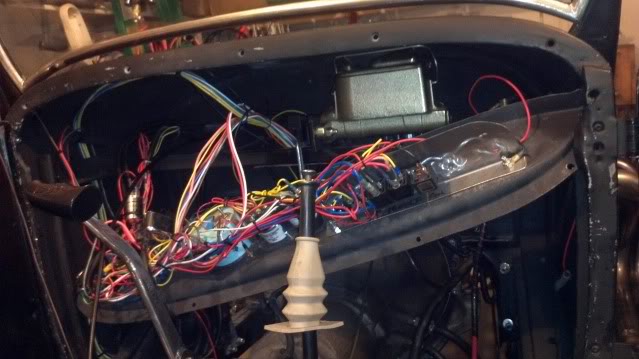
A Pic of the dash and master cyl location, primering the linkage then it gets put back in and the dash will be
bolted in.
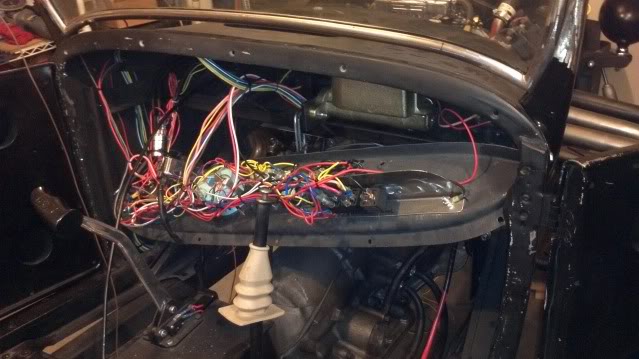
Pic from the other side of the dash
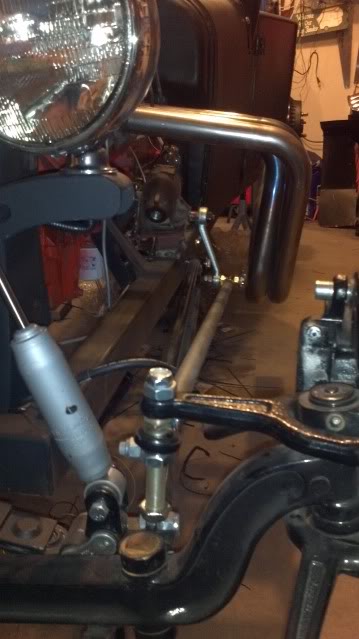
Front view of the drag link
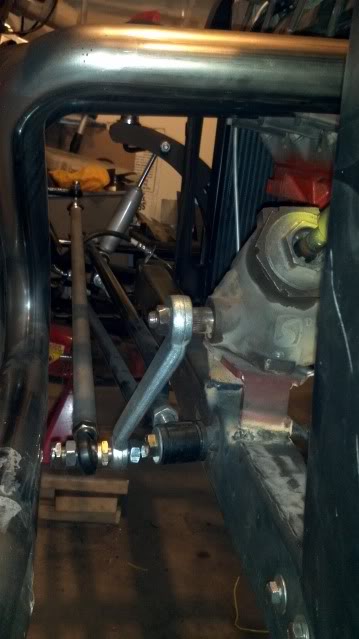
Drag link from the back
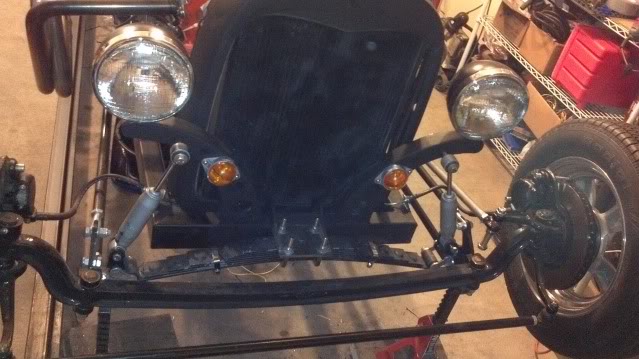
Front end with turn signals, headlights, and grille shield in place, need to find some mesh
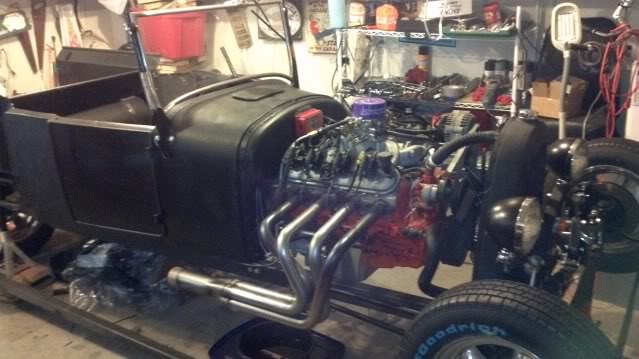
View from the passenger front
View from the Passenger rear
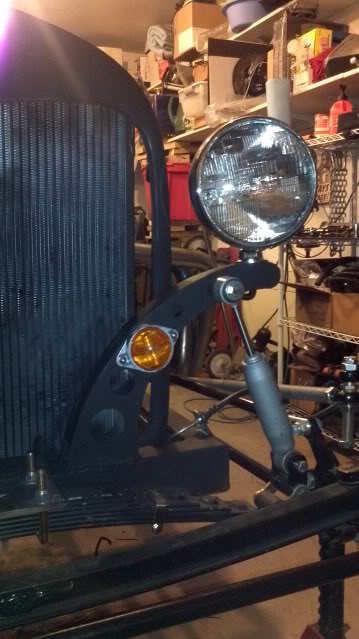
Close up of each shock mount I did leave an extra mount hole to angle the shocks more if they turn out too stiff.
starting tuesday with 8" of snow, Yea right.
Here is a Pic of the Battery mount location under the passanger seat.
A Pic of the dash and master cyl location, primering the linkage then it gets put back in and the dash will be
bolted in.
Pic from the other side of the dash
Front view of the drag link
Drag link from the back
Front end with turn signals, headlights, and grille shield in place, need to find some mesh
View from the passenger front
View from the Passenger rear
Close up of each shock mount I did leave an extra mount hole to angle the shocks more if they turn out too stiff.

Thread Starter
Senior Member
Joined: 01-13-2006
Posts: 3,000
From: Superior, WI - Over the Hill Warranty Club member
The project is feeling like its winding down. I mounted the dash in place and made some changes to the steering column, mainly shortened the column. I will complete that in a couple days, Took the dash back down to make it easier to mount the windshield now that I painted the uprights and the frame. Now to carefully slide the rubber in the bottom slot and install it back on the Bucket. Found some punched mesh for the grille, now to fit that up. I adjusted the emergency brake cables and pulled the ball end off one side, so fix that. It was crimped and the instructions say to weld the end to the cable (should the manufacturer do that? go figure).
Over the next few days I need to fit the back panel and repair the upper broken corners with some 20 GA. Make 2 small panels to fill in the bottom at the back. and modify the front seat bottom panel to fit. Need foam and material to make the seats. Also needed is to get the rear axle straight to the front and square the front axle, then I have a friend that will 4 wheel align the bucket for a 12 pack. Hope to get that done next week. Could this be time for a trip around the block? Hope so. It will also be time for a few shots of the Bucket not in the shop.
My thanks to everyone for their support, viewing the project and where needed helping with seen issues during this build. Over all I have a couple weeks left for the completion of the build, but we all know you see things that will need to change or better ways to try it.
More Pics will be posted, so not done yet.
Over the next few days I need to fit the back panel and repair the upper broken corners with some 20 GA. Make 2 small panels to fill in the bottom at the back. and modify the front seat bottom panel to fit. Need foam and material to make the seats. Also needed is to get the rear axle straight to the front and square the front axle, then I have a friend that will 4 wheel align the bucket for a 12 pack. Hope to get that done next week. Could this be time for a trip around the block? Hope so. It will also be time for a few shots of the Bucket not in the shop.
My thanks to everyone for their support, viewing the project and where needed helping with seen issues during this build. Over all I have a couple weeks left for the completion of the build, but we all know you see things that will need to change or better ways to try it.
More Pics will be posted, so not done yet.
Thread Starter
Senior Member
Joined: 01-13-2006
Posts: 3,000
From: Superior, WI - Over the Hill Warranty Club member
View from the back corner
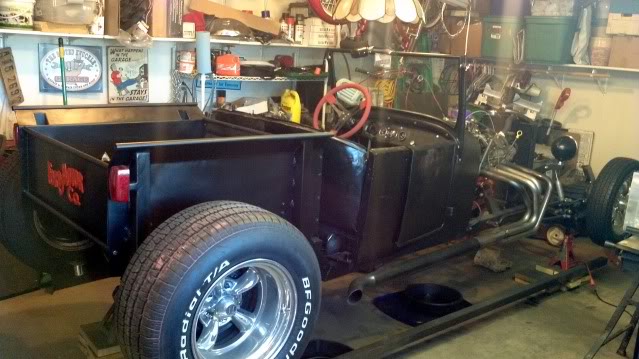
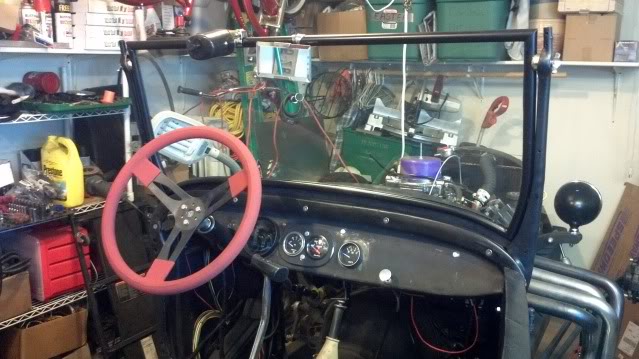
Dash and steering in place, windshield primered and installed
The air cleaner is on the engine
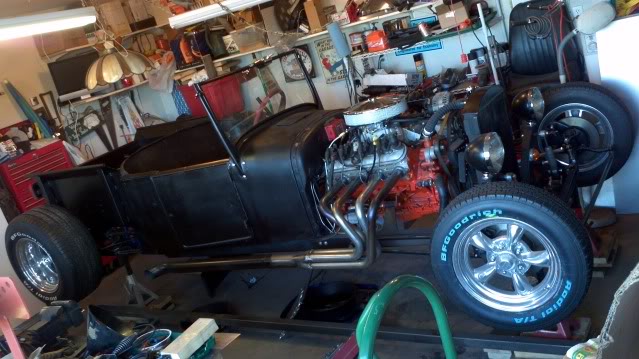
I may be having visions but I might be seeing the light at the end of the tunnel. still hoping to get it out of the garage next week.
Dash and steering in place, windshield primered and installed
The air cleaner is on the engine
I may be having visions but I might be seeing the light at the end of the tunnel. still hoping to get it out of the garage next week.
Thread Starter
Senior Member
Joined: 01-13-2006
Posts: 3,000
From: Superior, WI - Over the Hill Warranty Club member
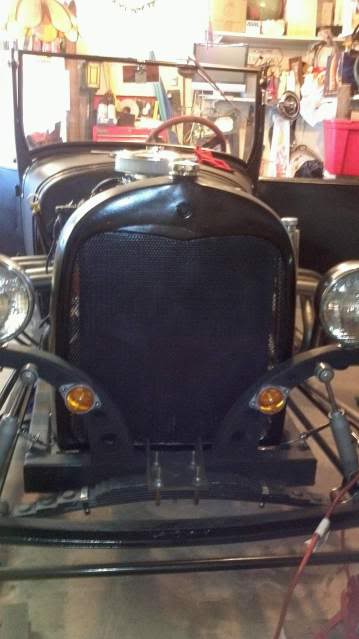
Completed the Grille guard yesterday, fixed a gas leak, modified the floor metal to accept the steering shaft and a few other odds n ends. I must of got the wrong dipstick with the transmission. I start it and let it run for a bit on jack stands then check the trans. When I add enough to get to the bottom of the full mark it tosses it all out on the floor. I did get a locar dipstick to install but am still using the long stick that came with this trans.
Thread Starter
Senior Member
Joined: 01-13-2006
Posts: 3,000
From: Superior, WI - Over the Hill Warranty Club member
Now that the trans issue is resolved, on to more building. Started putting the old metal back where the seat will be, straighten, fit, straighten, fit, trim, check fit again.
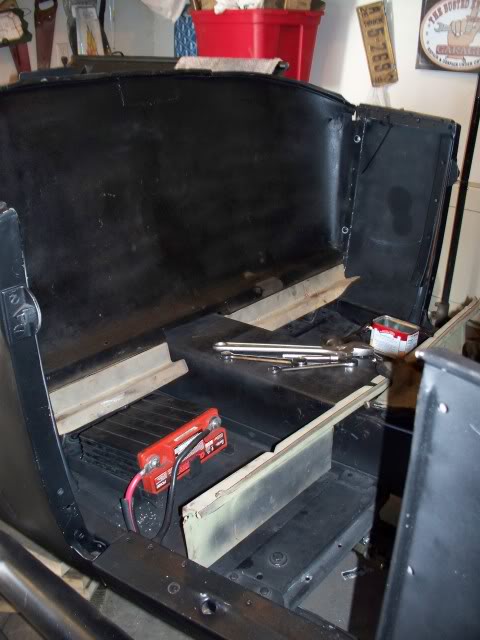
Got the wood for the seat bottom, ordered foam and picked up the seat material yesterday.
The material looks like old distressed leather. It will give it the old look that I want.
Note: my first HHR hood will find its way onto the T-Bucket seat back to help fix the corners where they are broken.

Got the wood for the seat bottom, ordered foam and picked up the seat material yesterday.
The material looks like old distressed leather. It will give it the old look that I want.
Note: my first HHR hood will find its way onto the T-Bucket seat back to help fix the corners where they are broken.