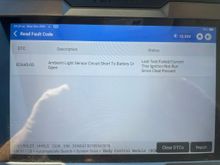
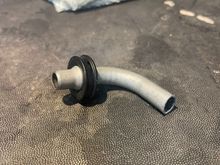
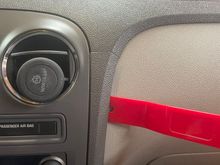
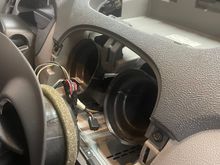
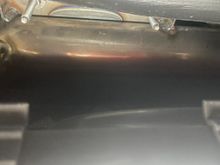
This is where it gets tough. You can easily lift the left side of the dash to get some access to the sensor, but it is difficult. If you wiggle the dash section forward and back it loosens a little, but not much, and didn't come entirely loose for me. If anyone knows how to loosen the right side of this section please comment.
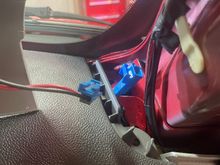
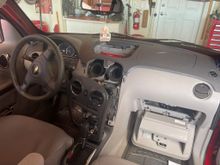
Note- make sure the speaker wires are in the clear when reattaching the dash.