


LDK build


Senior Member
Joined: 05-29-2015
Posts: 542
From: Cleveland, OH
I think the pcv is unnecessary from the intake runner, but since it's installed it isn't going to hurt anything. I'm curious to see what turns up! In the name of science of course.
My concern is that it's a lot of hose to get everything into one can. Not sure if you mentioned your hose size (can't see that far back), what is it? With all the fluctuation our system has I wonder if it will have enough draw.
And just out of curiosity, what's inside the can fire filtering? My Mishimoto can only had a large sintered filter, other than that it was an empty can...
My concern is that it's a lot of hose to get everything into one can. Not sure if you mentioned your hose size (can't see that far back), what is it? With all the fluctuation our system has I wonder if it will have enough draw.
And just out of curiosity, what's inside the can fire filtering? My Mishimoto can only had a large sintered filter, other than that it was an empty can...

Thread Starter
Senior Member
Joined: 09-02-2010
Posts: 383
From: Philadelphia, PA
I think the pcv is unnecessary from the intake runner, but since it's installed it isn't going to hurt anything. I'm curious to see what turns up! In the name of science of course.
My concern is that it's a lot of hose to get everything into one can. Not sure if you mentioned your hose size (can't see that far back), what is it? With all the fluctuation our system has I wonder if it will have enough draw.
And just out of curiosity, what's inside the can fire filtering? My Mishimoto can only had a large sintered filter, other than that it was an empty can...
My concern is that it's a lot of hose to get everything into one can. Not sure if you mentioned your hose size (can't see that far back), what is it? With all the fluctuation our system has I wonder if it will have enough draw.
And just out of curiosity, what's inside the can fire filtering? My Mishimoto can only had a large sintered filter, other than that it was an empty can...
Hose from valve 2 of the valve cover is 3/8" and Hose from Manifold is 1/4" - They're teed together using a 3/8" tee. The line going from the tee to the catch can is 1/2". The hook ups for the catch can look like 1/2" hose, so the one to the turbo inlet will have to be reduced to 3/8" and the other will have to be reduced to 1/4".

Not too sure what internals are used for the can, but I know this is the shot they show on the RX site of how it's setup internally. The can is welded shut, so I can't open it to find out.

Last edited by drummerboy0088; May 11, 2016 at 11:53 AM.
Thread Starter
Senior Member
Joined: 09-02-2010
Posts: 383
From: Philadelphia, PA
ENGINE IS IN!
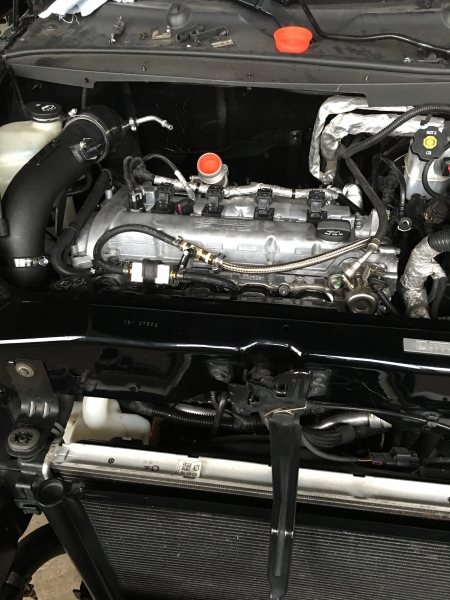
Today we got the cradle back into the engine bay
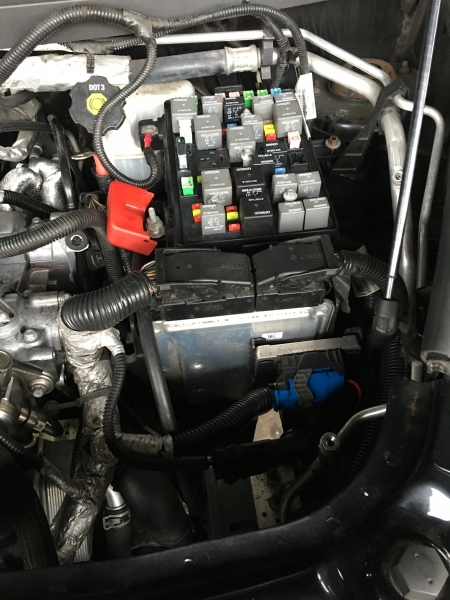
We then assembled the electrical box back together
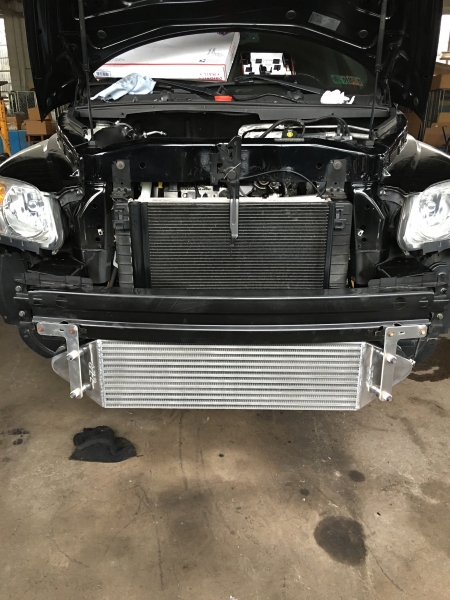
Even got the ZZP intercooler in
We also installed the ZZP Cold Air Intake to see where we could possibly mount the catch can. The catch can is a BIG 32 ounce can, so it's going to take up some space. My brother isn't a fan of how it would look mounted to the firewall, so we're thinking under the passenger side headlight. It will be allow us to use less hose, and will be easy to access when we have to empty the catch can.
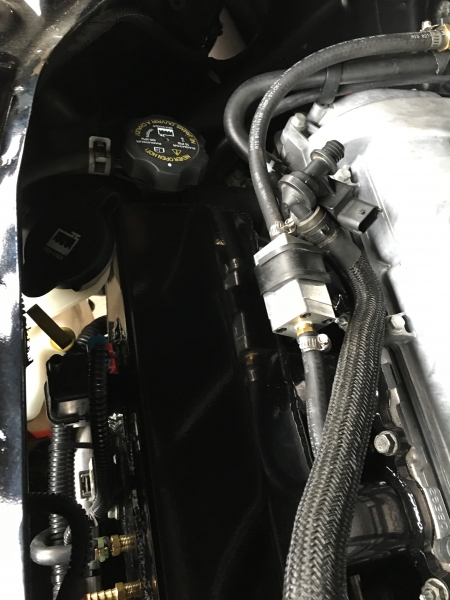
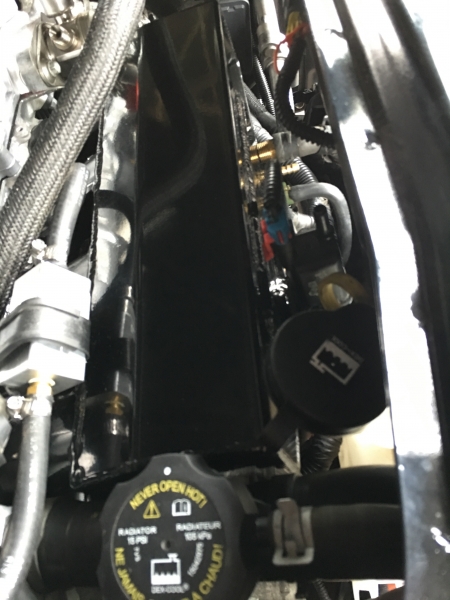
New thing we noticed - The TTR manifold makes it SUPER TIGHT where the coolant reserve tank and dipstick are located. The top of the reserve tank presses between the manifold and the engine bay - if only it was slightly longer. Shouldn't be an issue though, just a nuisance.
Saturday we will mount the catch can, install the upper charge pipe for the intercooler, install the rotors and brembo brakes - then START HER UP!
Today we got the cradle back into the engine bay
We then assembled the electrical box back together
Even got the ZZP intercooler in
We also installed the ZZP Cold Air Intake to see where we could possibly mount the catch can. The catch can is a BIG 32 ounce can, so it's going to take up some space. My brother isn't a fan of how it would look mounted to the firewall, so we're thinking under the passenger side headlight. It will be allow us to use less hose, and will be easy to access when we have to empty the catch can.
New thing we noticed - The TTR manifold makes it SUPER TIGHT where the coolant reserve tank and dipstick are located. The top of the reserve tank presses between the manifold and the engine bay - if only it was slightly longer. Shouldn't be an issue though, just a nuisance.
Saturday we will mount the catch can, install the upper charge pipe for the intercooler, install the rotors and brembo brakes - then START HER UP!

New Member
Joined: 11-12-2015
Posts: 22
From: Templeton, CA
Wow, you are moving right along.
I won't be able to do anything on mine this weekend. I'm riding my motorcycle up the coast of CA to the Quale Lodge motorcycle gathering. Should be a lot of fun.
So next weekend is looking better!
I won't be able to do anything on mine this weekend. I'm riding my motorcycle up the coast of CA to the Quale Lodge motorcycle gathering. Should be a lot of fun.
So next weekend is looking better!
Thread Starter
Senior Member
Joined: 09-02-2010
Posts: 383
From: Philadelphia, PA
Sure are! It's the final stretch, and now both my brother and myself are so excited we keep saying "Let's just do a little bit more" each time we work on it. We're both ready to get this beast back on the road!
Enjoy the bike cruise - We have been experiencing a lot of rain the past 3 weeks here in Philly PA. Today is the first day in a while the sun is out and it's in the 70s.
Enjoy the bike cruise - We have been experiencing a lot of rain the past 3 weeks here in Philly PA. Today is the first day in a while the sun is out and it's in the 70s.
Thread Starter
Senior Member
Joined: 09-02-2010
Posts: 383
From: Philadelphia, PA
Worked on the build this morning. SOO CLOSE TO COMPLETION.
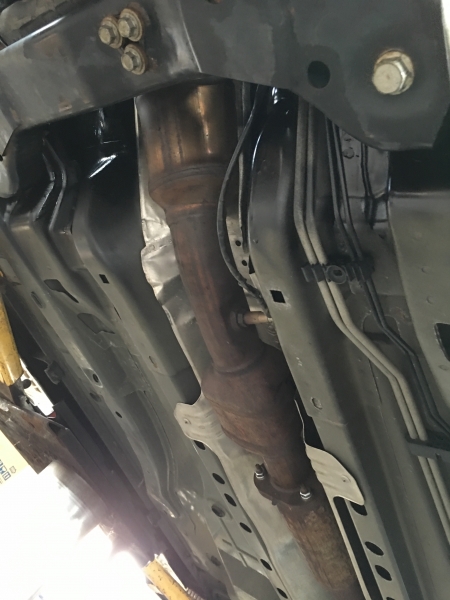
We installed the flex pipe and downpipe. Eventually this will all be replaced with a 3" downpipes and exhaust setup, but that's for way later down the road.
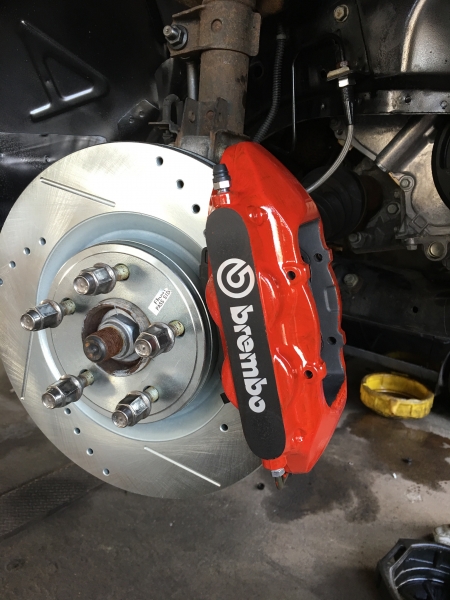
We went to install the Brembo front brakes, but to our surprise ZZP forgot to include the pins and clips needed for the Brembo calipers. Also only 1 of the steel braided brake lines would thread, so we installed 1 side. I emailed ZZP to see about getting the hardware kit for the calipers, and a replacement brake line for the defective one. Looks pretty nice though!
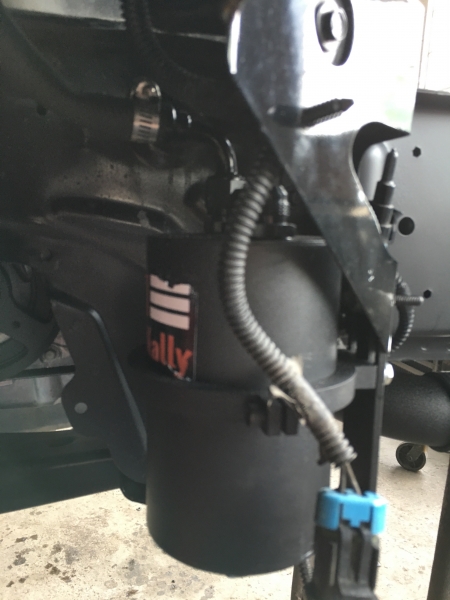
Finally, we had to alter the mount bracket for the catch can. We don't like the way the setup looks with the catch can mounted by the firewall, so we mounted the catch can under the passenger headlight. We did this so it's hidden, and easier to access to drain when I do oil changes. Just like replacing a headlight, I undo the screws and pull the plastic back.
Since I'm running the ZZP Cold Air Intake, the cutout in the engine bay for the stock air box is no longer used, so we're running the lines up through that.
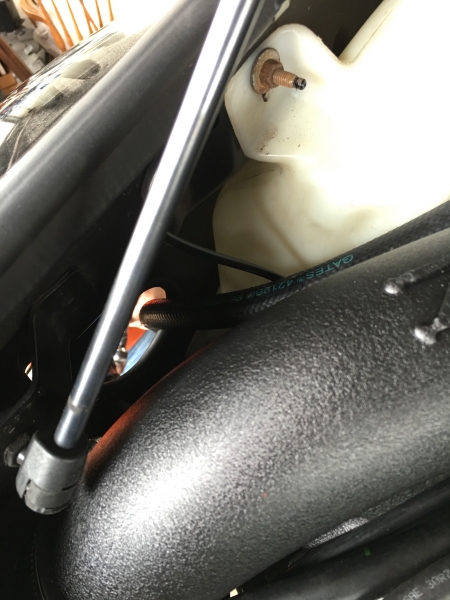
If this all works, I will replace all the lines for the catch can with braided stainless ones, and AN fittings.
Other than that, break in oil was added, coolant was added, so when we get a chance to work on it during the week after work we should be able to start her up!
We installed the flex pipe and downpipe. Eventually this will all be replaced with a 3" downpipes and exhaust setup, but that's for way later down the road.
We went to install the Brembo front brakes, but to our surprise ZZP forgot to include the pins and clips needed for the Brembo calipers. Also only 1 of the steel braided brake lines would thread, so we installed 1 side. I emailed ZZP to see about getting the hardware kit for the calipers, and a replacement brake line for the defective one. Looks pretty nice though!
Finally, we had to alter the mount bracket for the catch can. We don't like the way the setup looks with the catch can mounted by the firewall, so we mounted the catch can under the passenger headlight. We did this so it's hidden, and easier to access to drain when I do oil changes. Just like replacing a headlight, I undo the screws and pull the plastic back.
Since I'm running the ZZP Cold Air Intake, the cutout in the engine bay for the stock air box is no longer used, so we're running the lines up through that.
If this all works, I will replace all the lines for the catch can with braided stainless ones, and AN fittings.
Other than that, break in oil was added, coolant was added, so when we get a chance to work on it during the week after work we should be able to start her up!
Administrator
Joined: 10-13-2011
Posts: 40,097
From: Welland,Ont Canada
It could just be the camera angle but measure your brake rotors, they look small in the caliper! Brembo set should measure 12.25 inches as per this link
12.25 inch Front Brake Kit with Brembo Calipers
I think it's just the camera angle but better to measure twice and cut once! No wait that's for lumber!
12.25 inch Front Brake Kit with Brembo Calipers
I think it's just the camera angle but better to measure twice and cut once! No wait that's for lumber!
Thread Starter
Senior Member
Joined: 09-02-2010
Posts: 383
From: Philadelphia, PA
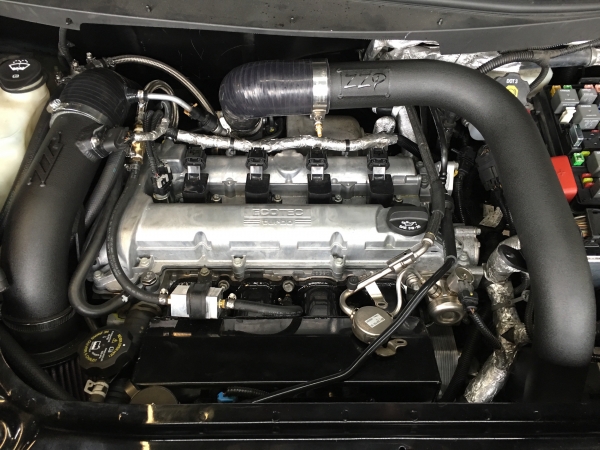
More work on the car today. Installed the ZZP upper charge pipe, and finished up the catch can hoses. We ran out of hose fasteners, so I ran to depot after my brother and I called it a day. 2 hours of cutting stainless braided hoses, adjusting hose from 1/2" to 3/4", etc after both working full days at work, we were done.
Tomorrow I should get the pins and clips needed for the brembo calipers from Rock Auto (my ZZP 12.25 Brembo kit didn't come with them). We're also having difficulty getting one of the stainless brake lines to thread, so we have to mess with that some more to see what we can do.
Once we see everything is running properly, we will then install the ZZP high voltage coil pack. Rather play it safe and start it up the first time with the stock ones.
I also hope this thing came with an oil filter installed. I didn't think about it until all the oil was in. I'd hate to have to open the filter cap and have oil go everywhere just to check...
Tomorrow I should get the pins and clips needed for the brembo calipers from Rock Auto (my ZZP 12.25 Brembo kit didn't come with them). We're also having difficulty getting one of the stainless brake lines to thread, so we have to mess with that some more to see what we can do.
Once we see everything is running properly, we will then install the ZZP high voltage coil pack. Rather play it safe and start it up the first time with the stock ones.
I also hope this thing came with an oil filter installed. I didn't think about it until all the oil was in. I'd hate to have to open the filter cap and have oil go everywhere just to check...