


Install Trailer Hitch- Part 1


Thread Starter
Senior Member
Joined: 05-13-2009
Posts: 466
From: Western North Carolina
Install Trailer Hitch- Part 1
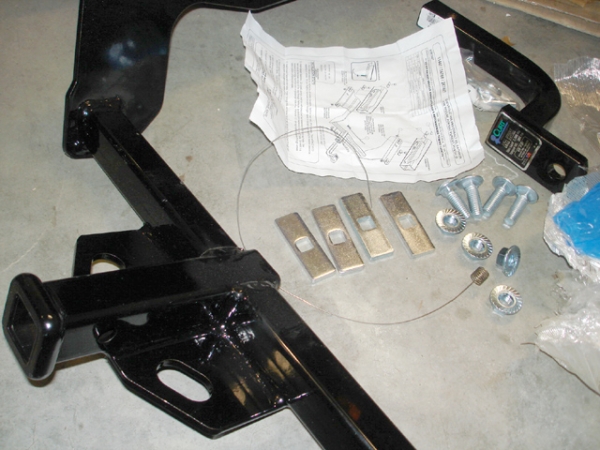
The weather was a bit warmer last night so rather than sitting around watching TV I decided to tackle the hitch installation. I pulled the hitch out of the box & here's all the parts & pieces:

Close-up of the parts:
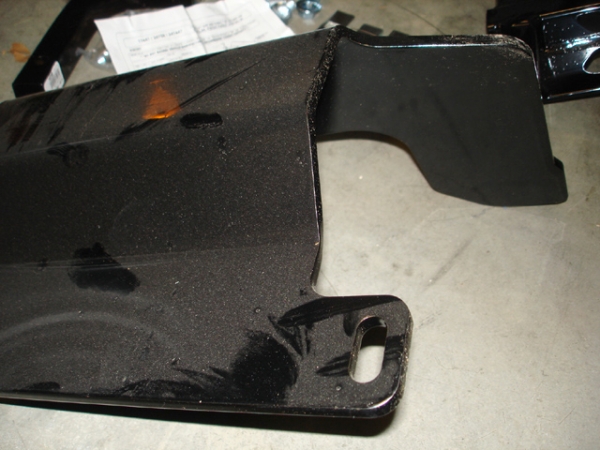
The steel is heavy-duty. You can see the hole (slot) for the bolts to be installed later:
Moving the hitch around to the back of the car I noticed it was kinda heavy! Curious, I got out the bathroom scale & the hitch & tounge assy weigh approx 47 pounds.
I set the parking brake & used my floor jack to lift up the driver's side of the car.
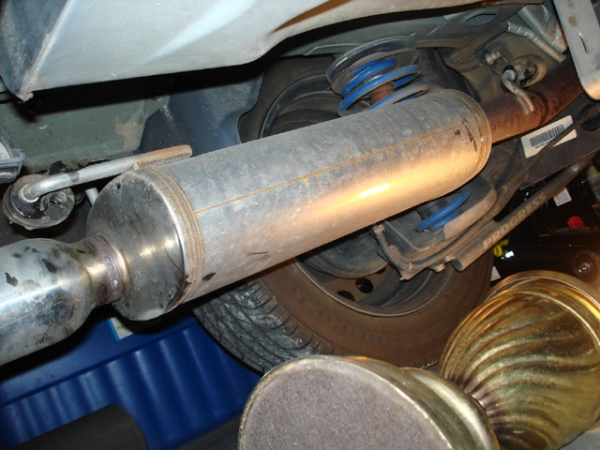
There are rubber muffler hangers (isolators) that need to be removed so the muffler can hang down. You need to drop the muffler to gain clearance to mount the hitch.
They suggest spraying a lubricant on the rubber to help them slide off. I didn't have any WD-40 so I used motocross chain lube
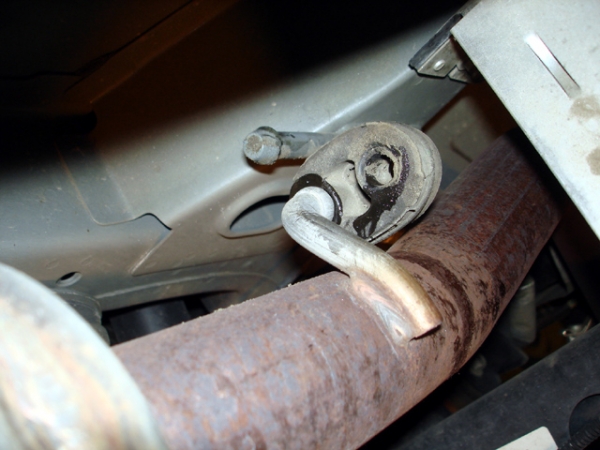
Here is the hanger in front of the muffler. There is one more hanger forward of this location:
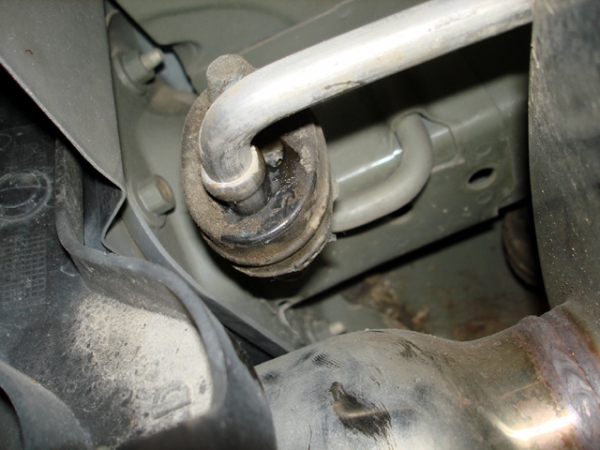
Here is the hanger at the back of the muffler:
I had three isolators loose & the muffler still wasn't hanging down very much. Hmmm, maybe my muffler can't hang? I started looking for one more hanger & I found it here on the left of the muffler:

Finally the muffler is free to hang:
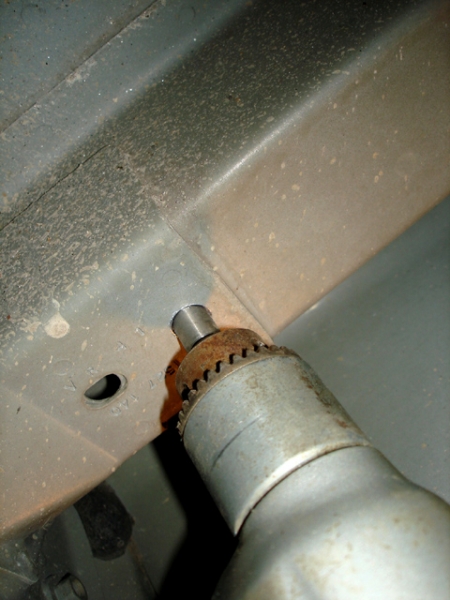
On the HHR frame, there is one hole that needs to be drilled out to 1/2". It is the rearmost hole on the passenger side rail. This picture shows me drilling out the wrong hole! I realized my mistake later only after I had everything installed Arggggg
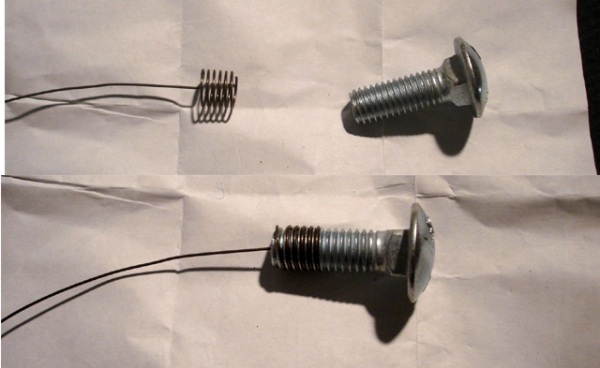
Here is the wire (snake) that you use to fish the bolt & plate up into the frame rail. It is a simple device that works deceptively well!
Feed the wire up through the front hole in the frame rail & back out the rearmost hole:
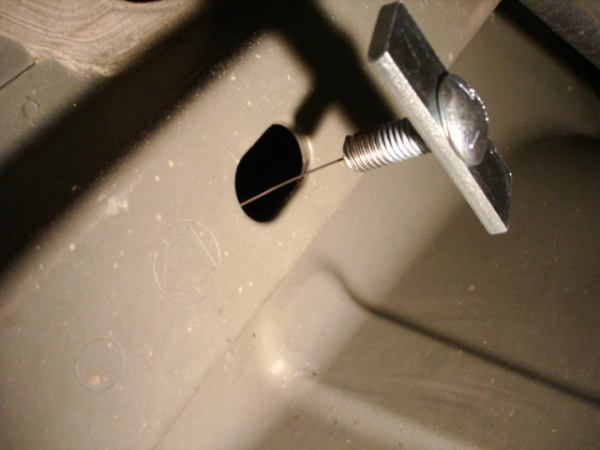
Here we see the wire poking out of my freshly reamed out (incorrect) hole:

I then went to mount the hitch & realised that I had the bolts in the wrong holes. I decided to use a rat tail file to ream out the correct (back) hole. It only needed a little cleaning up to fit the bolt. I had to remove all the bolts & re-feed them back through the correct holes. Lots of cursing & beating myself up because I wasted so much time:
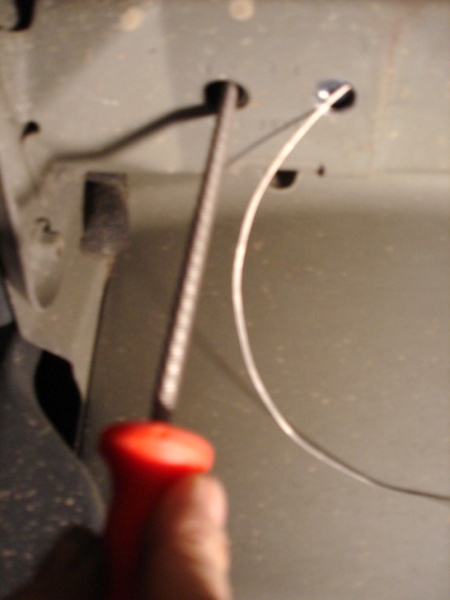
Image restrictions mean I need to carry this thread on to Part 2....
Close-up of the parts:
The steel is heavy-duty. You can see the hole (slot) for the bolts to be installed later:
Moving the hitch around to the back of the car I noticed it was kinda heavy! Curious, I got out the bathroom scale & the hitch & tounge assy weigh approx 47 pounds.
I set the parking brake & used my floor jack to lift up the driver's side of the car.
There are rubber muffler hangers (isolators) that need to be removed so the muffler can hang down. You need to drop the muffler to gain clearance to mount the hitch.
They suggest spraying a lubricant on the rubber to help them slide off. I didn't have any WD-40 so I used motocross chain lube
Here is the hanger in front of the muffler. There is one more hanger forward of this location:
Here is the hanger at the back of the muffler:
I had three isolators loose & the muffler still wasn't hanging down very much. Hmmm, maybe my muffler can't hang?
I started looking for one more hanger & I found it here on the left of the muffler:Finally the muffler is free to hang:
On the HHR frame, there is one hole that needs to be drilled out to 1/2". It is the rearmost hole on the passenger side rail. This picture shows me drilling out the wrong hole! I realized my mistake later only after I had everything installed Arggggg
Here is the wire (snake) that you use to fish the bolt & plate up into the frame rail. It is a simple device that works deceptively well!
Feed the wire up through the front hole in the frame rail & back out the rearmost hole:
Here we see the wire poking out of my freshly reamed out (incorrect) hole:
I then went to mount the hitch & realised that I had the bolts in the wrong holes. I decided to use a rat tail file to ream out the correct (back) hole. It only needed a little cleaning up to fit the bolt. I had to remove all the bolts & re-feed them back through the correct holes. Lots of cursing & beating myself up because I wasted so much time:
Image restrictions mean I need to carry this thread on to Part 2....

Thread Starter
Senior Member
Joined: 05-13-2009
Posts: 466
From: Western North Carolina
Frame stiffener?

New Member
Joined: 02-17-2013
Posts: 12
From: Charlottetown, PEI, Canada
Hidden hitch install
Installed the hitch in my driveway on jackstands. Super easy even though the hardware bag was open and missing the wire. It took me a little longer not having a wire to help fish the bolts but in total it took an hour. I paid 180 tax in and save on the install. Happy DIY-er. 



Thread
Thread Starter
Forum
Replies
Last Post


