When you click on links to various merchants on this site and make a purchase, this can result in this site earning a commission. Affiliate programs and affiliations include, but are not limited to, the eBay Partner Network.
"How To" Tutorial LibraryWrite tips and instructions on how to install parts or fix problems. This is for detailed "How To's" only, not a forum to ask how to do something. Please post those questions in appropriate forums.
Never thought about the stud diameter of the ball joint.
Don, where are the knuckles different other than they accept a different lower (and only) ball joint?
Never thought about the stud diameter of the ball joint.
Don, where are the knuckles different other than they accept a different lower (and only) ball joint?
Well, the axle hub shaft, which passes through the knuckle, is larger on the SS. So the hole in the knuckle may be larger also.
It's my turn on this little job... I found this video which I hope helps some... They cover most of the problems BUT the tork with the torking and then turning it 180 degrees what ever ???
I'm getting my stuff from RockAuto.com and think I will get the Moog bushings and replace them too in the NEW set-up... The factory type bushings are just not that good. Think the extra work and cost will be worth it. Rock Auto has 3 classes of parts and I am looking at the top one which has a good price... My luck it will have a solid bushing in it....
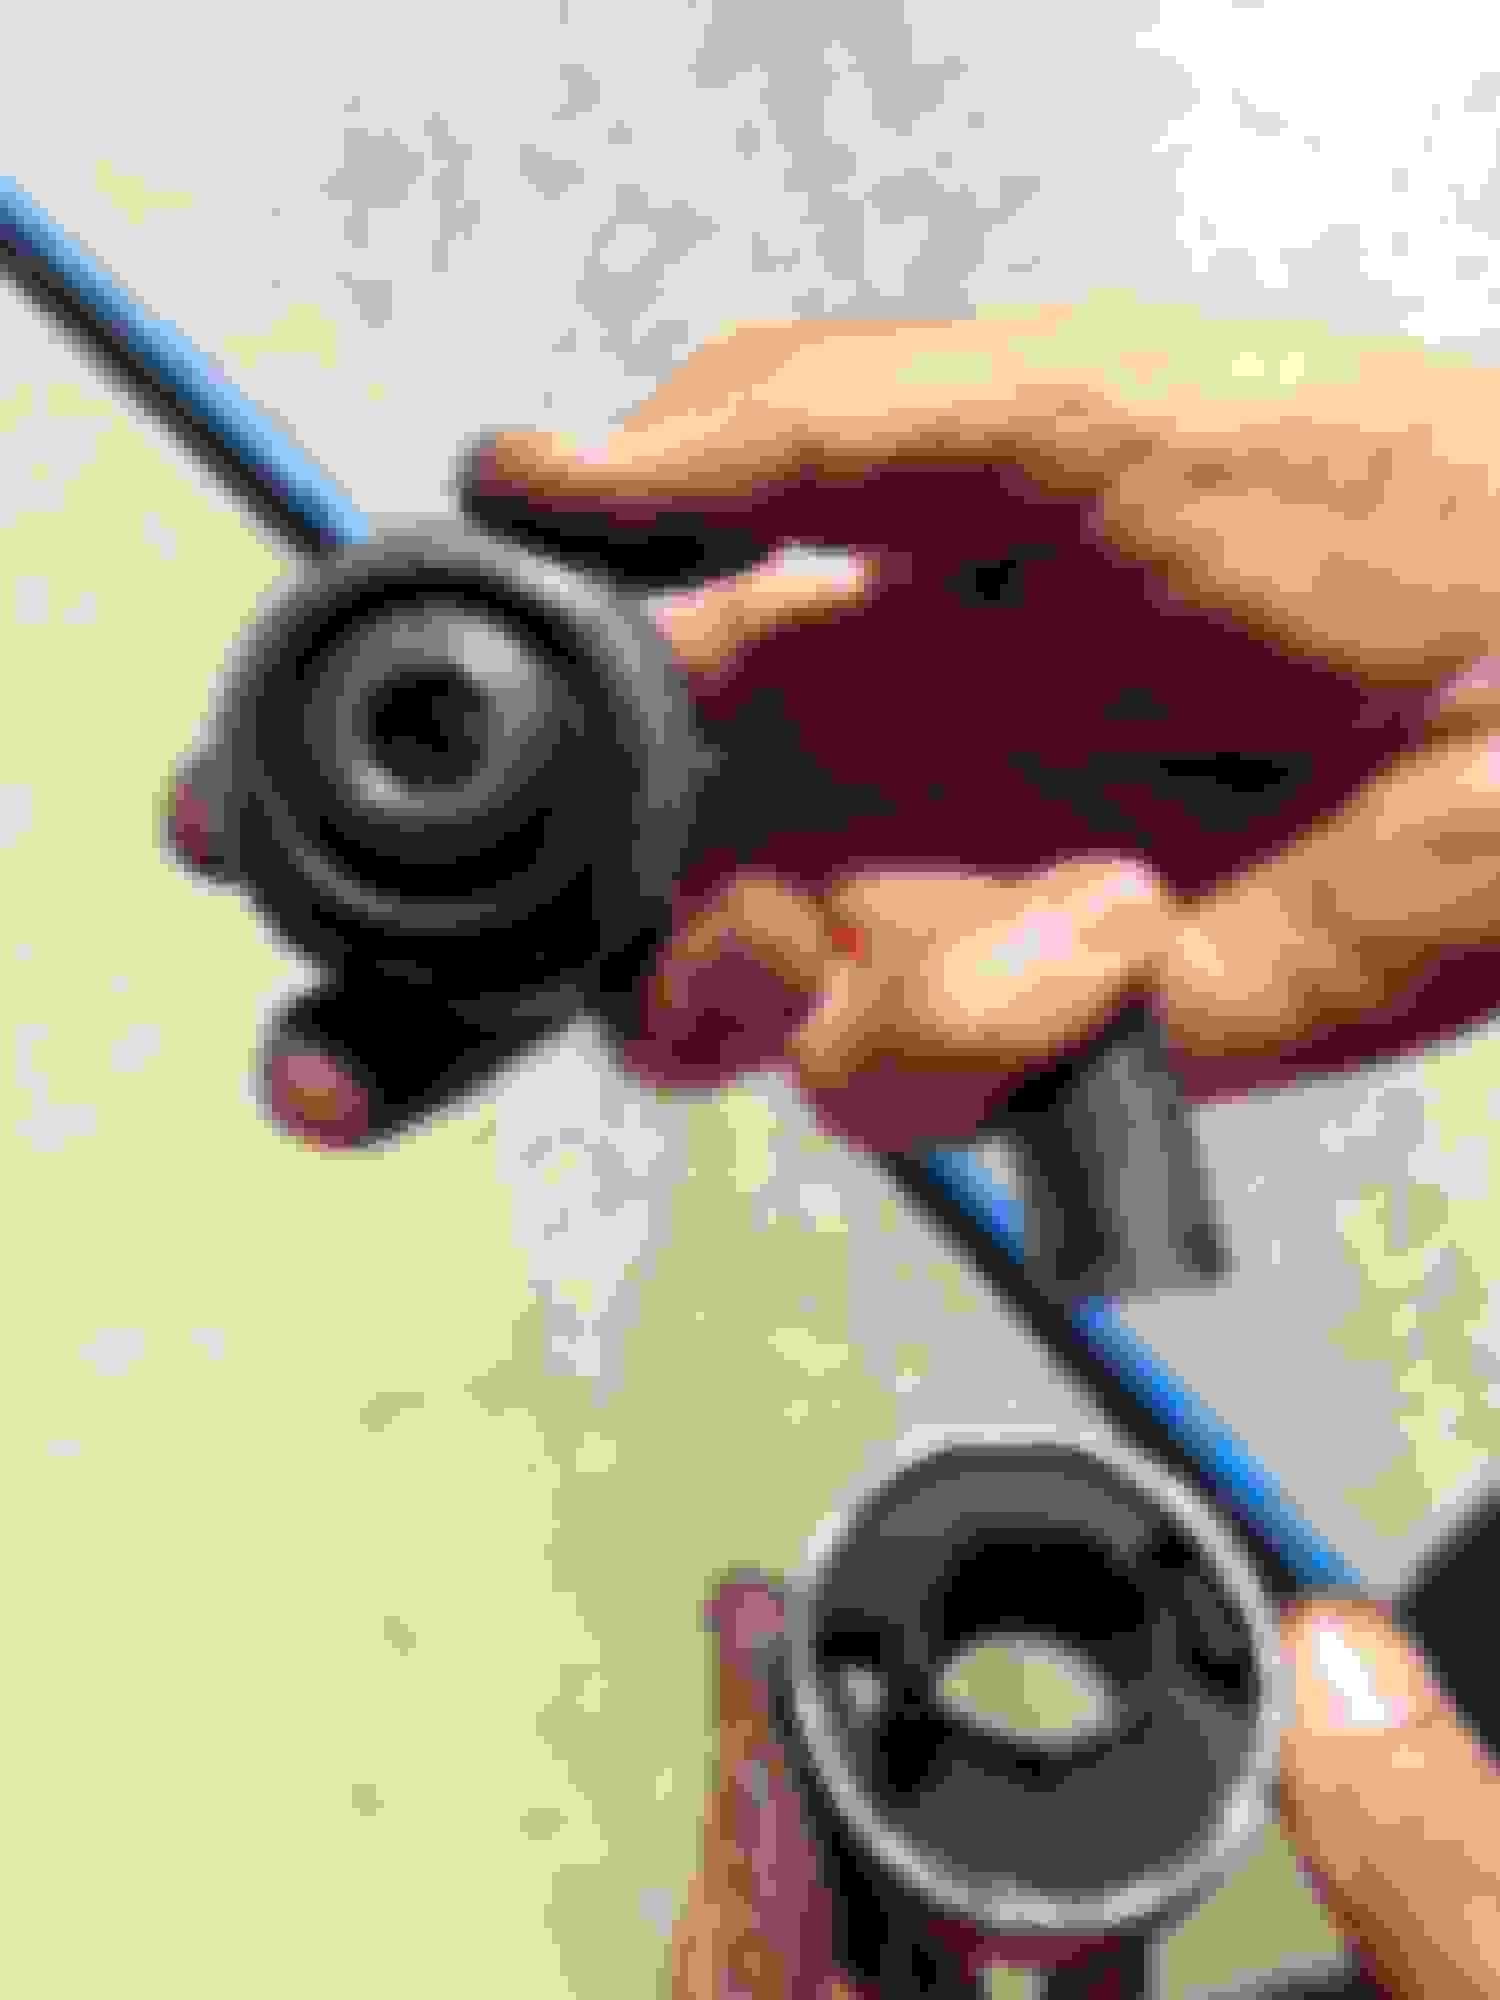
I was thinking I would save lots of money by just replacing the rear bushing... Was thinking I MAY get lucky and just take out the rear bolt and the two (15 mm) side frame bolts, turn the spinal out and swing the control arm out. Then using a u-joint / bushing press- C-clamp type (get one/rent at the auto parts store) then just push out the old bushing and back in with the new bushing. If problems then take out the ball joint end and have the thing out and put it in a vice. THINKING... What could go wrong???? Then I found this video of a man that showed some points to think over... Note he states that it took all his 12 ton jack could push to get the thing out !!! My luck too would be that the kit would not have the right size ring to fit the thin O.D. wall on the steel bushing. Then the question of what shape would the ball joint be in? And the rubber part on the mounting frame part?? May be getting new one's this time and rebuilding the old one for another time would be better.
Maybe the question is... do I feel lucky?????
If I just lived next door to Bob.....
You wrote regarding replacing the rear bushing on the front lower control arm:
"I Pushed the ring out with an air chisel, then pressed in the Moog bushing, piece of cake."
OK I follow you... got the rubber center part out... had the OD steel ring left which you worked out with a hand operated air chisel (like we used for muffler/tail pipe work in the old days.) THEN you pressed the new bushing back in...
QUESTION: What did you use to fit the OD steel ring of the bushing (which is very thin) where you need to push on, to seat the new bushing back into the control arm? It takes something around 2-3/8 OD (little less than)
Again you state you pressed it so I'm thinking you used a regular press with a bottle jack type set up.
Also how did you gauge the OD steel ring sticking out about 1/16 on BOTH sides of the control arm? I would use anything to hold up against the ring area as a gauge like a thick flat washer or piece of band iron.