
kicker L5 10'' sub in stock location...


Thread Starter
Senior Member
Joined: 10-09-2007
Posts: 144
From: st louis
kicker L5 10'' sub in stock location...
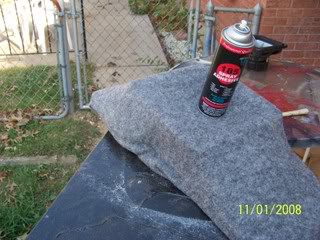
given a problem/solution basis, we wanted to keep as much cargo room as possible, and still have a good amount of bass. with our solution we will achieve this and only loose 4.5'' of usable cargo space. follow along and i will describe all materials as we go...
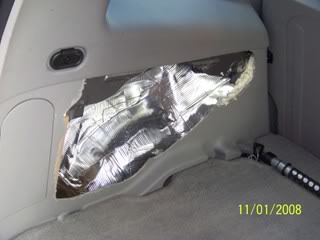
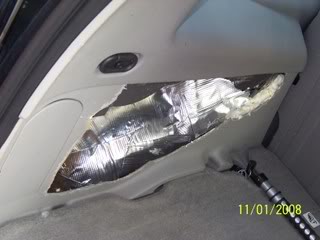
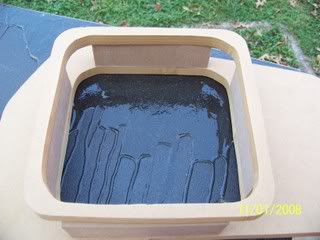
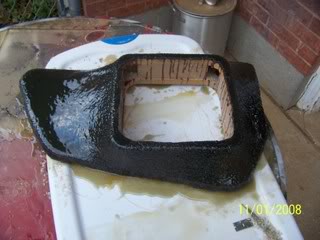
panel was removed, covered in sound absorbing material, crackes were sprayed w/ foam, covered in fiberglass matting and sealed to make sure we have an air tight enclosure
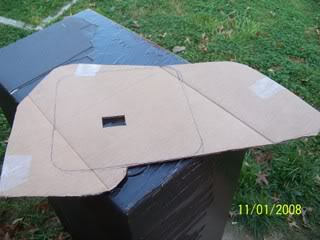
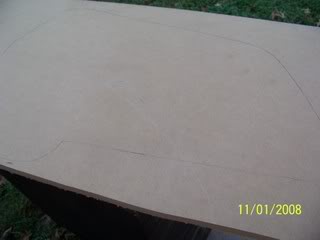
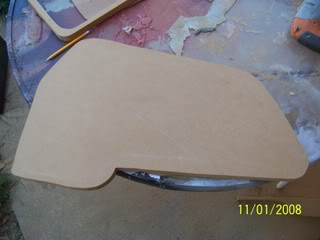
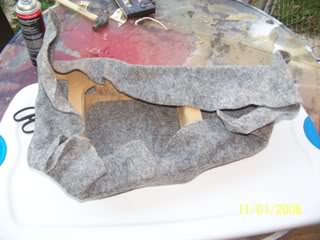
next we made a cardboard template to that we will transfer onto .75'' mdf
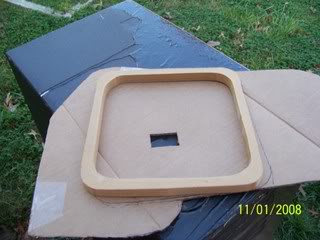
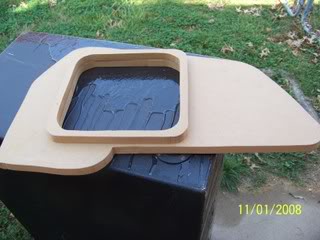
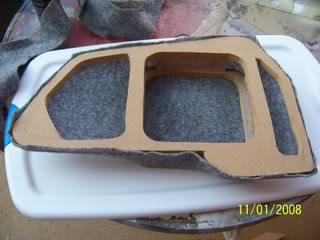
next you will cut out a speaker ring, this will be spaced out 2'' and brad nailed to the template
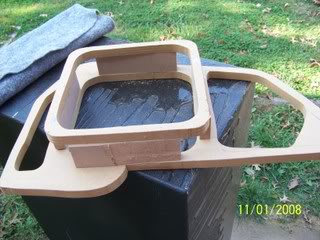
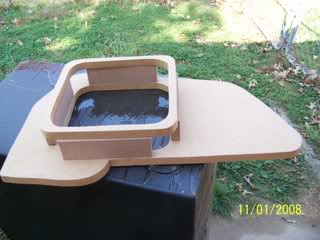
next we cut out the rest of the mdf so we will not limit valuable air space, but still have enough to mount our enclosure
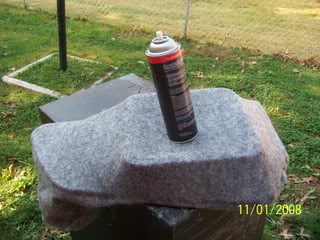
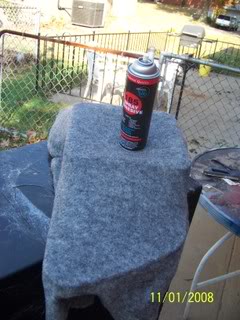
next use a piece of fleece or carpet that will strech around your project. i use spray glue to hold it tight, while i staple it all around the edges, notice how tight the fabric is, that will give you the neat shapes
panel was removed, covered in sound absorbing material, crackes were sprayed w/ foam, covered in fiberglass matting and sealed to make sure we have an air tight enclosure
next we made a cardboard template to that we will transfer onto .75'' mdf
next you will cut out a speaker ring, this will be spaced out 2'' and brad nailed to the template
next we cut out the rest of the mdf so we will not limit valuable air space, but still have enough to mount our enclosure
next use a piece of fleece or carpet that will strech around your project. i use spray glue to hold it tight, while i staple it all around the edges, notice how tight the fabric is, that will give you the neat shapes
Thread Starter
Senior Member
Joined: 10-09-2007
Posts: 144
From: st louis
part 2- of the kicker L5 sub in stock location
this first pic is of the material all bunched up, notice though that the sides are smooth, the second pic is all the material trimmed ready for resin
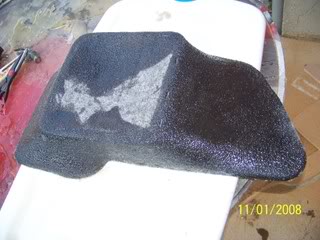
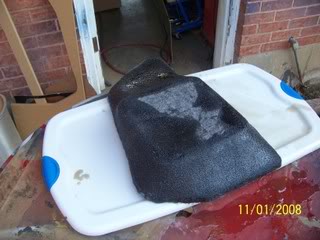
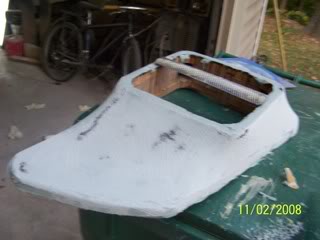
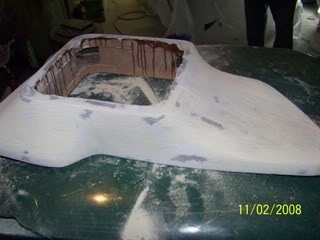
this is the project from the front covered in two nice coats of fiberglass resin,
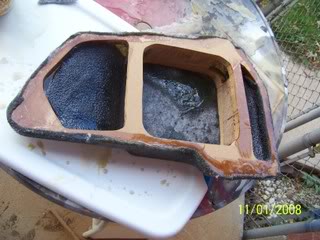
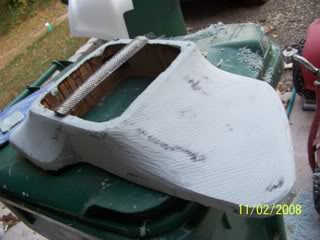
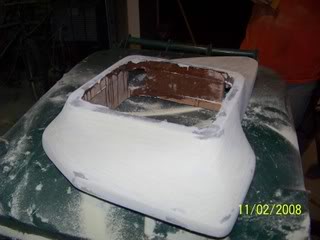
this is the back, we filled the two holes in the side w/ material and resin to strengthen it
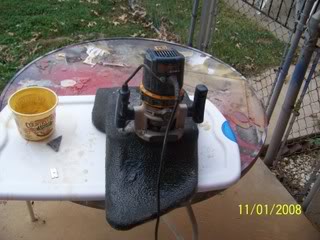
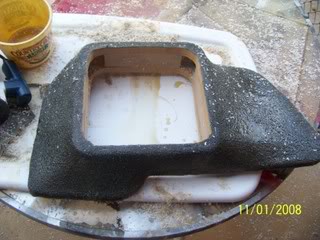
with the material so hard now, we will use a router to cut out the opening for the speaker
one final coat of resin and its ready for body work...
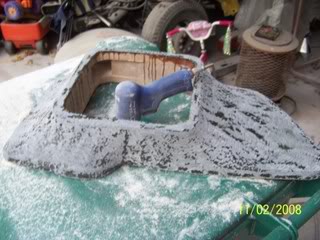
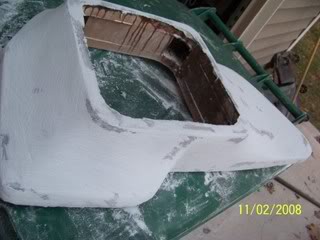
we hit it with a grinder. that will give the body filler something to stick to, at this time we also make sure the back surface is completely level

firs layer of body filler goes on, it is ready to hit w/ the cheese grater after about 10 minutes of set up time
Thread Starter
Senior Member
Joined: 10-09-2007
Posts: 144
From: st louis
part 3- of the kicker L5 sub in stock location
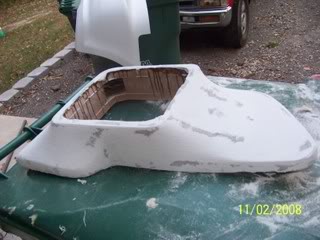
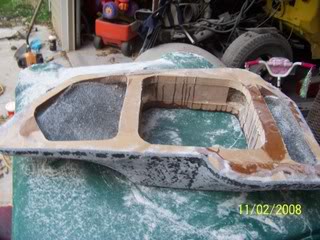
this is hit with the cheese grater and then with 36 grit sand paper, it is starting to take shape now, we will give it one more coat of body filler and then smooth it out with 80 grit sandpaper
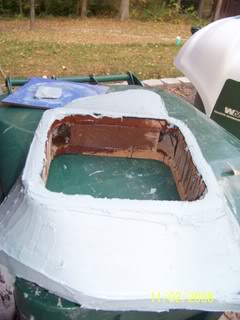
as it was getting dark we finished all the major body work. we put 3 good coats of slick sand (high build primer) and will let that dry for several hours, we will post all the finishing touches and install in the next tutorial. stay tuned!!!


Thread
Thread Starter
Forum
Replies
Last Post

