
3rd Brake Light Decal


Senior Member
Joined: 12-14-2007
Posts: 2,964
From: Toronto ON Canada
Check out this thread......
https://www.chevyhhr.net/forums/how-tutorial-library-21/3rd-brake-light-mod-step-step-9177/
https://www.chevyhhr.net/forums/how-tutorial-library-21/3rd-brake-light-mod-step-step-9177/


Senior Member
Joined: 04-19-2006
Posts: 5,065
From: Arvada CO
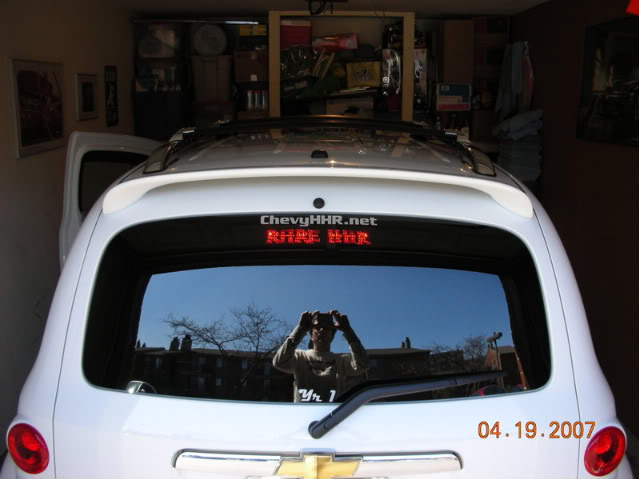
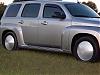
A friend of mine sent me a 3rd light decal for my HHR and I installed it today and took some pictures along the way. Hope this helps those who have questions. Mine is the type that goes directly on the light...not on the window.
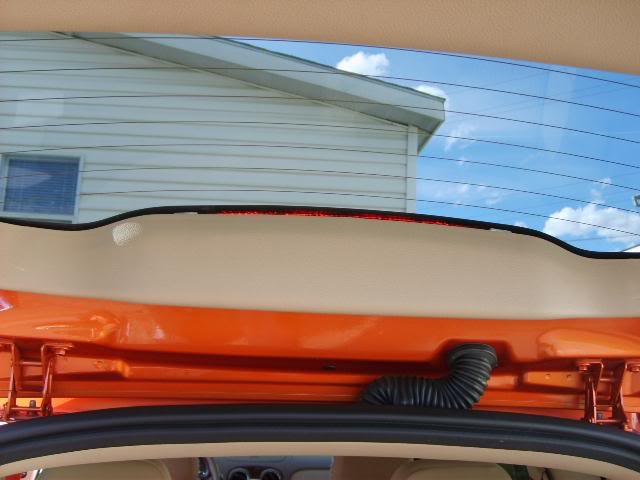
Cover pulled off...you have to give it quite a downward tug, be firm...yet gentle.
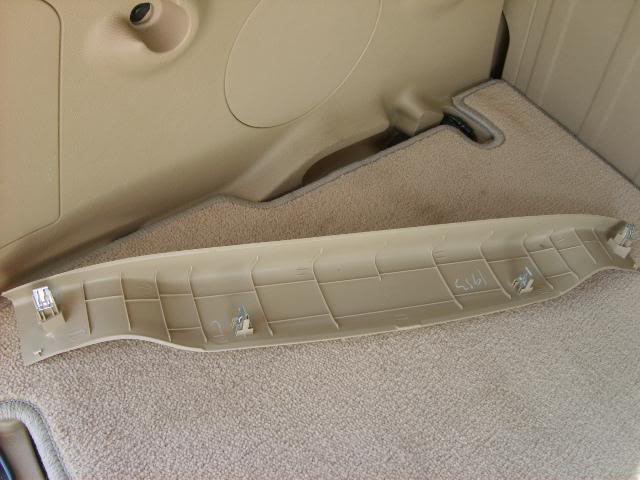
There are 4 metal clips like this on the cover panel
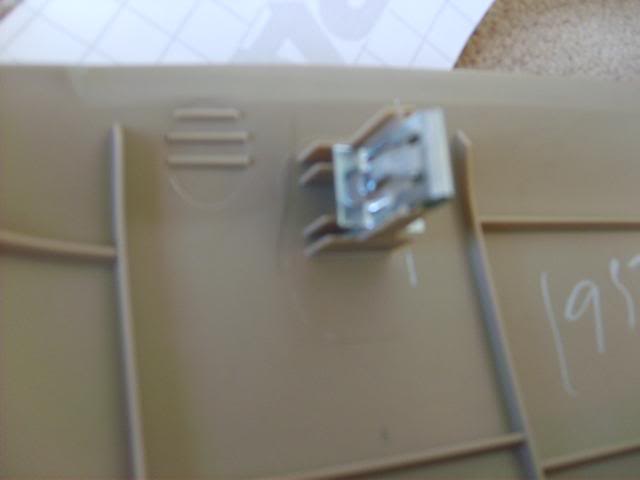
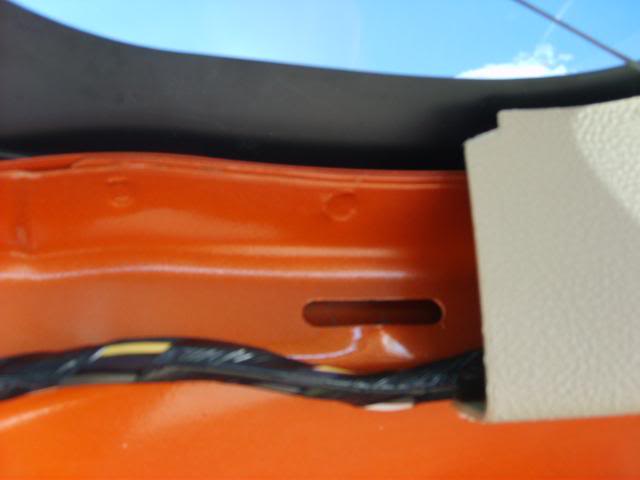
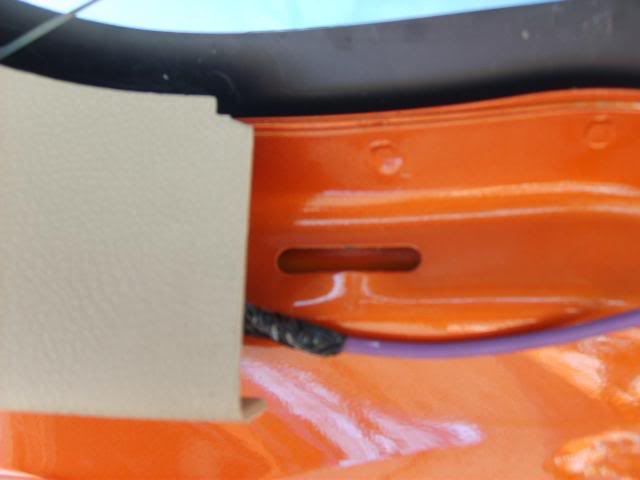
They go into the long vertical slots shown below (the inner ones)
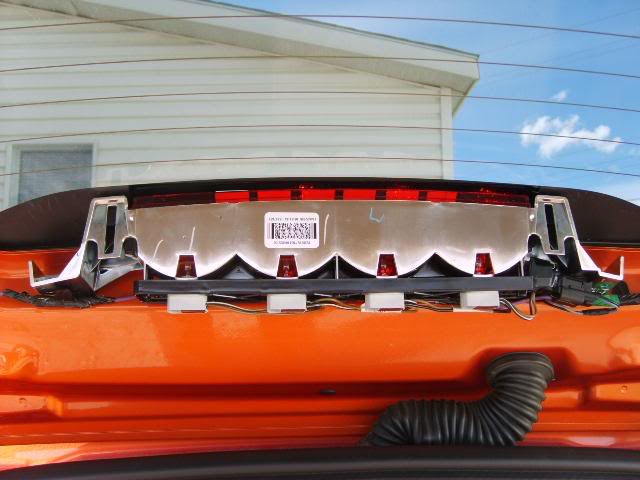
Outer ones go in slots next to the plastic portions remaining on the car
There are 2 screws that need to be removed 7mm nut driver. One on each side of the light assembly
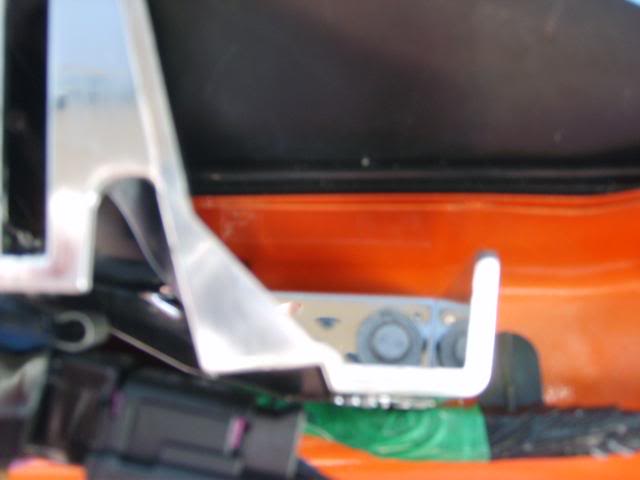
Pull gently down on the light assembly and let it hang from the wires. There is a post on each side that slides out of the body panel (didn't take picture of it hanging)
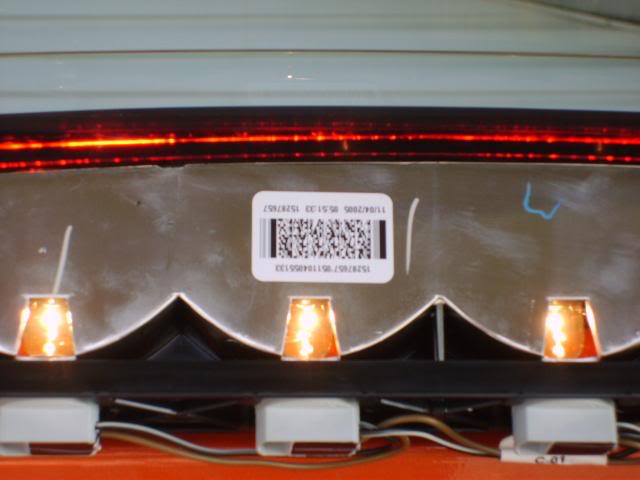
I used scotch tape to hold sticker in place until I found proper placement. When doing this, I used my California Duster and wedged it on the brake pedal and then between the seat and console so brake light would remain lit. Push light assembly back in and see if you like placement. Keep doing this until you are happy.
Then, remove backing carefully so as not to lose any of your lettering and place it on your light assembly and press down until it is solidly applied. Be sure to clean light before applying decal to it.
Reattach light assembly and put back on plastic cover. I lined up the clips, then gave each one of them a sharp rap with the palm of my hand and they went right back in.
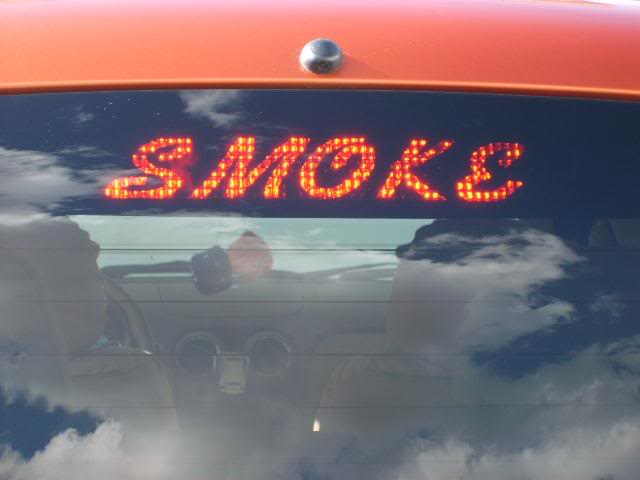
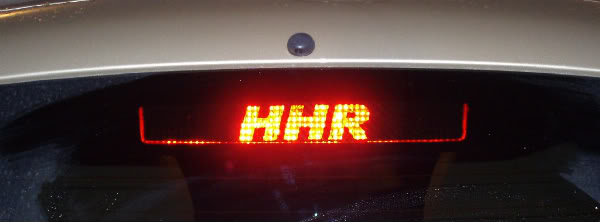
And this is what you get. :mrgreen:
Daylight...right after install
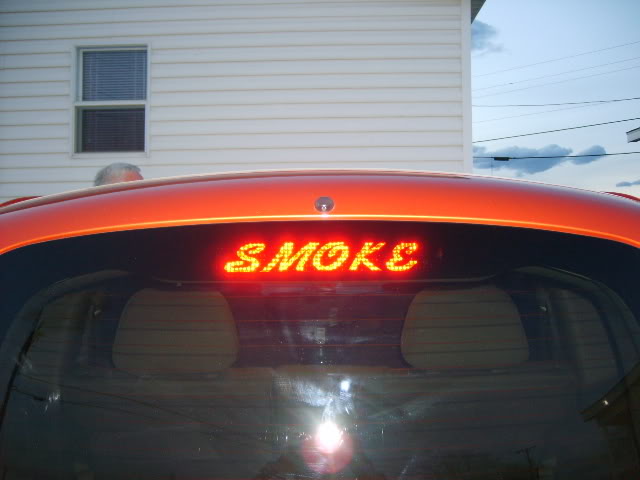
At dusk
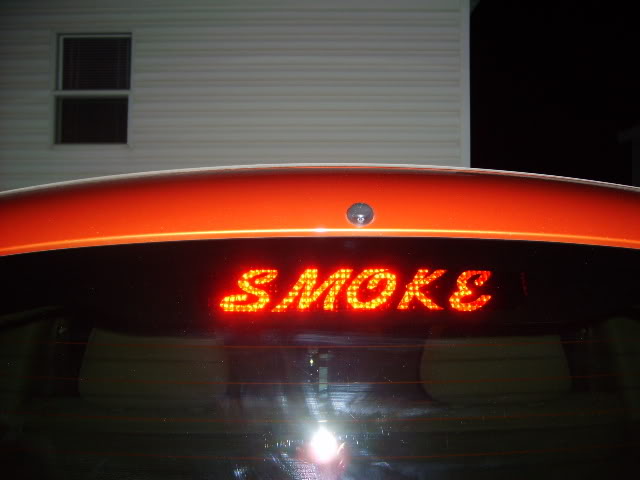
After Dark
Cover pulled off...you have to give it quite a downward tug, be firm...yet gentle.
There are 4 metal clips like this on the cover panel
They go into the long vertical slots shown below (the inner ones)
Outer ones go in slots next to the plastic portions remaining on the car
There are 2 screws that need to be removed 7mm nut driver. One on each side of the light assembly
Pull gently down on the light assembly and let it hang from the wires. There is a post on each side that slides out of the body panel (didn't take picture of it hanging)
I used scotch tape to hold sticker in place until I found proper placement. When doing this, I used my California Duster and wedged it on the brake pedal and then between the seat and console so brake light would remain lit. Push light assembly back in and see if you like placement. Keep doing this until you are happy.
Then, remove backing carefully so as not to lose any of your lettering and place it on your light assembly and press down until it is solidly applied. Be sure to clean light before applying decal to it.
Reattach light assembly and put back on plastic cover. I lined up the clips, then gave each one of them a sharp rap with the palm of my hand and they went right back in.
And this is what you get. :mrgreen:
Daylight...right after install
At dusk
After Dark
Senior Member
Joined: 12-14-2007
Posts: 2,964
From: Toronto ON Canada
Yep, thanks, I got mine finished. My problem was I was using one of those trim tools, but it doesnt fit around the plastic base of the clips. Once I gave up on that and used my hands to pull, it came out, not easily though. I almost snapped the two outside clips putting it back on because I didnt take the time to make sure they were lined up with the slots first.
Also, one problem with the stickers applied to the light is that there is a ridge along the bottom of the light that cant be covered by the sticker, so it may show up when the light is on.
Also, one problem with the stickers applied to the light is that there is a ridge along the bottom of the light that cant be covered by the sticker, so it may show up when the light is on.
Senior Member
Joined: 04-19-2006
Posts: 5,065
From: Arvada CO
I went ahead and left that excess on mine. That way I didn't get that framed look around the decal. Figure I can always go in and trim it if I like. Really pleased...nice addition to my HHR.
Thanks oneton.
BTW...decal came from http://www.vinzdecals.com/createbrakeoverlay.html
Used custom size 12 X 9.5 decal size, 9.5 X 1.75 font size, Font Kauffman, black as blackout color.
Thanks oneton.
BTW...decal came from http://www.vinzdecals.com/createbrakeoverlay.html
Used custom size 12 X 9.5 decal size, 9.5 X 1.75 font size, Font Kauffman, black as blackout color.
Last edited by courthousedeb; Mar 30, 2008 at 07:02 AM.

Senior Member
Joined: 02-22-2008
Posts: 365
From: Tennessee
I can always change/cover that area up later if I want to.

Senior Member
Joined: 05-13-2008
Posts: 207
From: Louisville, KY
I did mine a little different. I figured what font I wanted 1st. The I went to a vinyl sticker shop and gave him an example and what dimensions I needed. He then made a reverse decal that went on the inside of my window. It wasn't dark enough so I took electrical tape and cut out pieces to fit around the stenciled parts... It came out a lot better than I thought it would...
Carpe Omnia = Sieze Everything...
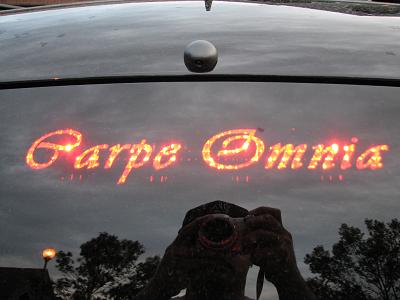
Carpe Omnia = Sieze Everything...


